
In this chapter, you make the final adjustments to your site and upload your files to your server, as you see with the Hot Glass Tango site.
Note
This chapter does not have any actual projects; however, you can use the files in the Part 6 folder to practice opening and viewing for this lesson. They are at https://github.com/Apress/graphics-multimedia-web-adobe-creative-cloud .
Once you have organized your HTML files, images, and media, it’s time to finish your site with some prelaunch tasks: site maintenance, site testing, and quality control. Once you have finished building your site, knowing that it will run efficiently is important. Here are a few areas to look at before upload.
Edit ➤ Preferences of Browsers

Choose which browsers you want to preview your web pages in
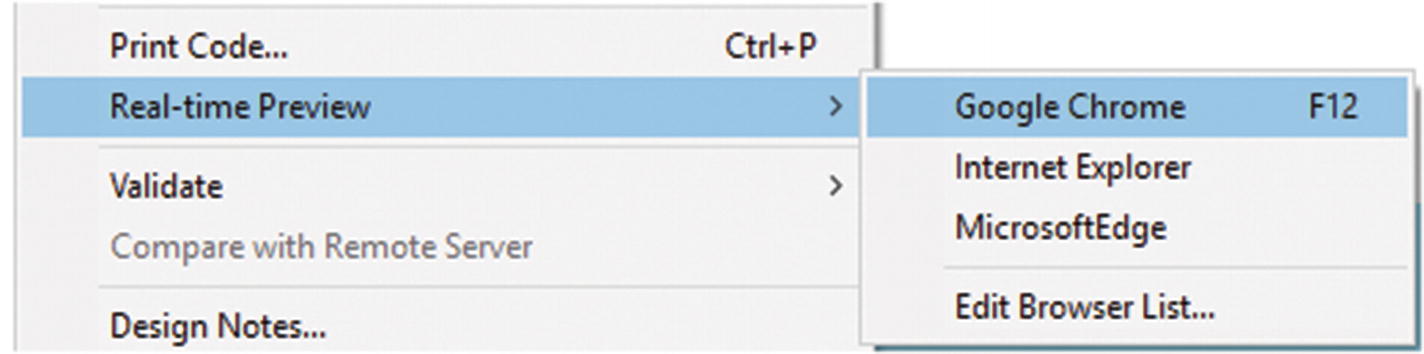
You can now choose which browser from the list you want to preview a webpage in
Solely testing your site on the machine it was developed on isn’t best practice, because you cannot know whether or not it is compatible with other devices. Having multiple users test your site on their devices, as well as having a strategy for mobile testing, should be part of your project’s development plan. For example, testing on several desktop operating systems, such as Windows 7, 8, or 10, or versions of Mac 10, as well as a variety of tablet and mobile smartphone devices. With testing, it really all comes down to time and the budget.
Validation Options and Uploading Site
Before your site goes live, take the time to make sure that you have eliminated as many HTML5, CSS, and JavaScript errors as possible. Catching errors prelaunch saves time and money. If you don’t correct such things such as broken links or missing images now, this can affect the user’s ability to navigate through your site. For the user, this can cause frustration or cause them to miss important information; as a result, they may not return to your site. In turn, the quality of your website impacts the brand that you are trying to exhibit.
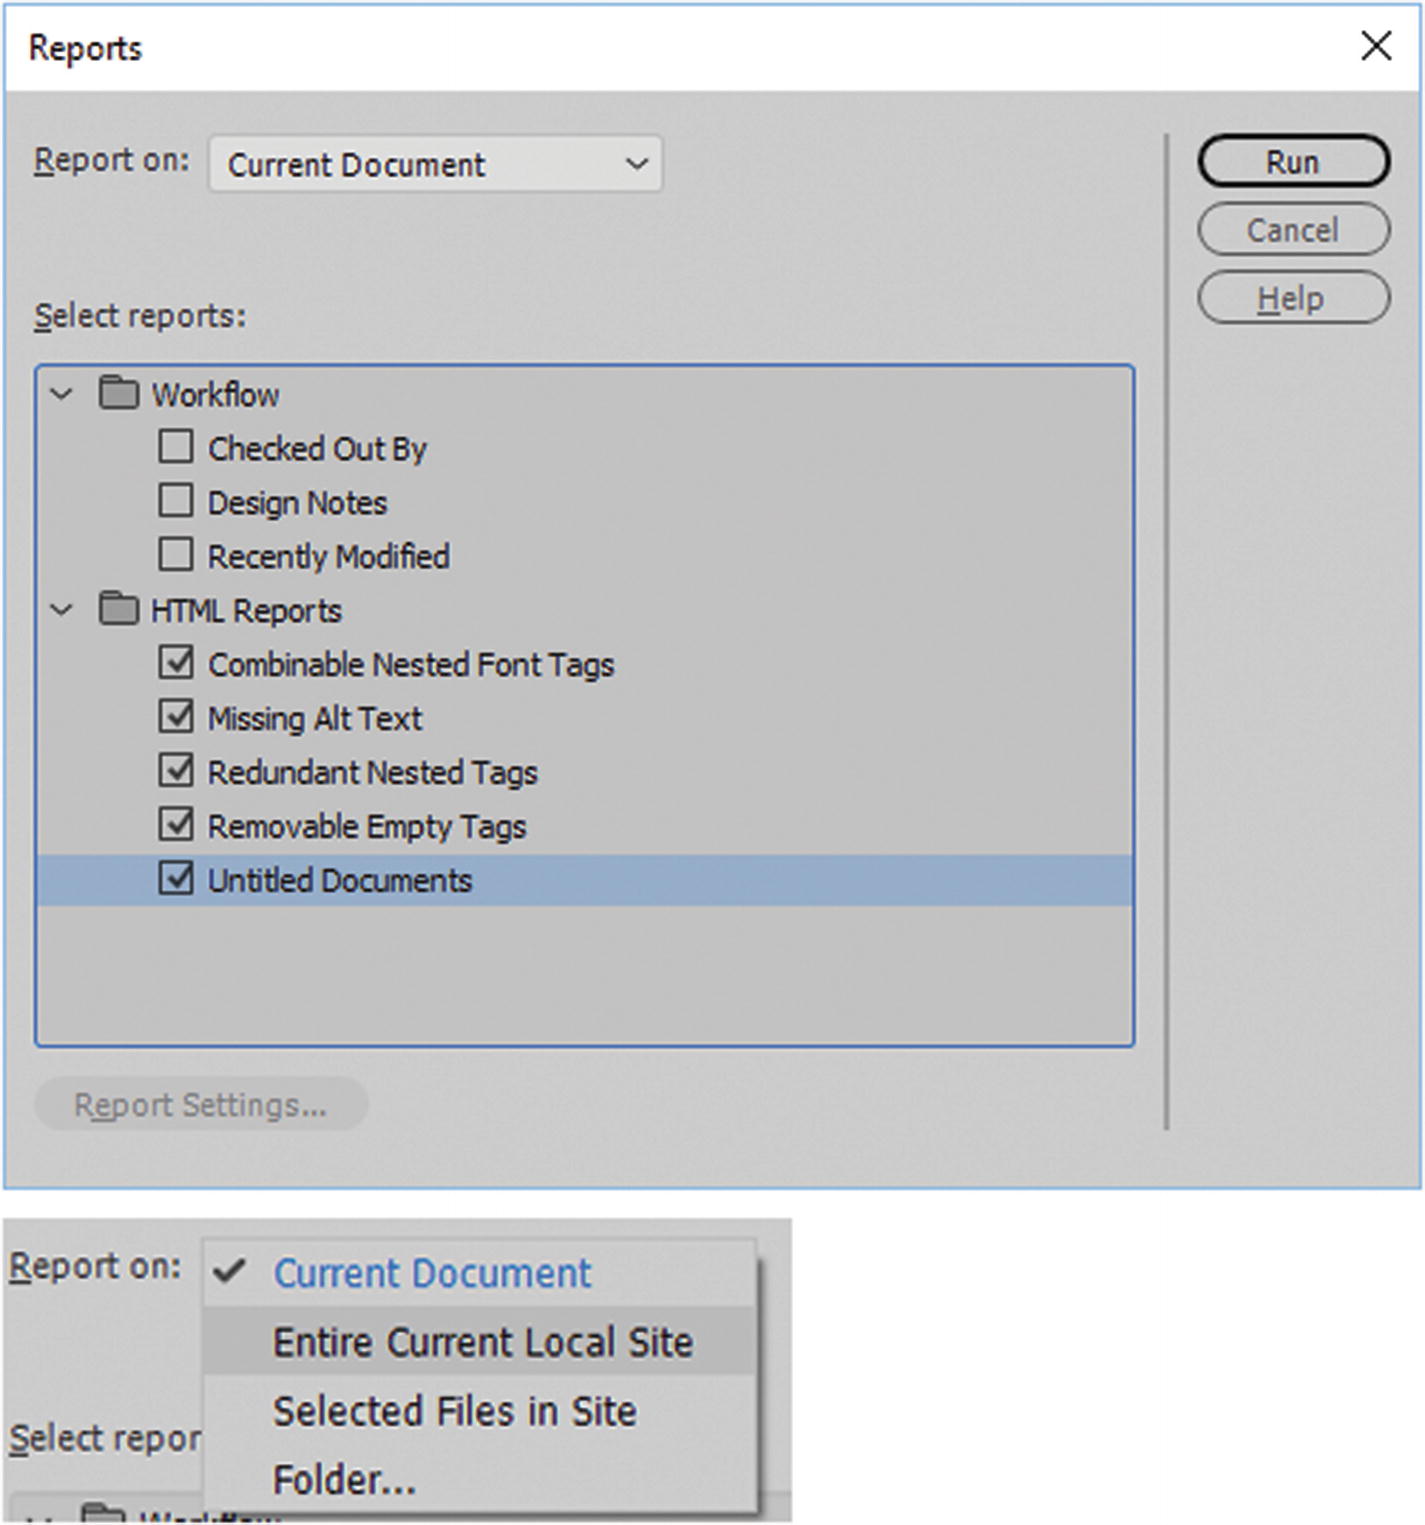
Running a report usually brings up hidden errors that you may not have noticed before
Reports can be run on the current document, selected files, or on the entire current local site. I generally only check off the boxes under the HTML Reports tab. This is great for discovering if any of my images are missing alt tags.
Site Reports Panel
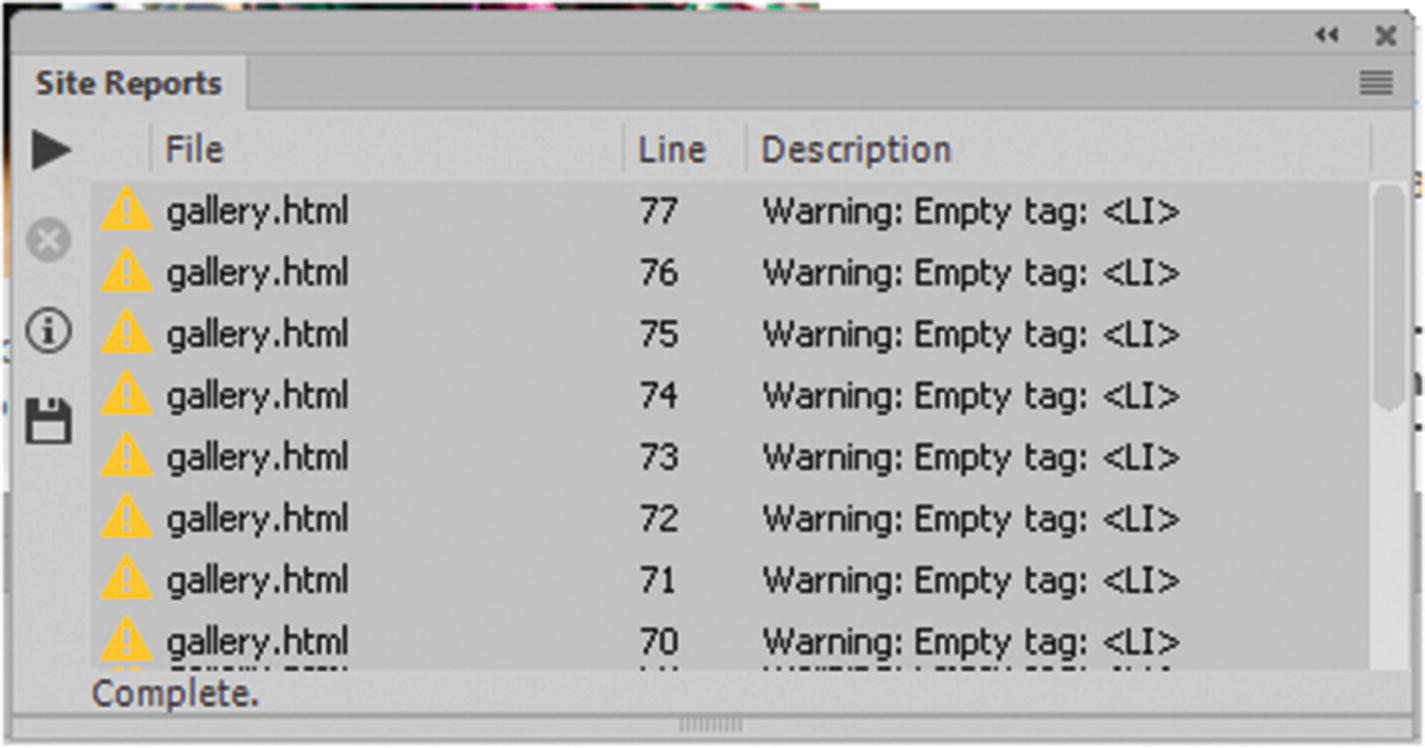
The results of a site report can often reveal hidden errors
You can open these pages by double-clicking the error. Find the lines where the error occurs, make the changes, resave the file, and run the report again to see if the error is gone.
Next, I discuss other panels that are useful.
Link Checker Panel

The Link Checker panel reveals errors
When no files are selected, you can choose from the panel’s menu, Check links for entire Current Local site as seen in Figure 38-5.
If you have any linked PDF document on your site, make sure to manually check for the PDF using Find ➤ Find in Current Document and enter .pdf. Then check if those links are opening appropriately with the "_blank" targets attribute; correct if missing. Likewise, repeat these steps for external navigation.
Validation Panel

The Validation panel reveals errors that may be in your HTML and CSS files
Choosing Current Document W3C brings up a note that it will send the file to the W3C service for validation.
Note
Once your site is no longer local and is remote (uploaded) the alternative is to use the following links to do further testing:
For HTML, W3C validator: https://validator.w3.org/
For CSS: https://jigsaw.w3.org/css-validator/
Either way, you will find additional errors that you should correct on the local site and then upload the file again.
Output Panel

Most basic HTML5 errors can be caught using the Output panel
Local and Remote Sites
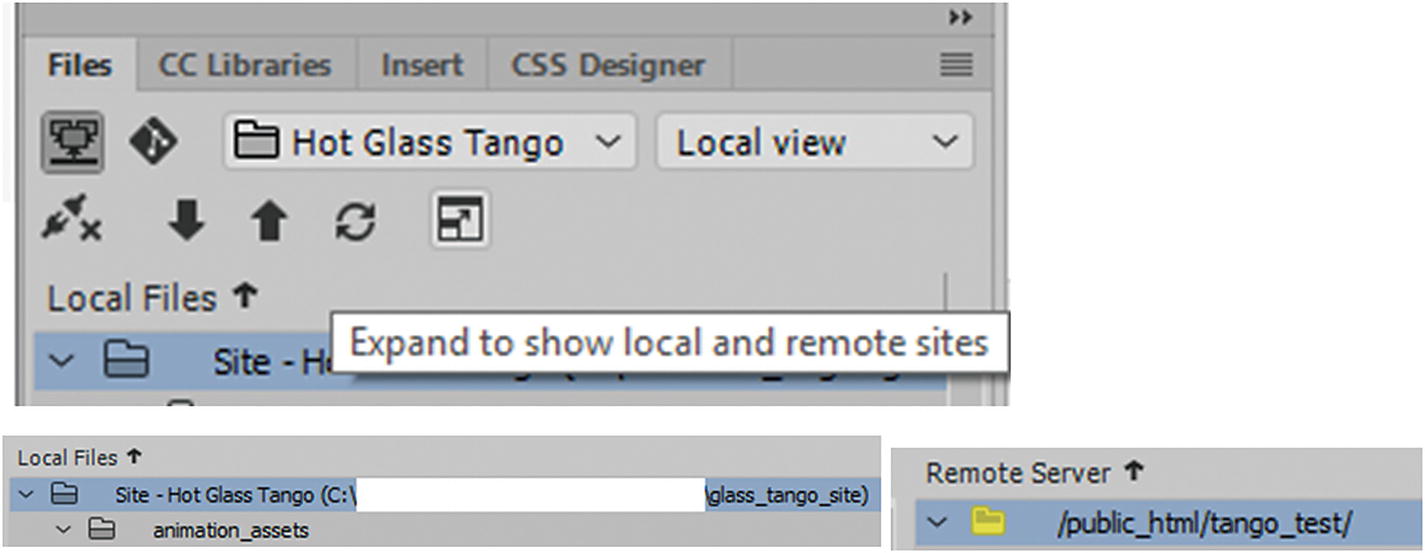
Choose how you want to view uploaded files
Note
If you have not set up your Remote Server area in the Site dialog box, you may not see this button. Follow along with the screenshots for now.
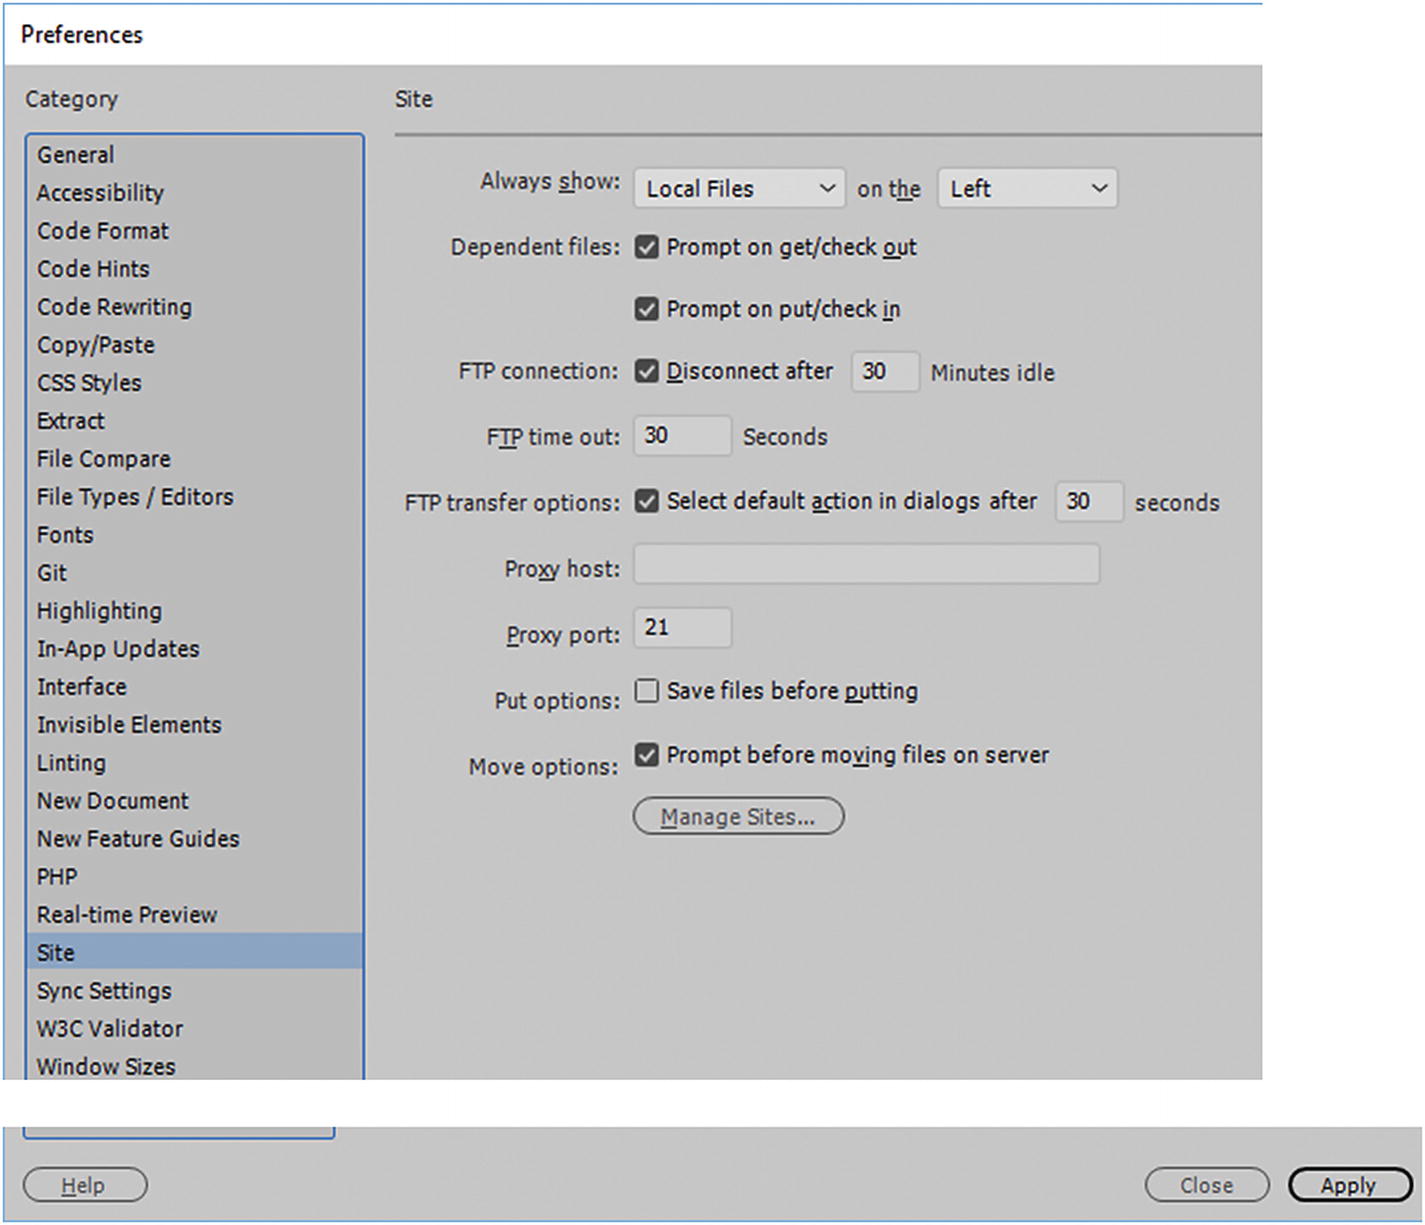
Preferences ➤ Site tab
You don’t have to change most of the other settings in this tab. However, be aware of the proxy port 21. In some cases, it can interact with a program like Skype, which may be using the same port. If that happens, there may be a conflict, and you may need to adjust the setting in Skype (Tools ➤ Connection options) to a different port. For Dreamweaver, leave it at port 21 unless the company that manages your site has different settings.
Manage Site

Manage your site to set up a remote server

Manage your site to set up a remote server

If you have created a remote site connection, it appears in the Servers tab
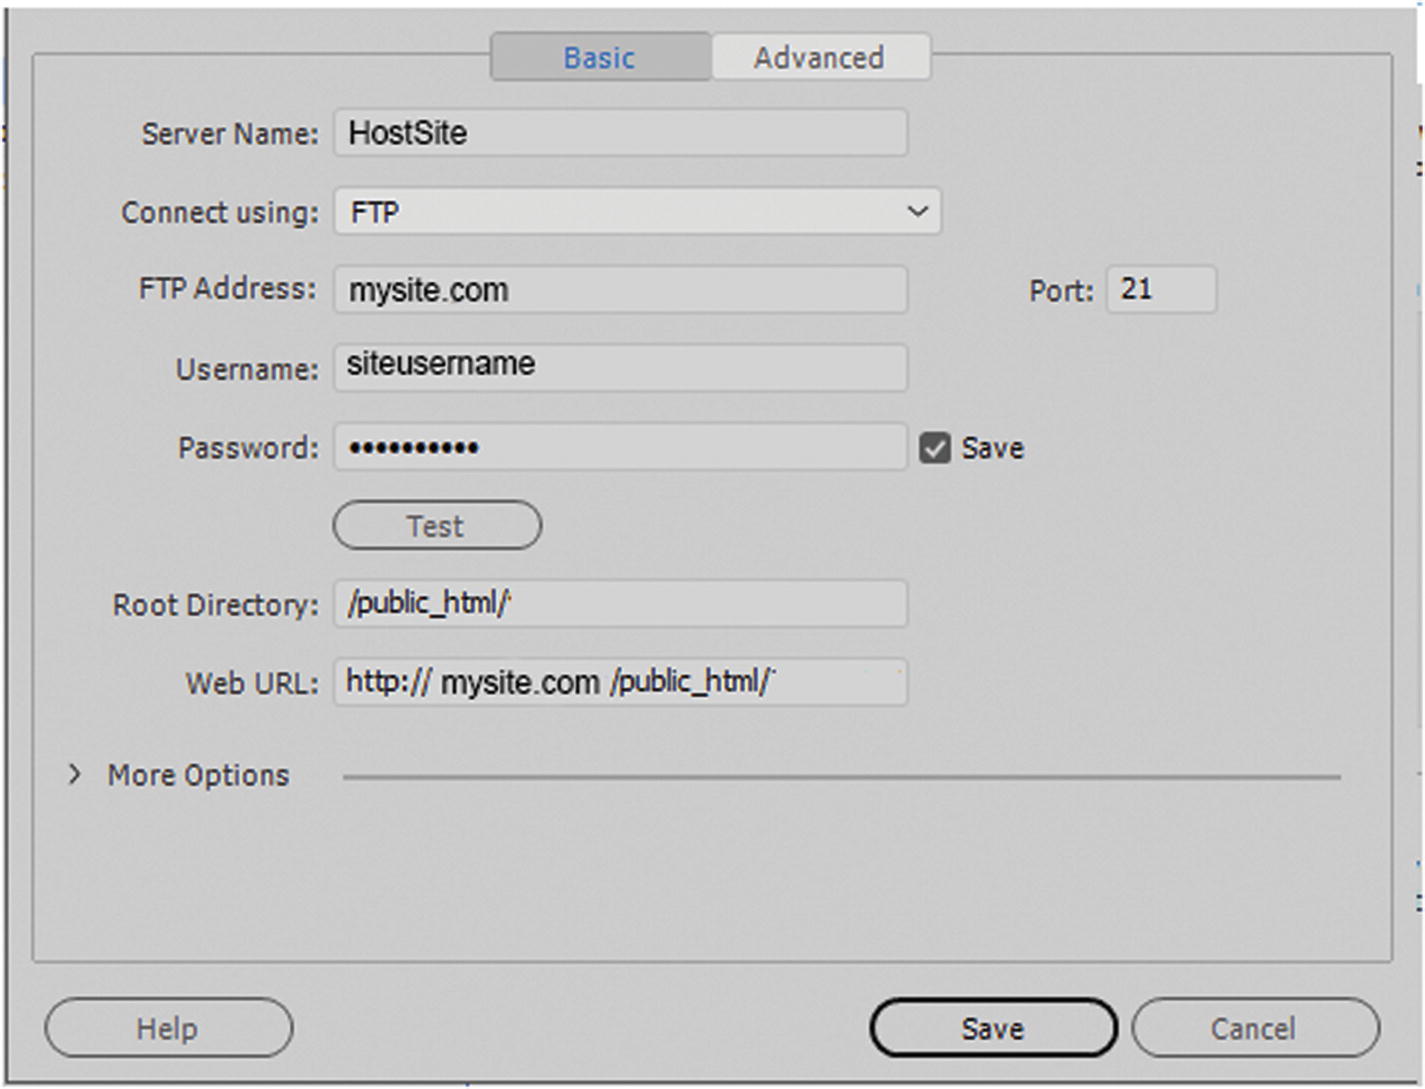
In the Basic tab, set the remote setting given by your hosting company so that you can FTP your files to the server
At this point, click test to see if you can connect. Make sure that your password and username are correct.
Your root directory should be in the public_html folder.
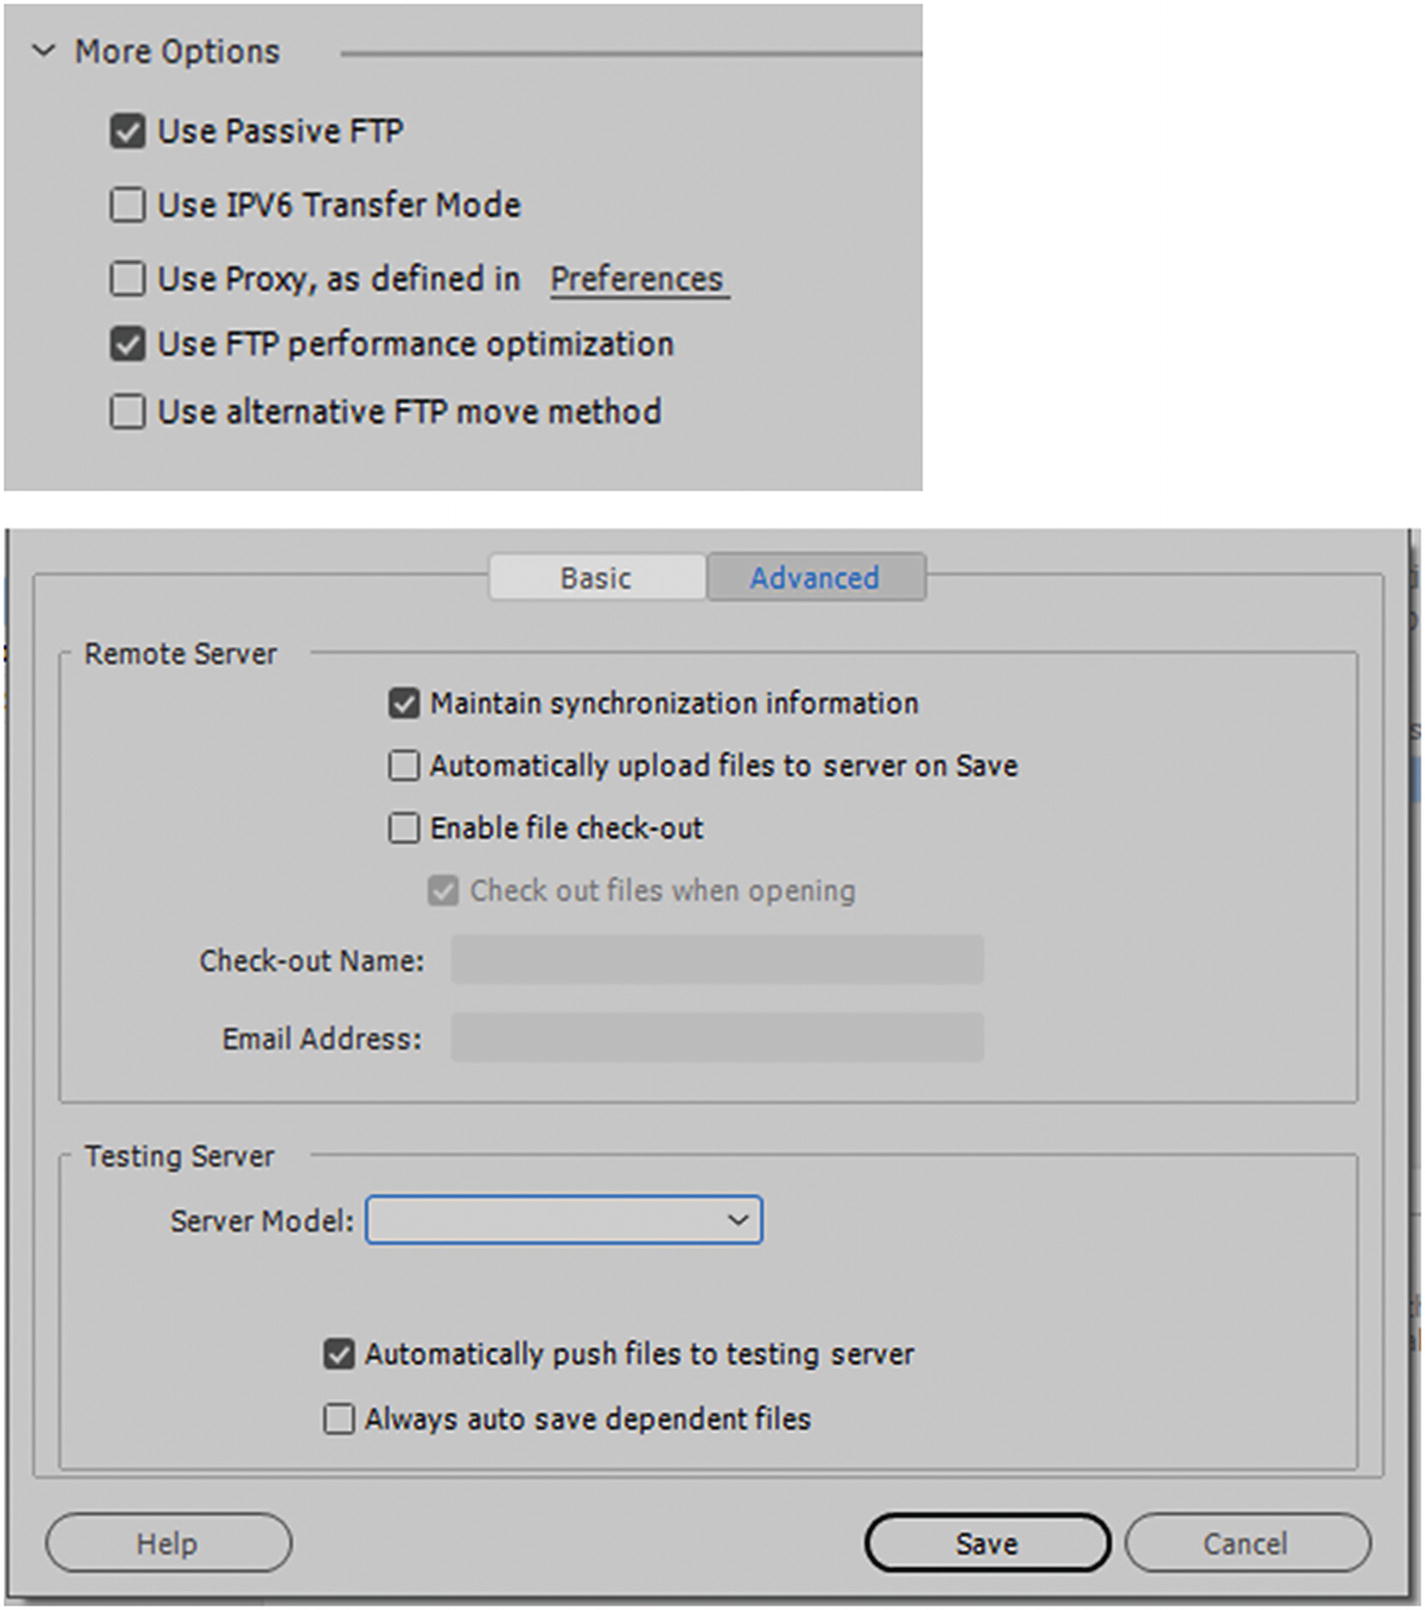
Additional advanced settings you can leave at the default unless your hosing company advises otherwise
When done, click Save to save your sever connection settings. You should now be linked to the remote, as seen in Figure 38-12.
Check Advanced Settings…

Check through your advanced settings tab to see if any subtabs need their settings adjusted
If you find your site to be running smoothly, or you do not have these items, then you may not need to adjust here; but it’s good to check anyway.
Once done, click Save to ensure that your managed server settings are saved. Then click Done to exit the Manage Site area. You might receive an alert saying that you have made changes, if so click OK to return to your project.
Uploading Site to Remote Server

Make sure to connect to the server with the plug-in checked so that you can upload your files
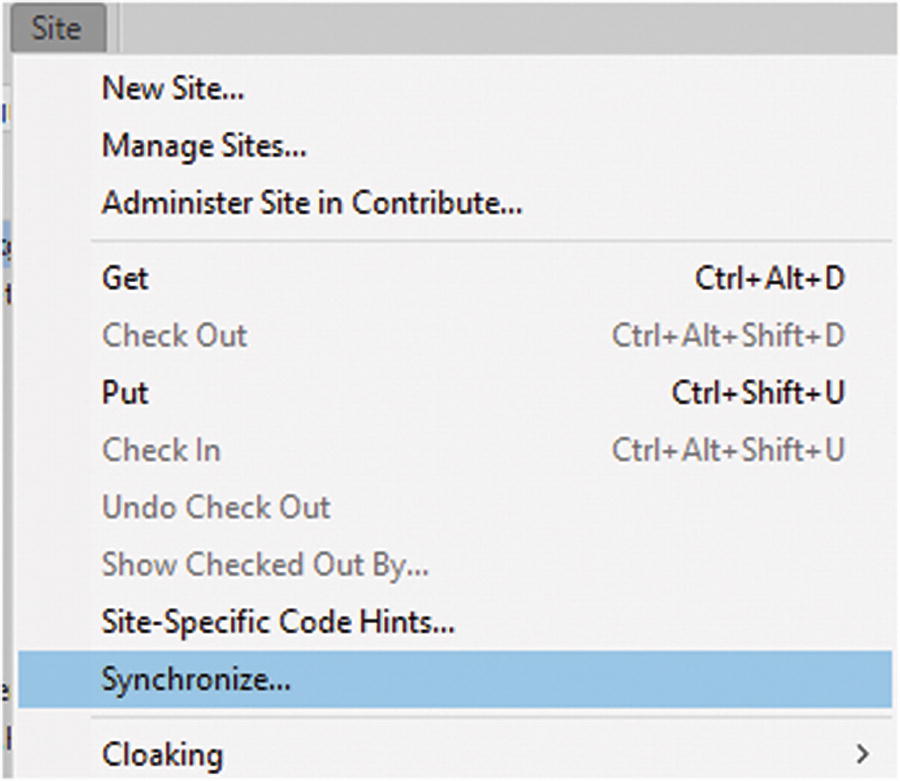
Choosing Site ➤ Synchronize allows you to start the upload process

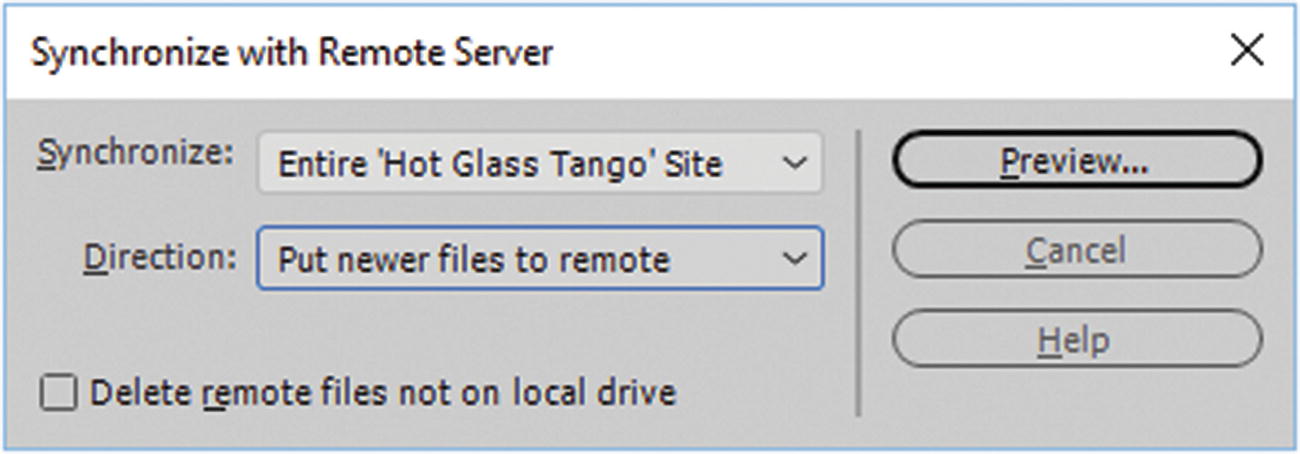
Upload files to remote server
- Direction: Select “Put newer files to remote” to upload them. Refer to Figure 38-19.
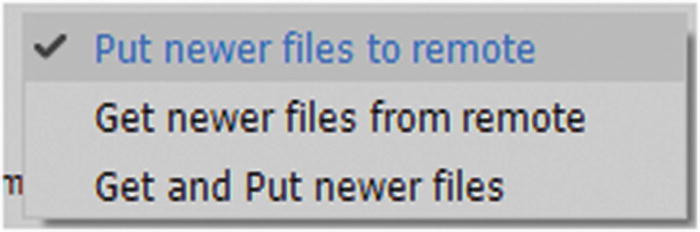 Figure 38-19
Choose a direction for your files to go
Delete remote files not on local drive: unchecked.
Note
I do not recommend getting newer files from remote (download) unless you are working on an older site and that is the only way to access them. Clients should give you the older files either as a ZIP file or on a USB or DVD if you are updating them for your site.
Lastly, click the Preview button, as seen in Figure 38-18.
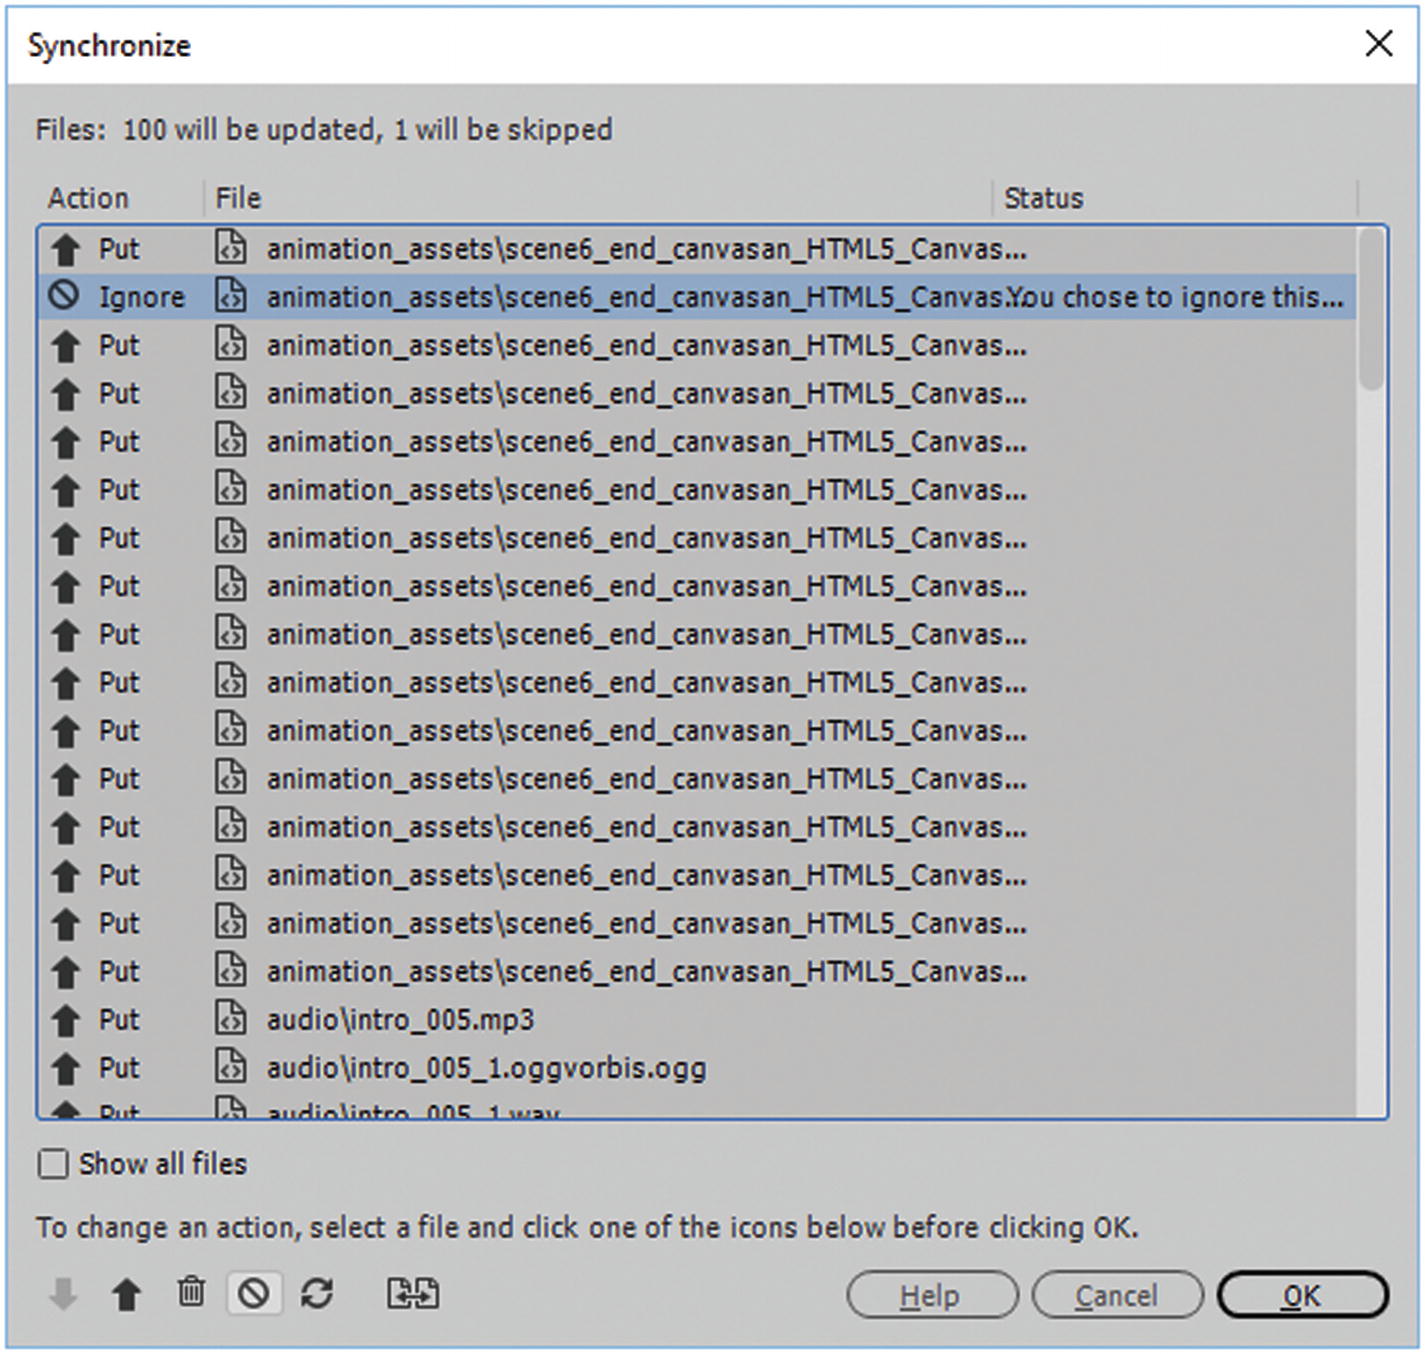
The Synchronize Preview dialog box
In the Preview dialog box, you can choose not to upload by clicking the crossed-out circle button in the lower left to ignore when that file name is selected. Or you can force the upload using the up arrow when the file is name is selected.
Once you have set which files you want to upload, click the OK button. Give it some time if you have a lot of files; the new files will appear in the Remote side.
During this process, Dreamweaver creates a log that includes file activity during the transfer, which you can view and save. It also records all FTP activity so if an error occurs, you can use the log to determine and troubleshoot the issue.
Later, outside Dreamweaver, you can type the URL into your browser to see if the files are online.
Note
Your files must be inside the hosting server’s public_html folder, or you (and the public) will not be able to see them.

Return to the main Dreamweaver interface
At this point, you could continue to edit and upload, or close all files and File ➤ Close and File ➤ Exit Dreamweaver CC. You have achieved your goal of working with images and media to build a site.
Summary
In this chapter, you did some basic maintenance on your site before you uploaded it to the remote server. You also looked at how to adjust server settings so that your links to the remote server are correct. Finally, you synchronized and uploaded the site to the remote server. While there may be many more quality assurance tests that you may want to perform, this gives you a basic idea of how site maintenance works.
In the concluding chapter, you look at three final projects created in the Hot Glass Tango site. As you review these projects, take some time to consider how you could apply these ideas to your own projects.