
In this chapter, you look at an Adobe software program called Animate CC, including some of its main tools and panels. You also look at HTML5 Canvas and some of its uses. Finally, you learn how to convert an ActionScript 3.0 FLA (.fla) to a new HTML5 Canvas FLA (.fla) file.
Note
This chapter does not have any actual projects; however, you can use the files in the Chapter 17 folder to practice opening and viewing for this lesson. They are at https://github.com/Apress/graphics-multimedia-web-adobe-creative-cloud .
In Part 3, as you traveled through the symbolic maze of Photoshop and Illustrator to create graphics for the web. Now you are going to travel to the third junction or software point, Adobe Animate CC. (formerly Flash and Edge Animate).

You are now at the third junction point in the maze: Animate CC
When I think of Animate CC, I go back to when it was called Macromedia Flash. Before Flash was bought by Adobe in 2005, Adobe was developing its own version of an animation program called Adobe LiveMotion. Around this time, LiveMotion was removed from development and Adobe decided to continue with Flash instead. I remember being so excited that I could finally learn to create interactive animated graphics.
As a young child, I enjoyed drawing and thought it would be wonderful to bring my ideas to life. After graduating from college in 2002, I spent time creating some basic animations to show how various printing machinery operates so that it would help my clients understand printing jargon that they might not be familiar with. It’s been said that “a picture is worth a thousand words.” How much might an animation or video be worth if it moved at so many more “pictures” or frames per second? Many of the files I created were in Small Web Format (SWF) or Flash format, when Flash websites were popular; however, over the next few years, they were found to be processor intensive, and SWF files have slowly fallen out of favor in the web design community.
Luckily, Adobe has been moving forward with Animate CC and has improved what is known as HTML5 Canvas, which uses a combination of images, HTML, CSS, and JavaScript—similar to the SVG files that you looked at in Illustrator. You will look at it in more detail a shortly.

Adobe Animate works well with other Adobe software in the Creative Cloud
If you have never used Animate on a project or are a beginner user, I recommend reading Adobe Animate CC Classroom in a Book by Russell Chun Adobe Press, 2018), where you can get a basic overview of the program and many of its tools. Even if you have used Adobe Flash in the past, there have been some major changes to the program, so I encourage you to review the new settings and panels. You can also check out Animate’s Help menu or opening console, which has step-by-step tutorials on various projects. In Part 4, you work with graphics that are already created and save them for the web or other video-related projects.
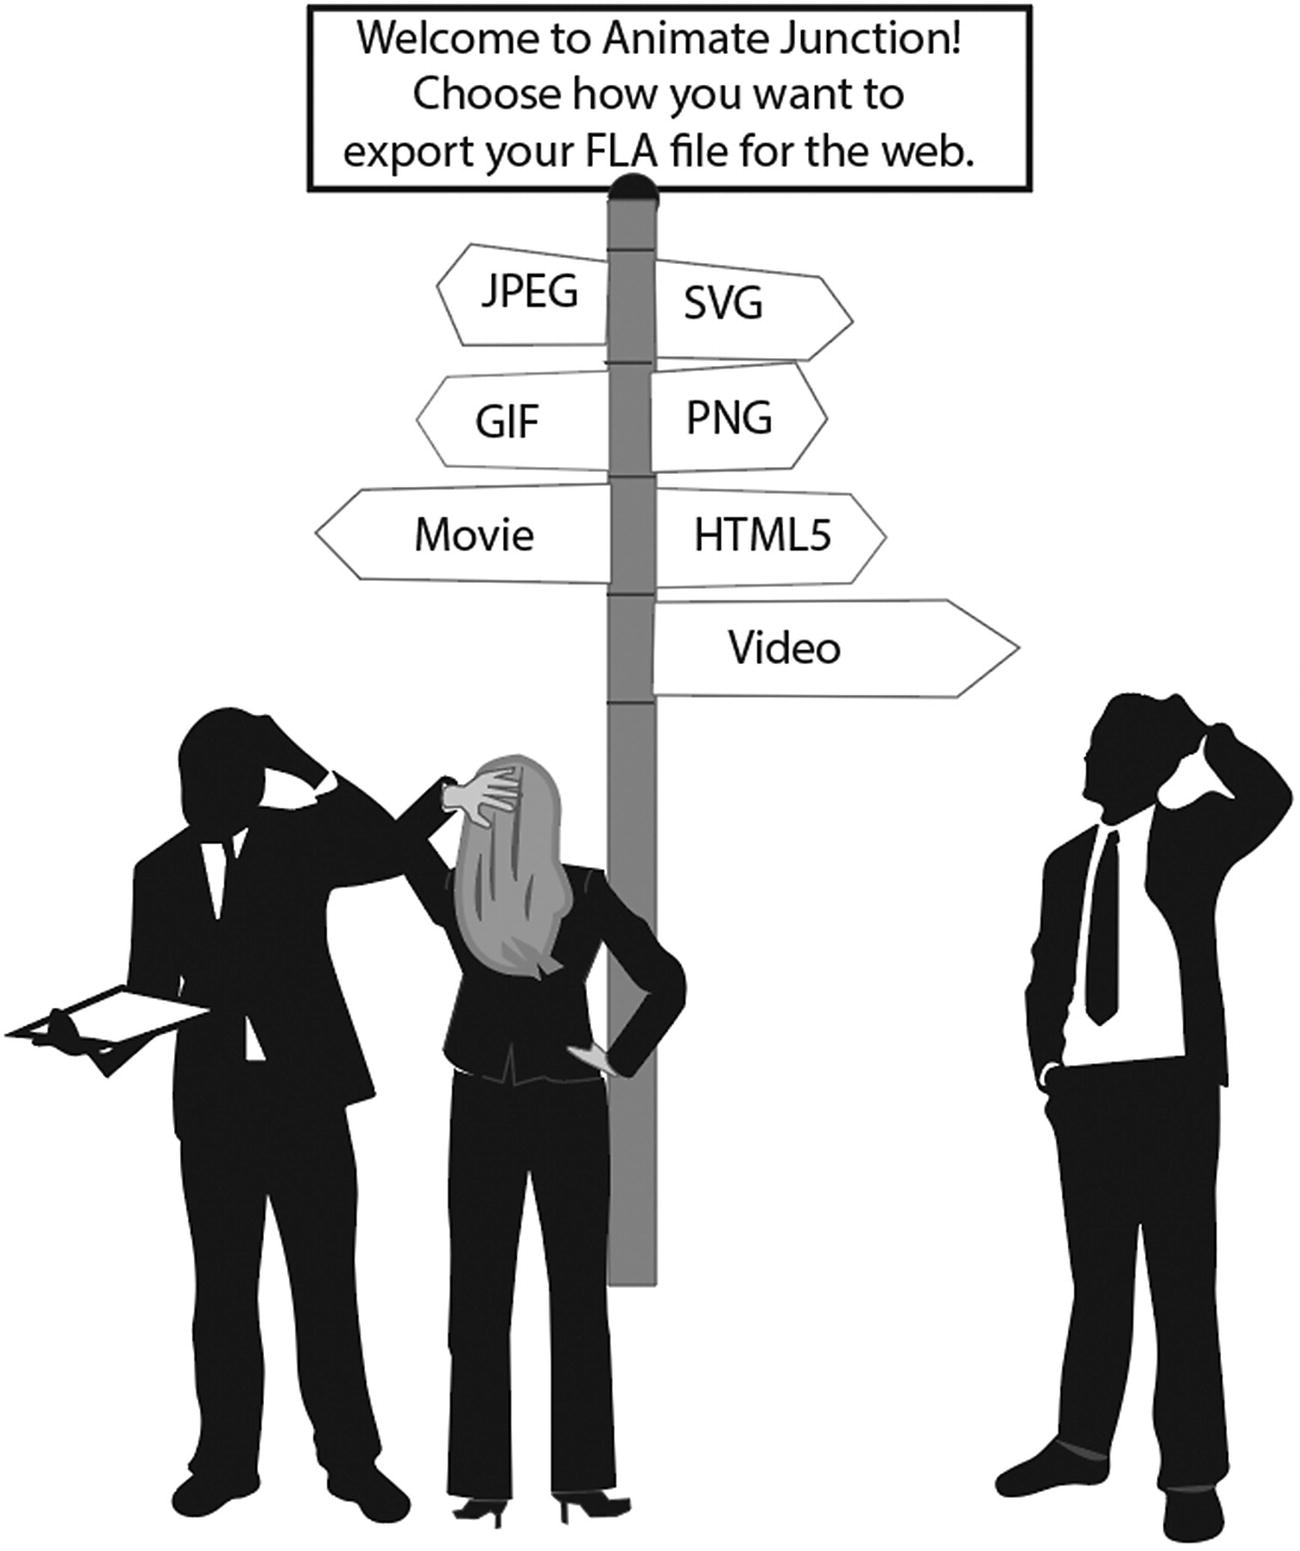
Adobe Animate has several different export options to choose from. Which one is right for your project?
Getting Started

Click Install in the Creative Cloud beside the Adobe Animate icon to begin installing the software
Note
Before you install an Adobe program, make sure that your computer meets the system requirements; otherwise, the install may fail. For more information, check https://helpx.adobe.com/animate/system-requirements.html .
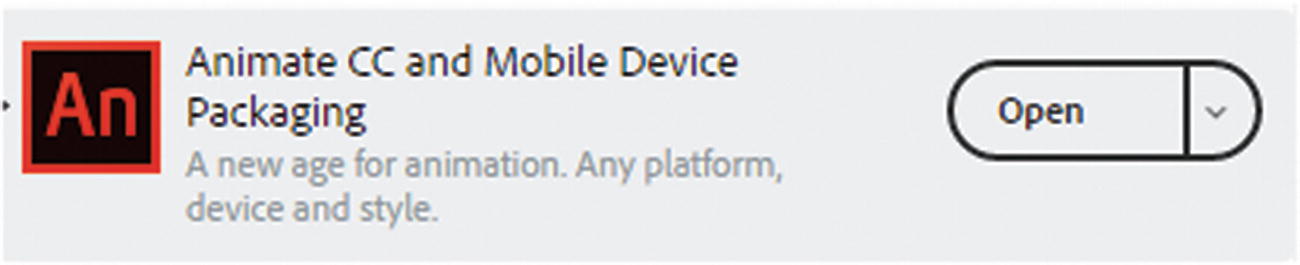
A graphic of how Animate CC appears in the Creative Cloud console with its open button
Differences and Similarities Between Animate and Character Animator CC

Character Animator is another program in the Creative Cloud console that is in many ways similar to Animate CC
If you check the larger map of software in Chapter 1, you see that this program is better suited for a workflow that focuses on professional video animation with Premiere Pro and After Effects for television and video, and not for animation directly in use for the web.
Having said that, you can use a video that you created in these programs on a website if the correct file format is rendered to MP4.
At present, other than using similar graphics created with Illustrator or Photoshop, there does not appear to be a direct link between Animate and Character Animator if you want to directly transfer FLA files between programs. One possible option is to export a sequence of PNG files. You’ll look at that in Chapter 22. In Part 4, you focus on Animate CC.
Setting up the Workspace
Once Animate CC opens, set up your workspace so that you see the same workspace that I am using. Make the workspace similar to how it appears in Photoshop or Illustrator. Go to File ➤ New and choose HTML5 Canvas, and then click OK. (I’ll talk more about File ➤ New in a moment.)

Choose the Essentials workspace while working in Animate CC
How the Essentials workspace appears with minor adjustments in layout
I like this layout because it is like working in Photoshop and Illustrator. I think it is important to keep the layouts as similar as possible when you are working with a variety of Adobe software; that way, you can easily find the tools that you need.
If you prefer another workspace for your web design animations, you can always choose a different one or create your own custom workspace (New Workspace) as seen in Figure 17-7.
Create a New FLA Document

When Animate opens, this dialog box appears in the center of the screen so that you can begin a new project

The new Document dialog box allows you to edit your settings before you click Create and the new file opens
Note
When you start an Animate project for a website, you can choose either HTML5 Canvas (.fla) or ActionScript 3.0 (.fla). The .fla extension remains from when Animate was called Flash or Flash Application. HTML5 Canvas allows you create animations. ActionScript 3.0 is very slowly being removed from Animate and is generally used for creating files that are for SWF animations and gaming files; however, ActionScript 3.0 files have a lot more options than HTML5 Canvas, such as 3D and certain visual and audio effects because JavaScript has not yet advanced far enough in certain areas to compensate for all options. Nevertheless, Animate’s HTML5 Canvas allows improved scaling and resizing (responsive), which is just as good as the older SWF files.
If you are planning to use your animation only for export as a video (.mov), I recommend using ActionScript 3.0 (FLA) because you will have access to a wider range of features.
If you have saved your file ActionScript 3.0 (FLA) or have some older files from past projects, you can still work with them in Animate CC. I show you how to make copies of that file and convert them the HTML5 Canvas (FLA) format shortly.
You will look at other formats, like WebGL and Air, when you export your Animate files in Chapter 21.
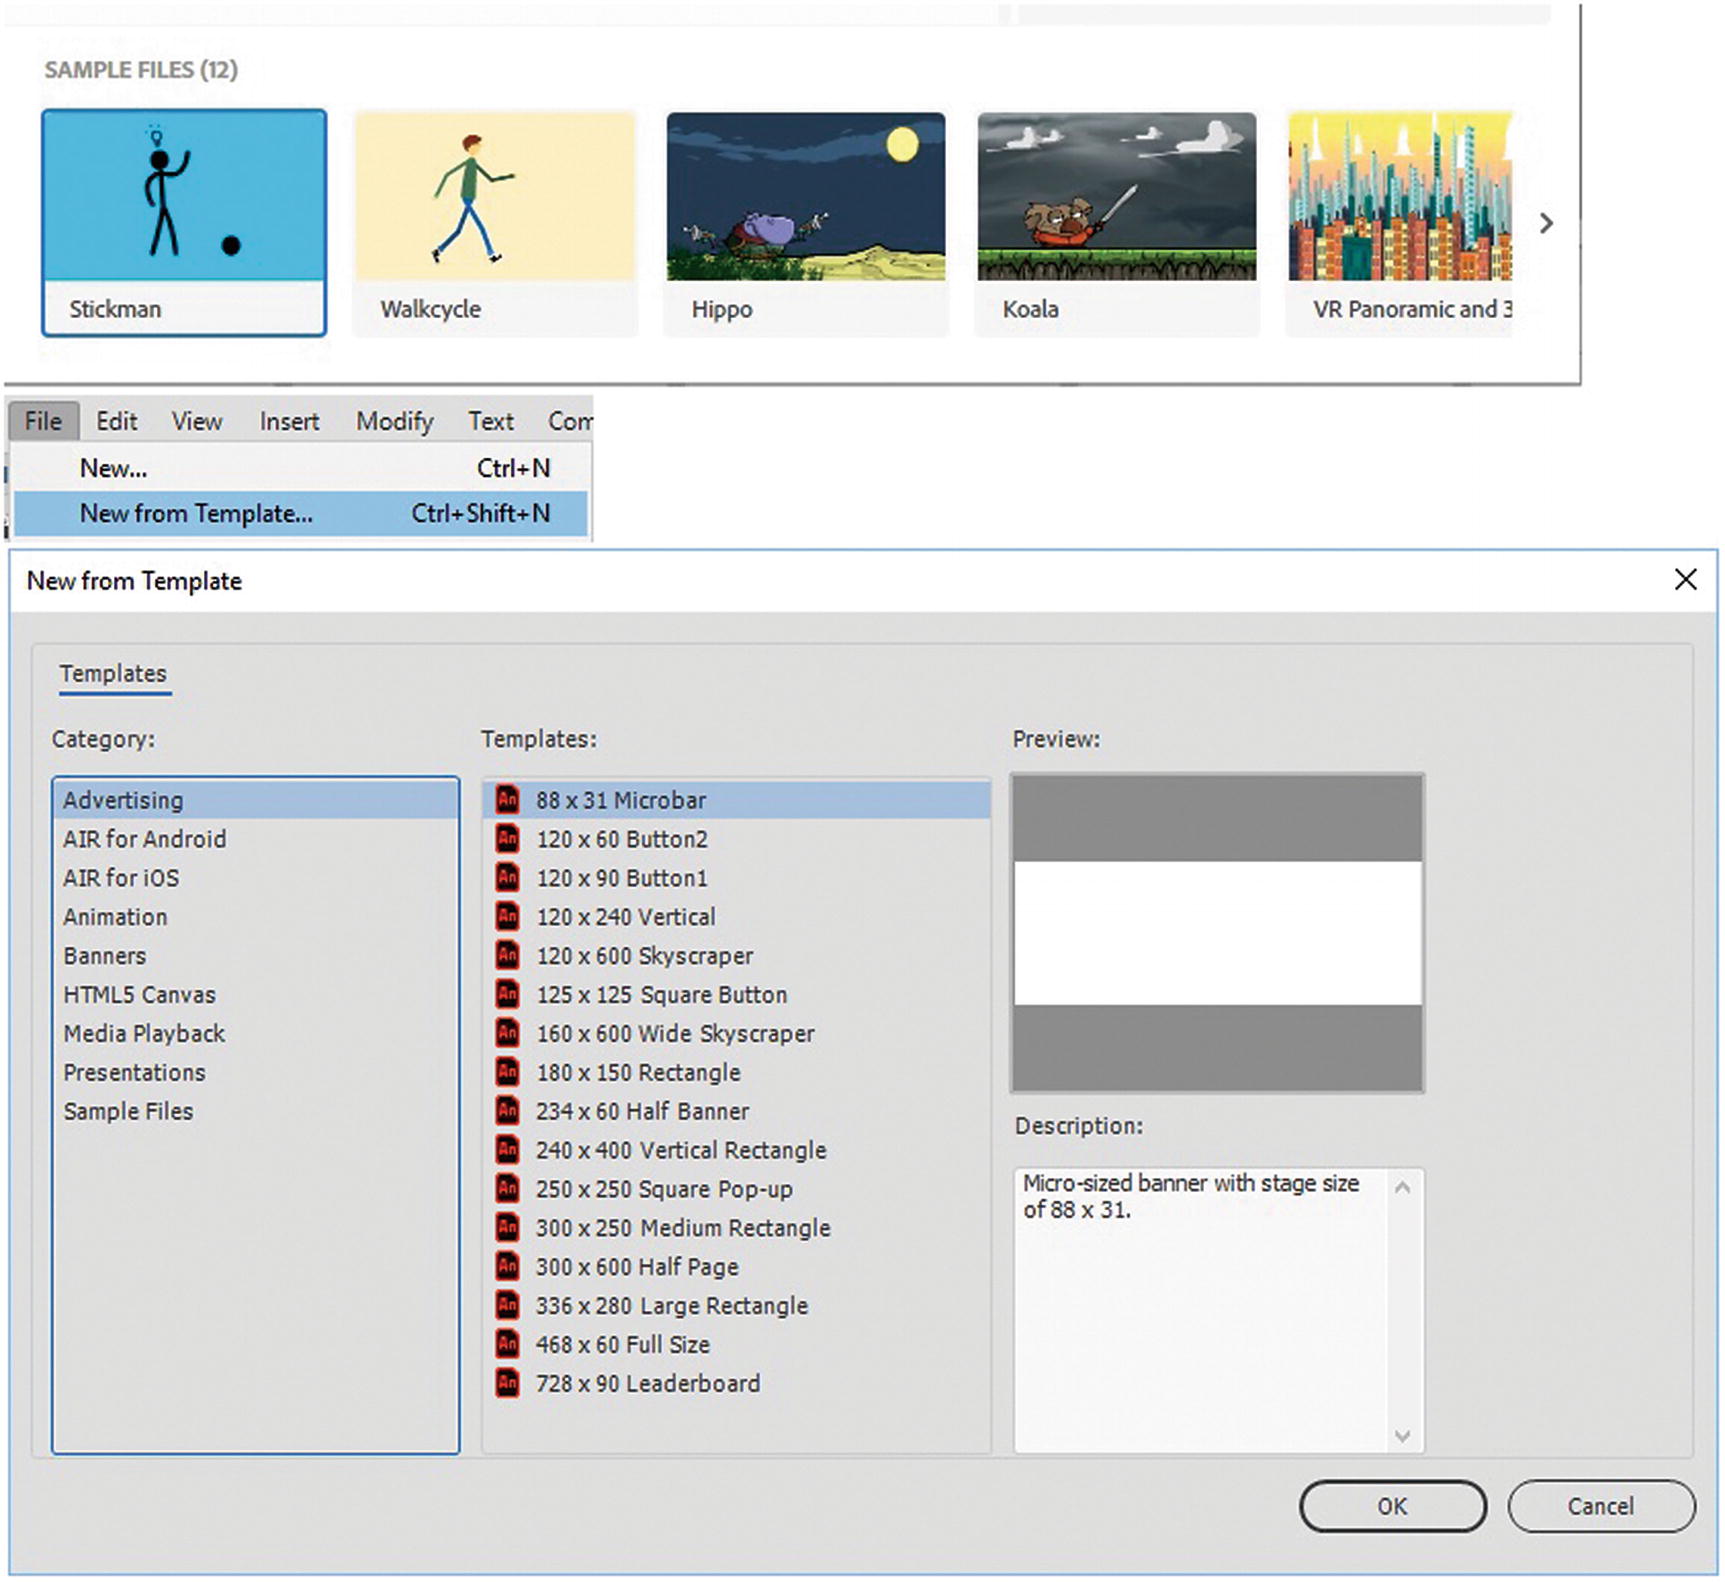
The Template tab in the New Document dialog box changes to New from Template when that dialog box is chosen
For now, stay in the Web or Advanced tab and click Create for an HTML5 Canvas (FLA) file.
Note
You can tell you are in the HTML5 Canvas FLA because your files tab shows up when you click Create as Untitled -# (Canvas). A file that has been saved as an ActionScript 3.0 FLA shows up as Untitled-#, without the word canvas. Refer to Figure 17-12.

The differences in HTML5 Canvas (FLA) and ActionScript 3.0 (FLA) file types
What Is HTML5 Canvas?
At some point you are going export an HTML5 Canvas file . The (.fla) file is not a canvas yet; it is only a starting file used to output the dynamic animation in an HTML webpage for your responsive mobile site. You might be wondering what HTML5 Canvas is.

You can add still or animated drawings to the canvas as well as text
Shapes in the canvas can be solid colors, gradients, photographs, or even text that is solid or multicolored.
The HTML <canvas> element is used as a stage to draw graphics on the fly, via scripting (usually JavaScript). The JavaScript is usually added within the published HTML file and as an external (.js) file that is linked to the HTML file.
The <canvas> element is only a container for graphics. You must use JavaScript to draw the graphics. Luckily, Animate CC can create most of that script for you to save time.
The <canvas> element has several methods for drawing paths, boxes, circles, and text, and for adding images. Check out www.w3schools.com/graphics/canvas_intro.asp .
The following sections overview the <canvas> element.
HTML5 Canvas Can Draw Text
With HTML5 Canvas, you can draw colorful text with or without animation.
Low resolution text renders poorly so test text for clarity and at different sizes after the published canvas is output with the setting of responsive.
HTML5 Canvas Can Draw Graphics
You can create linear and radial gradients.
You can only draw in 2D using x and y coordinates. There is no 3D option yet.
Resolution is dependent on canvas size.
HTML5 Canvas Can Be Animated
Canvas objects can move. Everything is possible—from simple bouncing balls to complex animations.
The animation is drawn pixel by pixel. As the object changes position in the scene, it is redrawn, including objects covered by other graphics.
Basic audio and video can be linked to the canvas, but these files remain external and must be included when uploading the HTML file.
HTML5 Canvas Can Be Interactive
Canvas can respond to JavaScript events that you programed into the Actions panel Animate. It can respond to any user action (key clicks, mouse clicks, button clicks, finger movement).
Event handlers offer some support, such as using addEventListener() and direct callbacks (e.g., canvas.onclick =).
Note
You should use the JavaScript language examples provided with Animate (CreateJS) so that your animations respond correctly. While you can use JavaScript that was not created using Animate, or JavaScript created in non-Adobe programs, the coding may not work as planned, so make sure to test often before uploading your file to the web.
HTML5 Canvas Can Be Used in Games
This book focuses on video and animation in Animate. Nevertheless, the canvas can also be used to create fun and interactive games.
Canvas methods for animations offer a lot of possibilities for HTML gaming applications; however, some work better if programed outside of Animate using other software or by being hand coded. If you are interested in 2D gaming specifically, I recommend reading one of the Apress books by Rex van der Spuy; he has written about this topic extensively in several books.
Working with RAW Files
The main RAW file that Animate works with is the FLA file, which essentially contains the entire Animate animation project, which includes layers, graphics, audio, video, and coding that make the animation appear as though it is moving.
Animate has some panels that you should find familiar and others that are foreign. You’ll look at some of them briefly as you go through Part 4.
The two primary areas of any animation are the canvas or (artboard stage) and the timeline.
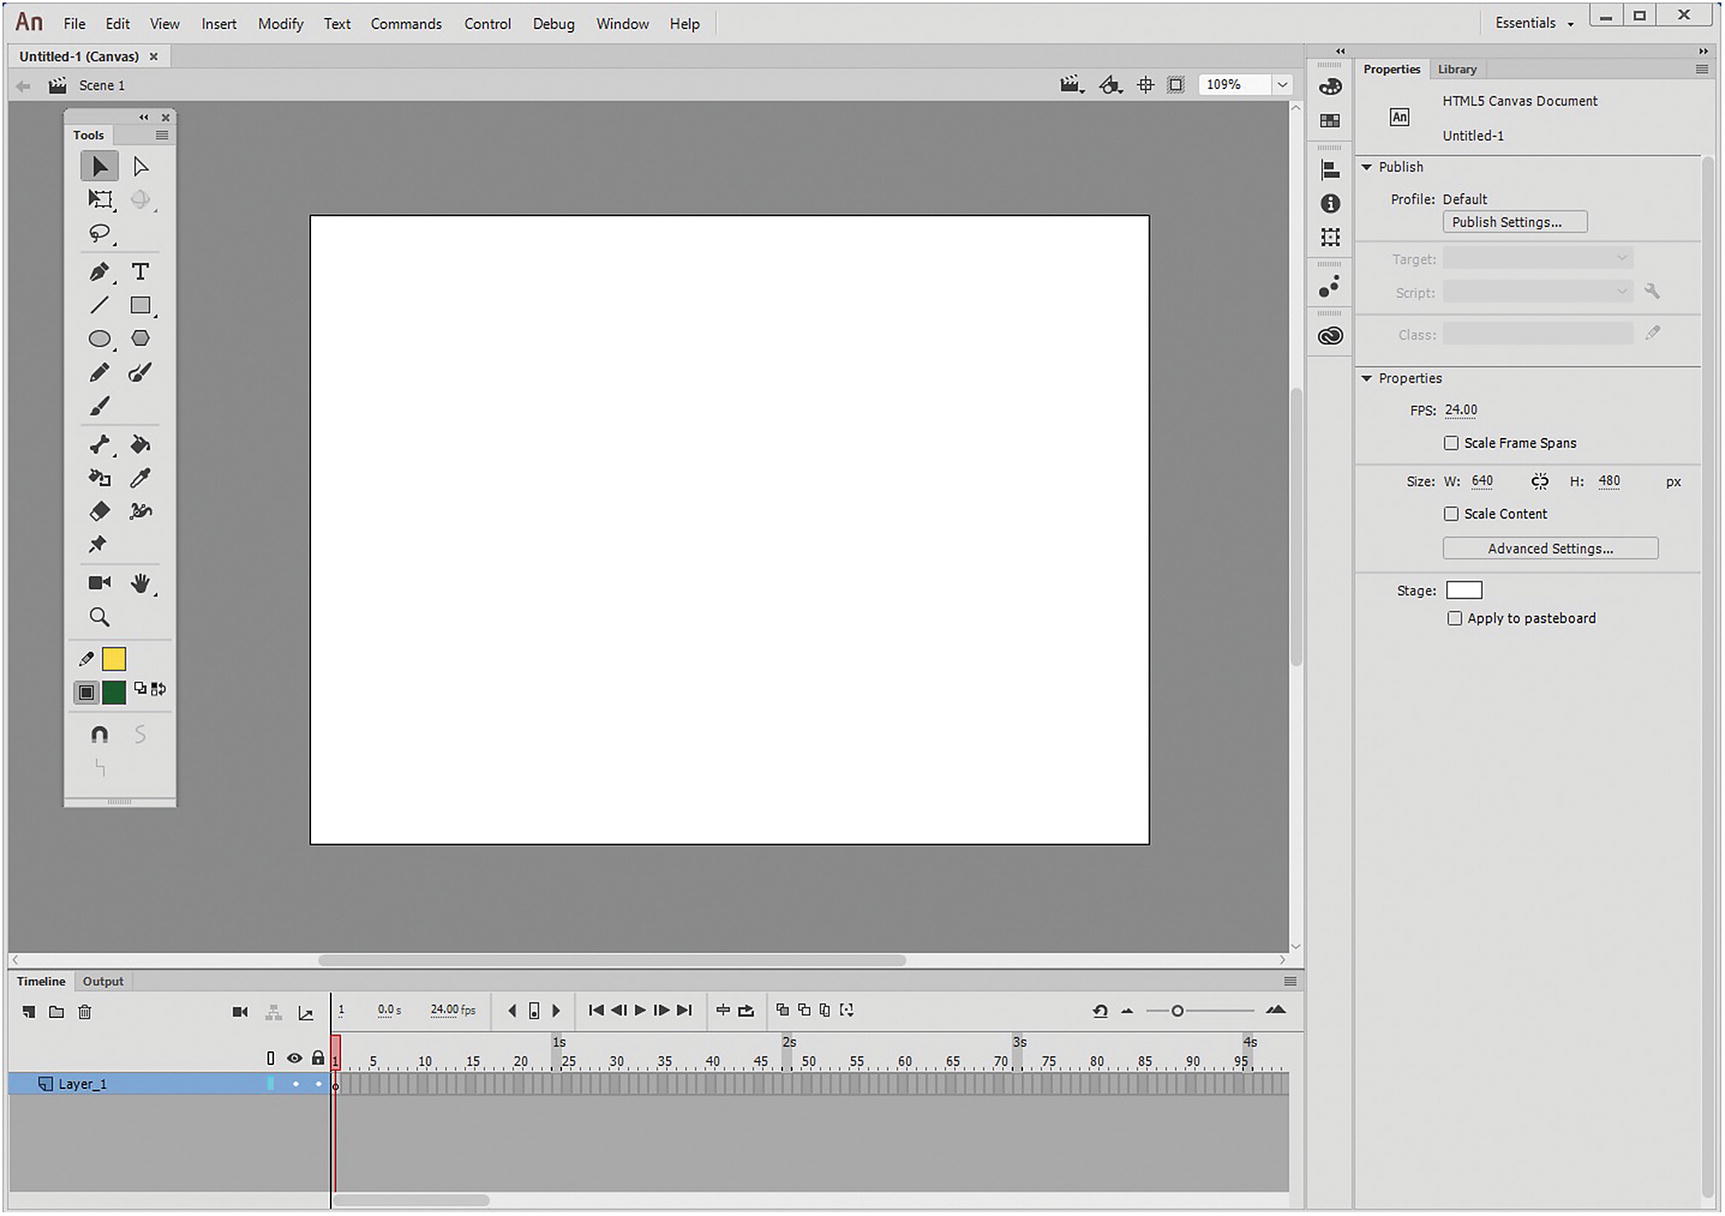
Properties Panel
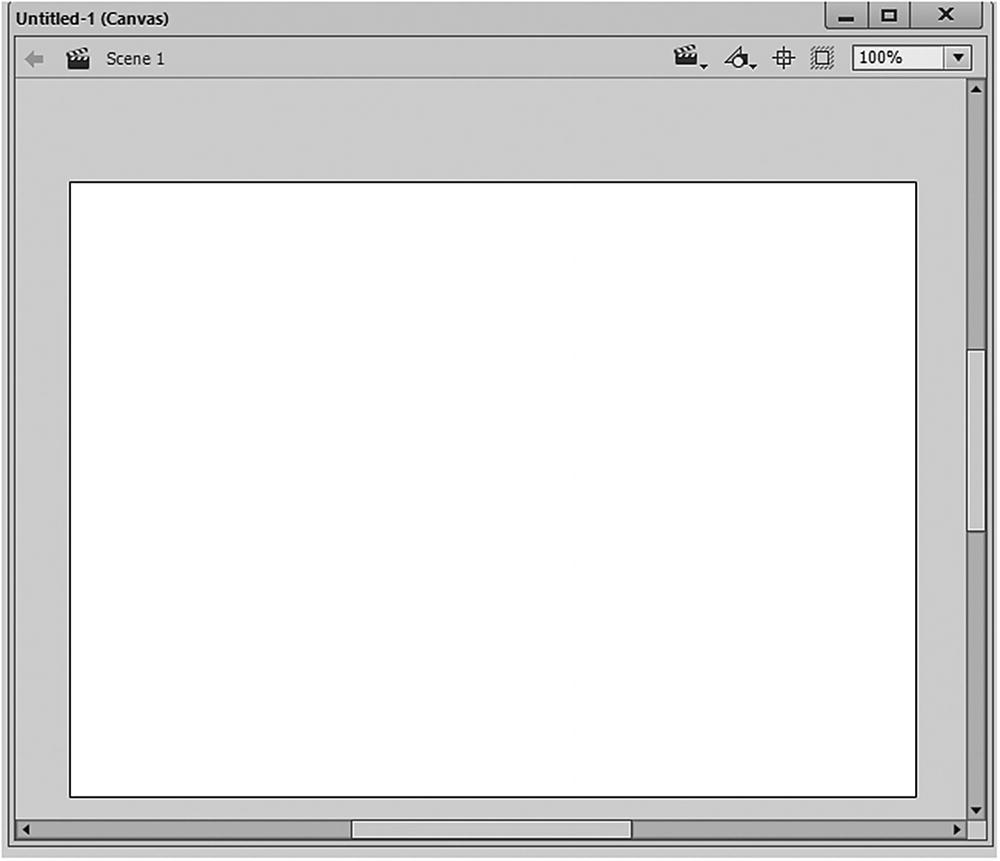
The blank stage of a newly created HTML5 Canvas (FLA) file
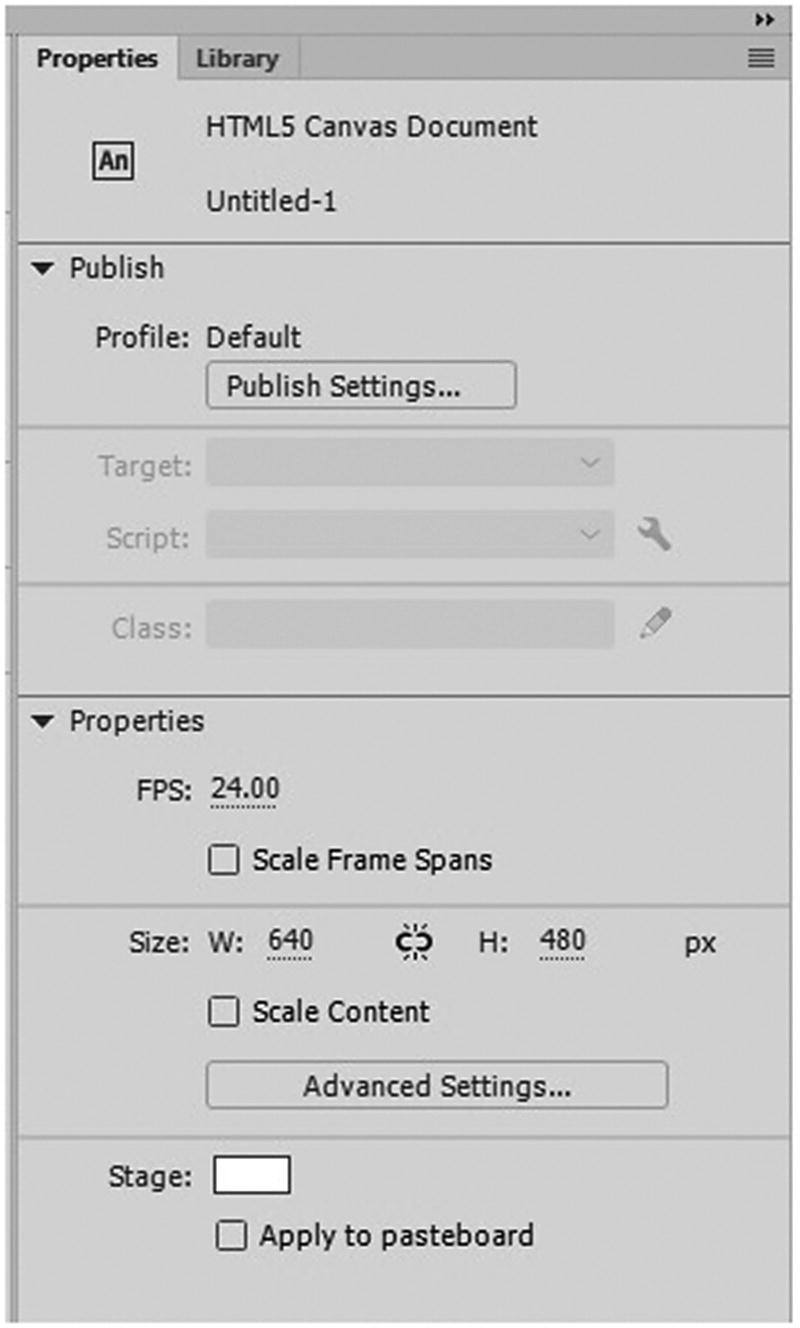
Animate’s Properties panel and its basic settings for a new HTML5 Canvas(FLA) file

Enter a new fps or frames per second setting. Sacle Frame Spans is checked to avoid time distortion in the Timeline panel
Having said this, keep in mind that when you increase your frame rate in a completed animation, the animation may now move faster than expected. Also, a lower frame rate slows down the animation and causes it to move in a jerky or stilted manner.
Note
If you decide to export your animation as a video (.mov), know what frame rate your other video footage will be running at. As you saw in Chapter 7, all the footage was at 30 fps. Keep this in mind when you’re working with others on a group project; know the exact frame rate before you build an animation to be used as an intro or end credits with other footage. For short animations, you may be able to correct the issue easily by stretching a few frames in the timeline panel. However, for longer and complicated animations, adjustments could take several hours. You don’t want to be wasting time when you are on a deadline. One way to get around this is to check Scale Frame Spans (see Figure 17-6) when you start your project. A second remains as one second on the timeline whether your animation is 24 fps or altered to 30 fps.
Timeline Panel
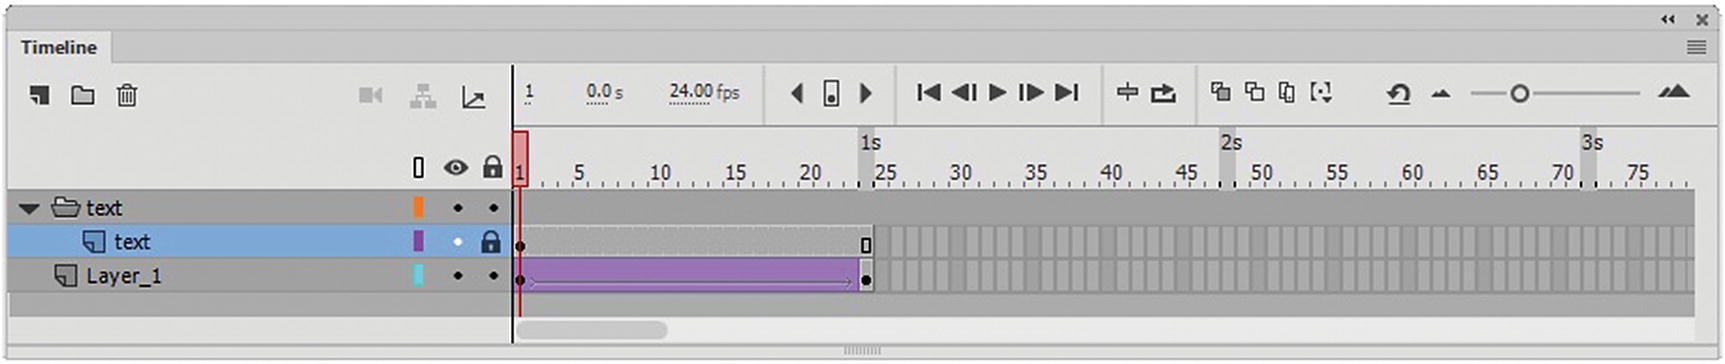
The Timeline panel
You will come back to the Timeline panel in Part 4.
Library Panel
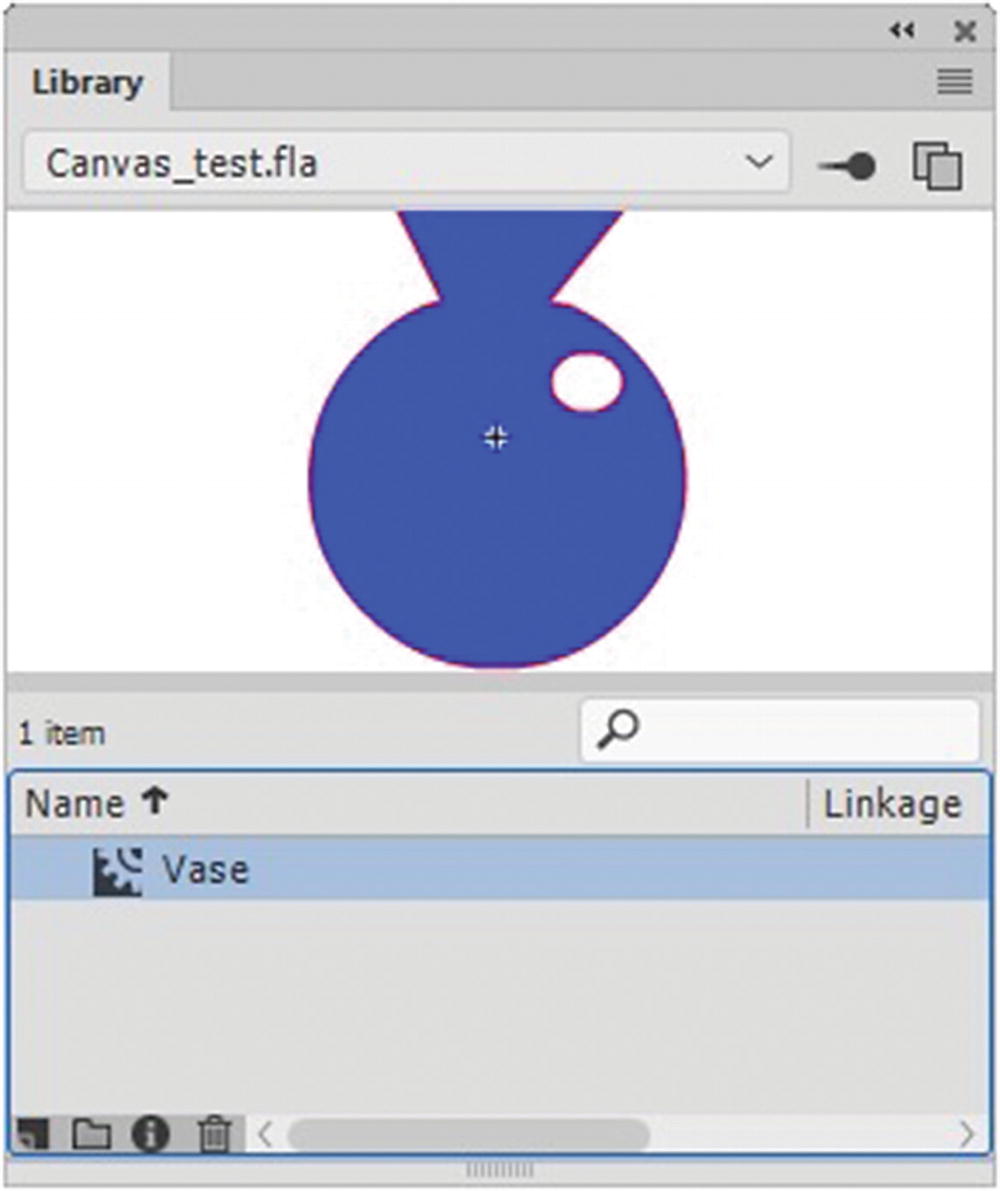
The Library panel is used to store the (.fla) files graphics
These library items (symbols, movie clips, graphics, buttons) can be dragged onto the stage and resued many times throughout the animation. You’ll look at the Library panel again in Part 4.
Note
This panel is not the same as the CC Libraries panel that we look at in Part 4.
Tools Panel
Another familiar panel is the Tools panel, which has many of the selection (V), subsection (A), pen, drawing, shape and text tools (T) found in Photoshop and Illustrator. Extra tool properties appear at the bottom of the Tools panel when a specific tool is selected.

The Tools panel, when dragged out and expanded to two columns so that it looks similar to tools panels of Photoshop and Illustrator. The Bone and Camera tools only appear in Animate.
FLA Conversions ActionScript to HTML5

In the Tools panel, the ActionScript 3.0 FLA has access to 3D tools; however for the HTML5 Canvas FLA, it is unavailable
When you save your file as an ActionScript 3.0 FLA, you can access the 3D Rotation tool (W) and the 3D Translation tool (G). You can use them as part of your animation if you plan to output the file as a video file (.mov). You can also output a video file from an HTML5 Canvas FLA, but you will not have access to the 3D rotation tool.

Convert an ActionScript 3.0 file to HTML5 Canvas
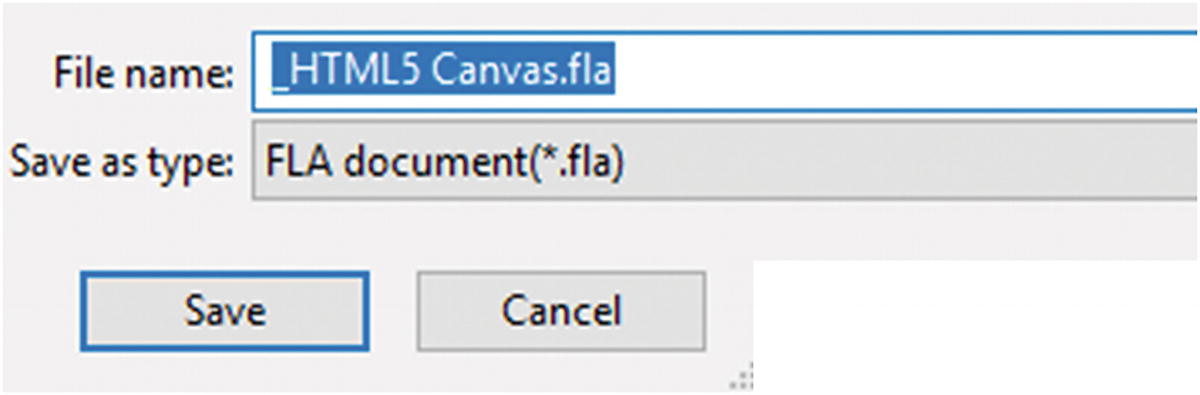
Convert an ActionScript 3.0 file to an HTML5 Canvas file, and name the new file
Find a location in your folder and then click Save to confirm. While doing so, you may run into a warning in the Output panel (docked with the Timeline panel). If your file could not convert some effects, it will list them. You may not be able to correct some errors because JavaScript will not allow for the conversion; however, for most basic conversions, you will only see minor difference in the canvas file.
If you do run into an error, I recommend going back to your orginal ActionScript 3.0 file and make a copy of the file to edit. The errors are listed in the Output panel; read this carefully. In some cases, perhaps it could not convert colors or filters; some of these errors can be ignored if the color shift is slight. In other cases, you may need to alter the type of tween or the layer order to correct the error. Then try converting the file to HTML5 Canvas again and see if the error disappers. You may need to repeat this a few times to get the result you want.

The Output panel lets you know if there are any issues during the conversion process
As you work with your Animate (FLA) files and publish them, always check the Output panel for errors or messages so that you know if your files are publishing correctly.

The Propreties panel shows you which file type you are currently looking at—ActionScript 3.0 or an HTML5 Canvas document
When you are done, you can save (File ➤ Save) any open FLA files. Select File ➤ Close and File ➤ Exit to exit Animate CC. Or keep Animate and the files open for the next chapter.
Summary
In this chapter, you looked at how to set up a workspace for Animate CC. You also saw some differences between the ActionScript 3.0 and HTML5 Canvas FLA file formats. You learned that, depending on your web project, you might want to use a specific format or convert it to a canvas.
You also looked at a few panels that should be familiar to you from Photoshop and Illustrator, including the Properties, Timeline, and Tools panels. Also, you looked at a new panel called the Library panel, which you will become more familiar with in Part 4. In the next chapter, you are going to look at Animate’s color choices.