
In this chapter, you review how to export animations (GIF and HTML5 Canvas) and video clips for a website.
Note
This chapter has actual projects that are in three folders. You can use the files in the Chapter 24 folder if you do not have any file examples of your own to practice opening and viewing for this lesson. They are at https://github.com/Apress/graphics-multimedia-web-adobe-creative-cloud .
In this chapter, you will export animations for the Hot Glass Tango website, which tells the story (through images, animations, video, and audio) of how handmade glass items are created. Later, these multimedia items that you create will be used to finish the final website in Part 6.
Create an Animated GIF
In Chapters 6 and 9, where you were working in Photoshop to create a GIF animation, you used the Timeline panel with frames. As you saw in Chapter 22, Photoshop is not the only software that you can use to create these types of animations in a Timeline panel.
It really all depends on the workflow that you are presented with and how the images for the animation were acquired. For example, if you have a lot of photographs and are comfortable with Photoshop, you probably want to create the GIF Animation in that program. However, if you have a lot of illustrations from Illustrator, or have created the animation in Animate, then you likely would not want to import all your work back into Photoshop just to create an animate GIF.
One benefit is the Animate timeline, in which you have greater control over your shape and symbol movements. A drawback with Animate GIF animation is that sometimes the resolution is not as good as you get with exporting with Photoshop; if your animation has a lot of color photos, graphics, and gradients, you need to take a bit more time to adjust the settings in the Export Animated GIF dialog box to get the best quality.
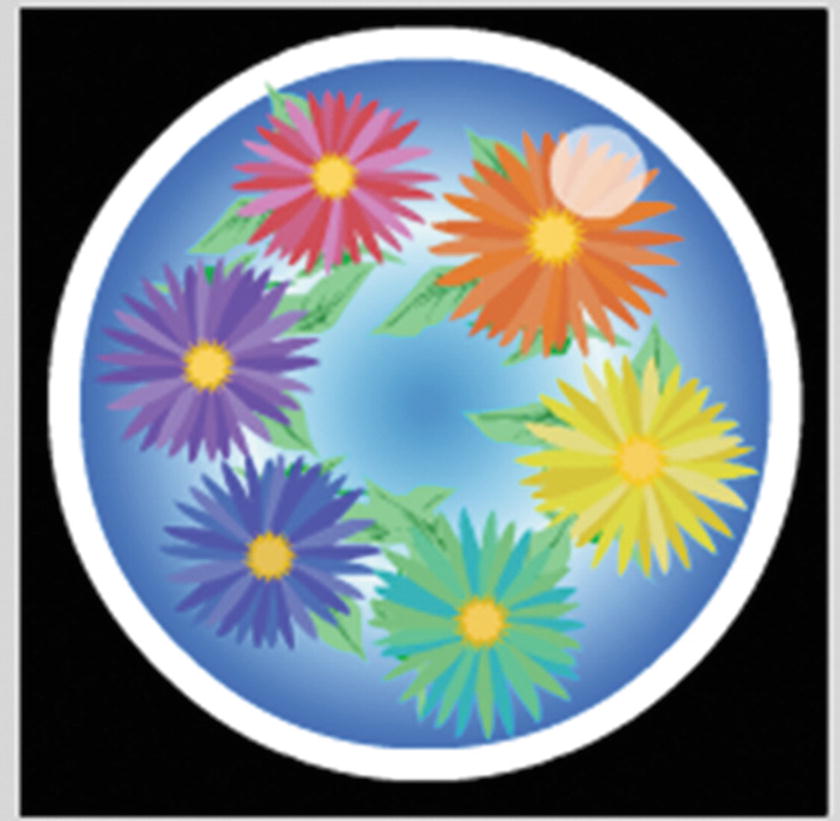
The animation on the stage in the animate FLA file
It is very similar to the paperweight graphic animation that you created in Photoshop in Chapter 6. The stage is currently 200×200 pixels.

The timeline for the GIF animation

Symbols for the GIF animation are stored in the library
Because the flowers do not make a lot of movement, I left them as graphic symbols, but I could have made them all into movie clip symbols if I wanted to. I made sure not to have any nested animations in the symbols because they will not function correctly when I export an animated GIF. All animation is on the stage of the HTML5 Canvas FLA file.
Once you have reviewed the animation with the playhead, you can now Export the File.
Export your GIF Animation
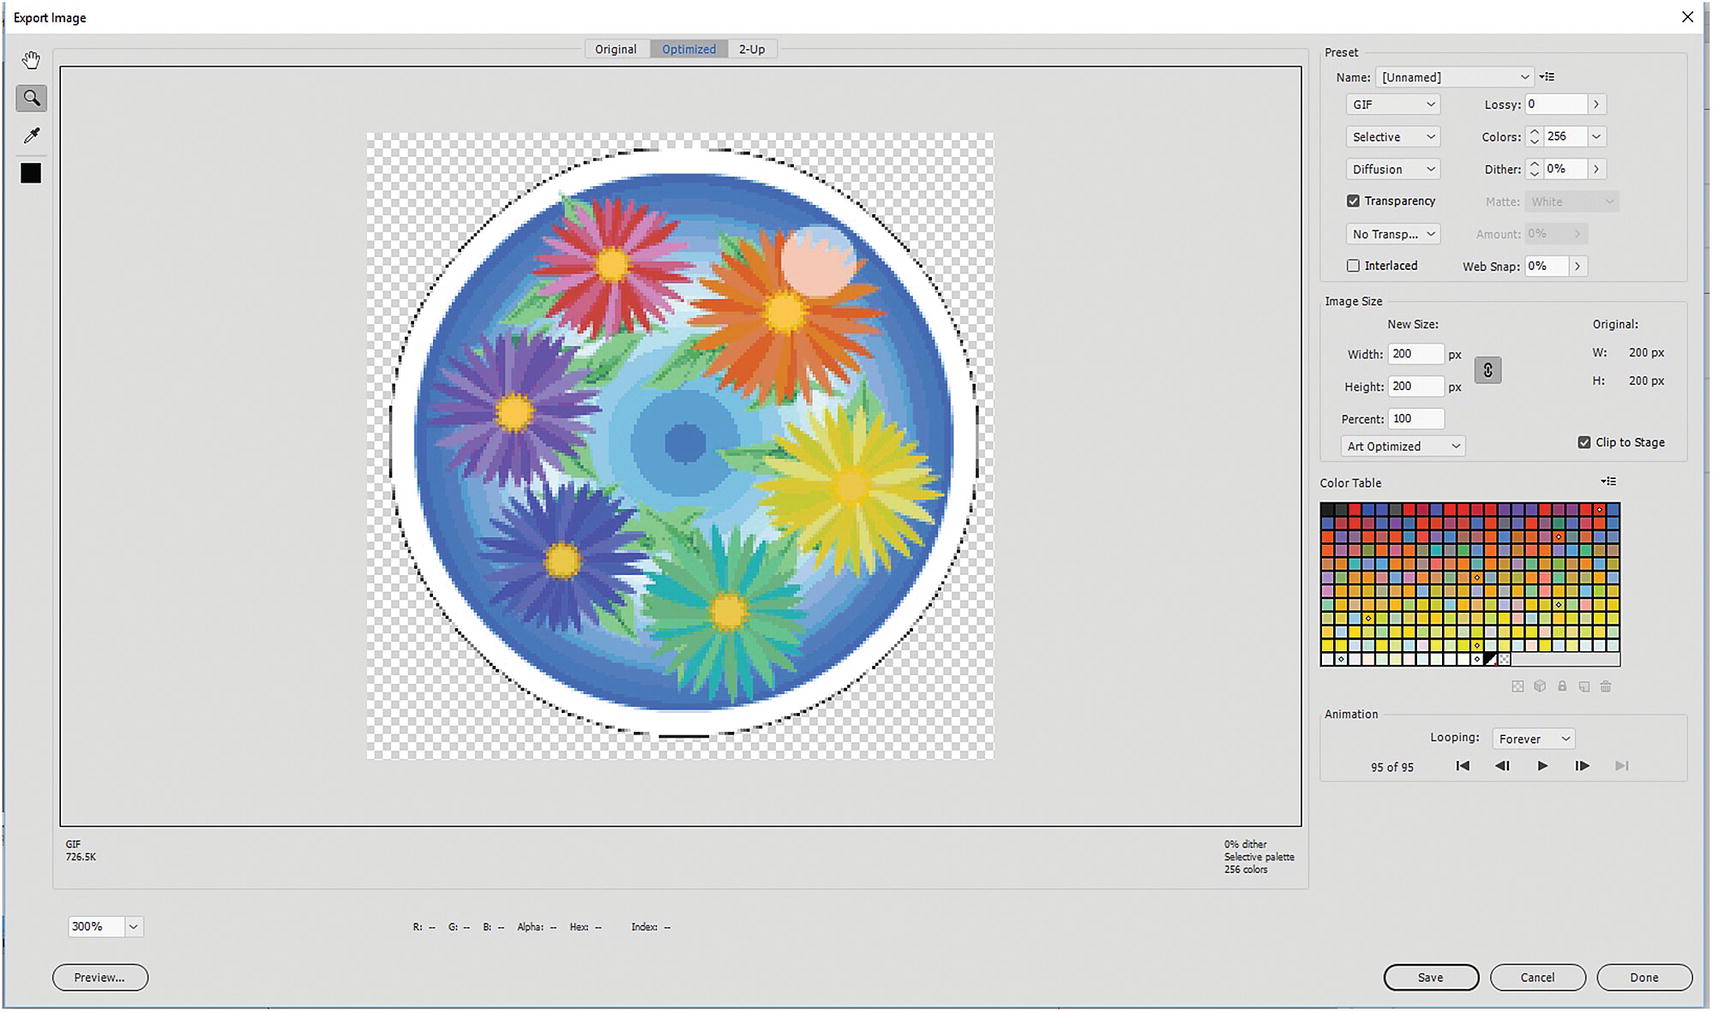
The animated GIF in the Export Image dialog box
The settings used for the GIF animation in the Export Image dialog box
GIF Lossy: 0
Selective
Colors: 256
Diffusion
Dither: 0%
Transparency: uncheck
Interlaced: uncheck
Web Snap: 0%
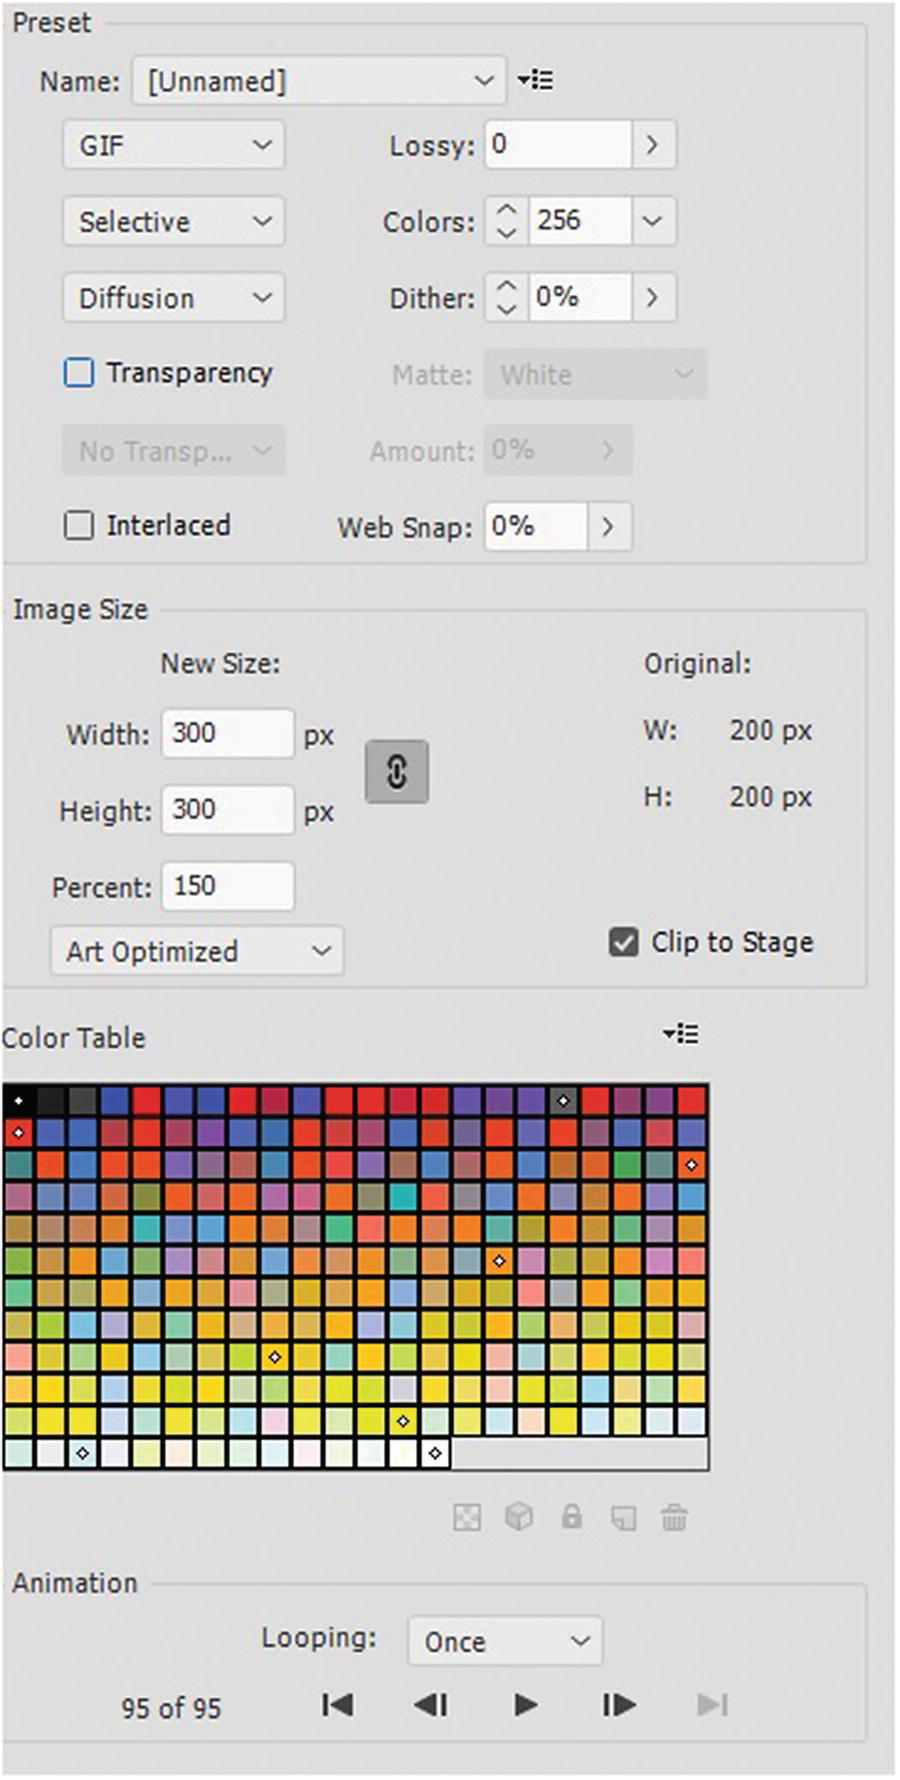
Image Size: I increased the size to 300×300 px, or 150%, but you can leave at 200×200 px if you prefer the original size.

The GIF animation preview

Click Save to save your GIF animation
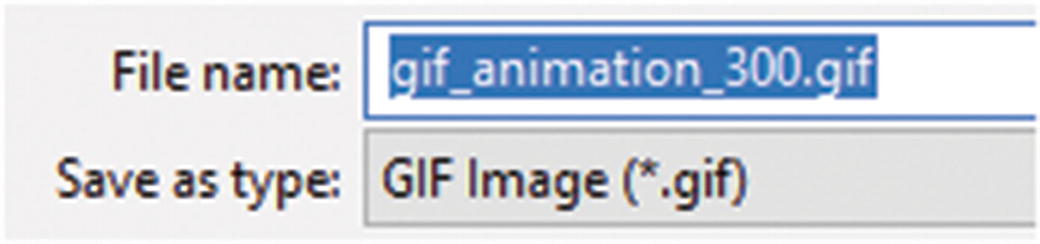
Save a your GIF animation in your folder
Save your new file in your Images folder or to the location of your choice, and then exit the Image Export dialog box. Close gif_animation.fla without saving any changes. You have now completed the first project. Next, you will create some video.
Create a Video (.mov) File
In Chapters 7 and 9, you looked at in Photoshop how to work with the Timeline panel to create and render your video for Hot Glass Tango. You may have noticed that several of the animated introduction clips and the closing credits were not created in Photoshop but imported as MP4 files into Photoshop later. That is because they were animated in Adobe Animate and then exported as video or MOV directly into Adobe Media Encoder, which you look at in Part 5. Animate uses this two-step process to preserve the original quality of the animation, should you want to use it for other non-web related projects in another program like Adobe Premiere Pro. However, for this book your goal is to create an MP4 file for the web or to use later in Photoshop to keep the file size small for rendering.
Open the Animated_movie_scenes folder, in which you will find eight ActionScript 3.0 FLA files. The reason that I used ActionScript 3.0 rather than HTML5 Canvas FLA is because I wanted to have all panel and tool options available to me so that I could create the video with no graphic restrictions. I already have the MOV created, should you want to compare what you do in this lesson to my settings. In Part 5, you look at the MP4 creation step.
scene1_man_zoom_out_r2.fla
scene1_man_movement.fla
scene2_3_flame.fla
scene4_5_swing.fla
scene6_end.fa
scene6_end_fade.fla
scene7_credit.fla
scene7_credit_fade.fla
The reason that I ordered the files in this manner was to keep a mental checklist of the order that I was planning for my storyboard for the video. The intro (scenes 1–6) and the end credits (scene 7) are like mini movies. They are only the last a few seconds, but they set and close the scenes for the entire Hot Glass Tango story.
Creating a Storyboard
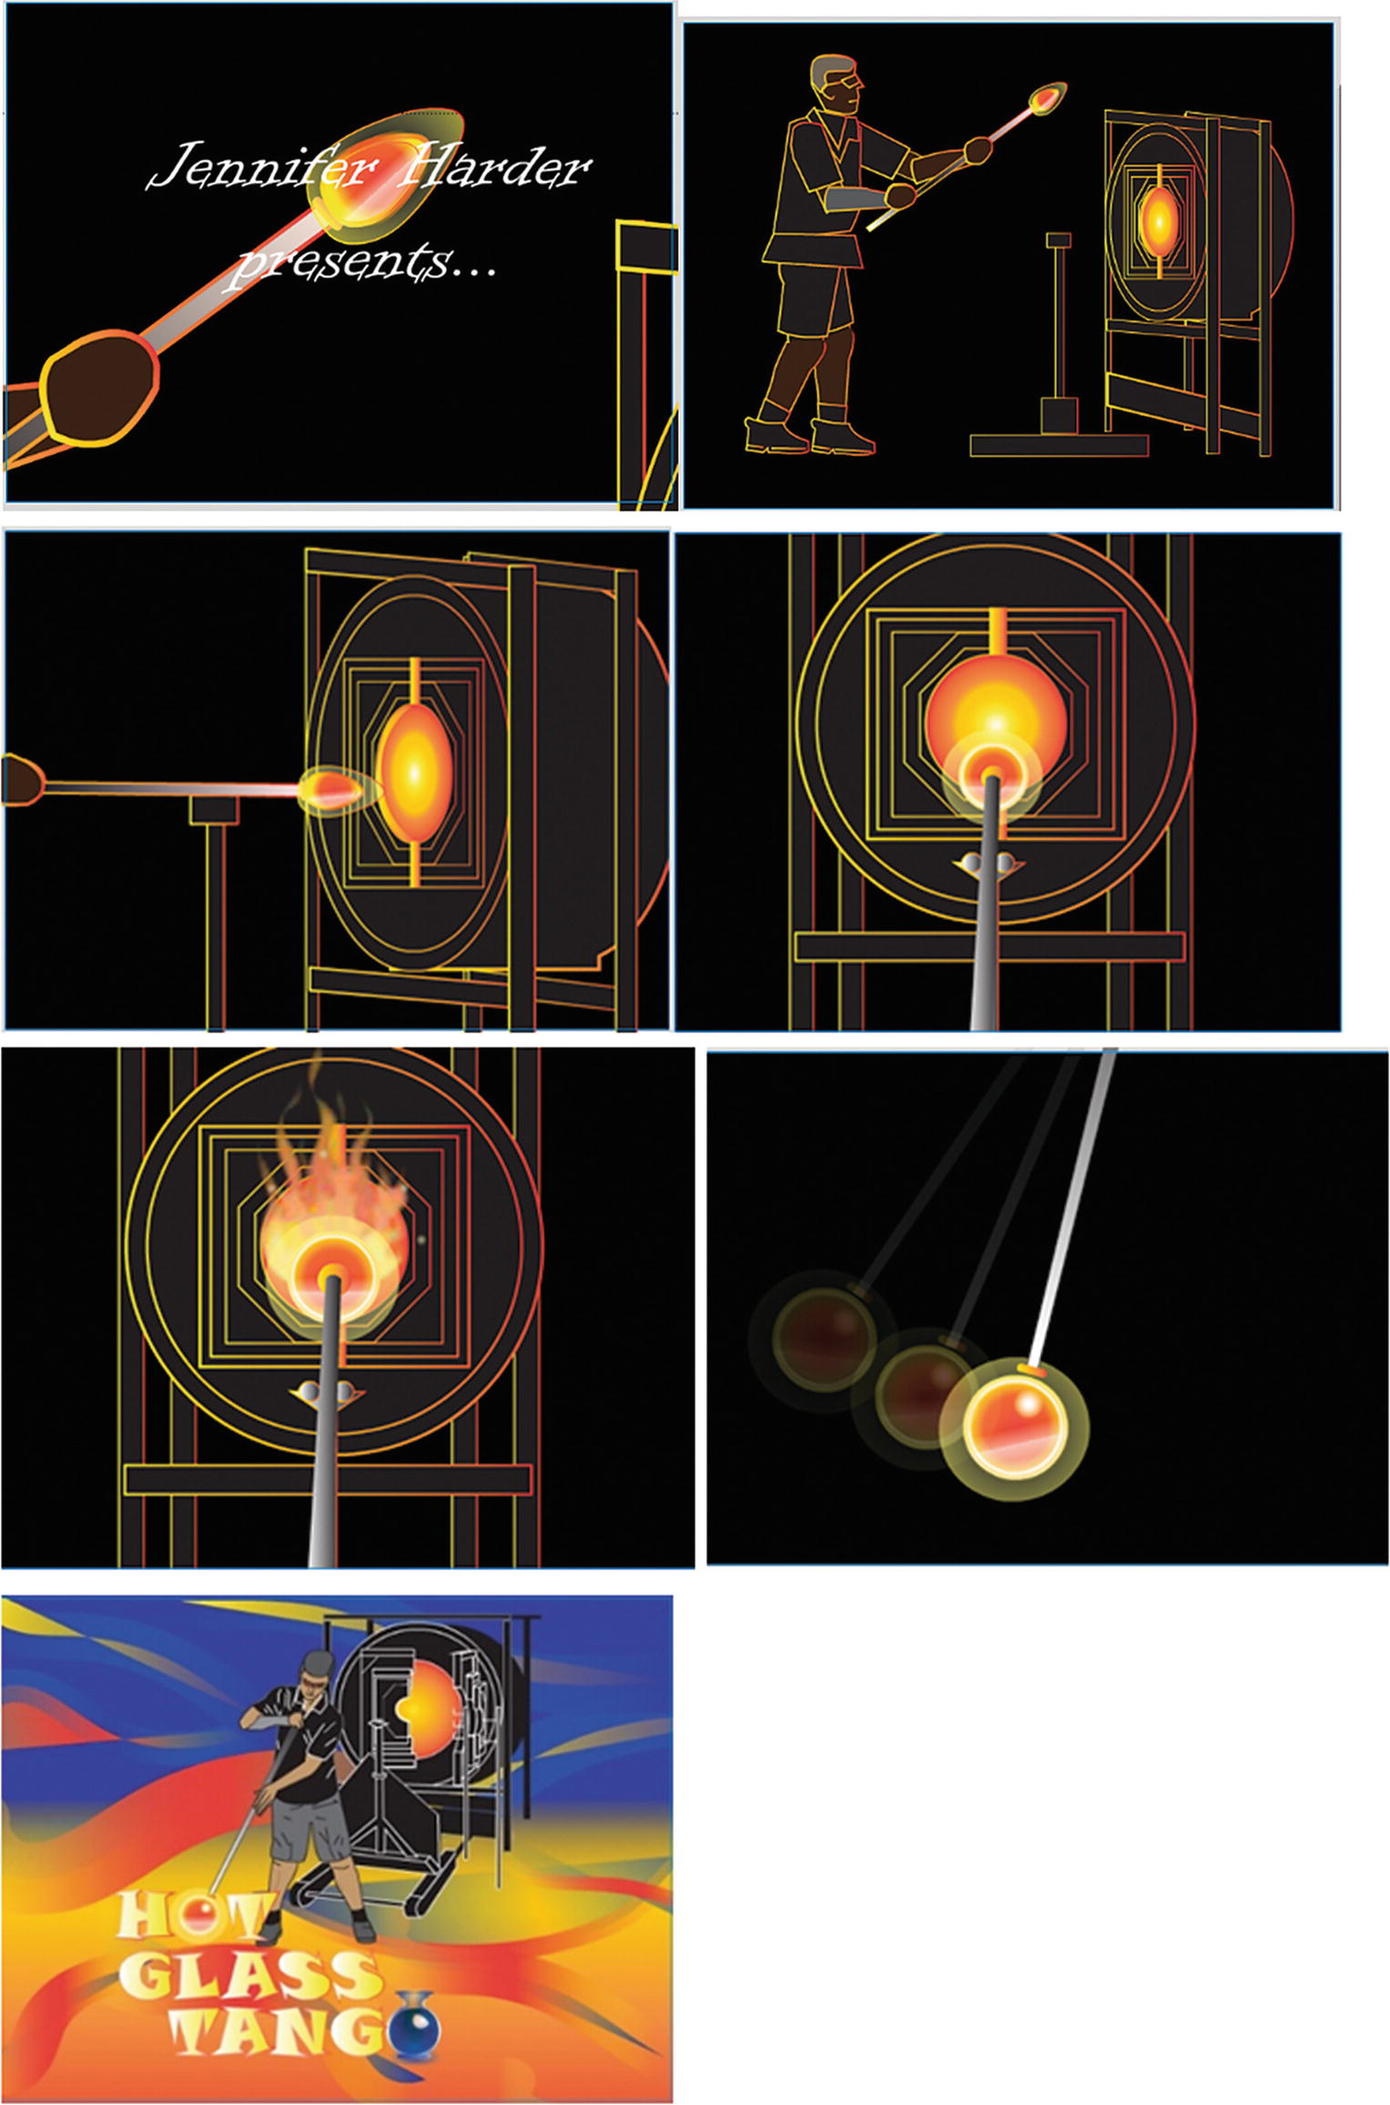
Important scene changes that are part of the storyboard for the introduction

Important scene changes that could be part of the storyboard for end credits
Pre-Plan Your Video Settings
Upon starting the animation, I made sure to match the frame rate (30 fps) and dimensions (e.g., 640×480) of the camera video footage that will be part of the full video in Photoshop.
Depending on the length of your project, animation takes time and a lot of pre-planning, sometimes even more that it takes to shoot video with a camera. If you are working with a team, make sure to take time to review the stills such as background and character colors with your group, because once your characters are animated, it takes time to undo or re-create long scenes that need to be reworked at the last moment before rendering your video.
Reviewing the Files

Example of how the timeline appears for one of scenes that contains camera angles a tweens and an armature for the main character
Note
I did not add any audio to these files because I planned to add that in Photoshop so that I could spread it over all the scenes, including the video footage with no major breaks. So, my files will render without sound. However, for your own projects, feel free to add audio sound effects and voices because they will be rendered as part of the video (.mov).
For this lesson, keep open the scene1_man_zoom_out_r2.fla file.
You can repeat the process that I show you with the other FLA files if you like afterward, since the steps are identical and you may want to practice this on your own a few times, if you don’t have a project to work with.
Note
In Chapter 9, when you rendered the Photoshop video in MP4 files can be quite large. In this case, the largest (.mov) of the eight is about 75 MB. Depending on your computer’s hard drive space, if you have longer animations that you plan to render, and you think the MOV will be over 500 MB, I recommend rendering them on an external drive (as you were instructed in Chapter 9) to avoid your program or computer crashing. However, my files are quite small so if you don’t want to put these files on an external drive, it should be OK because you are only rendering one file at a time, and not collectively.
Exporting the Video
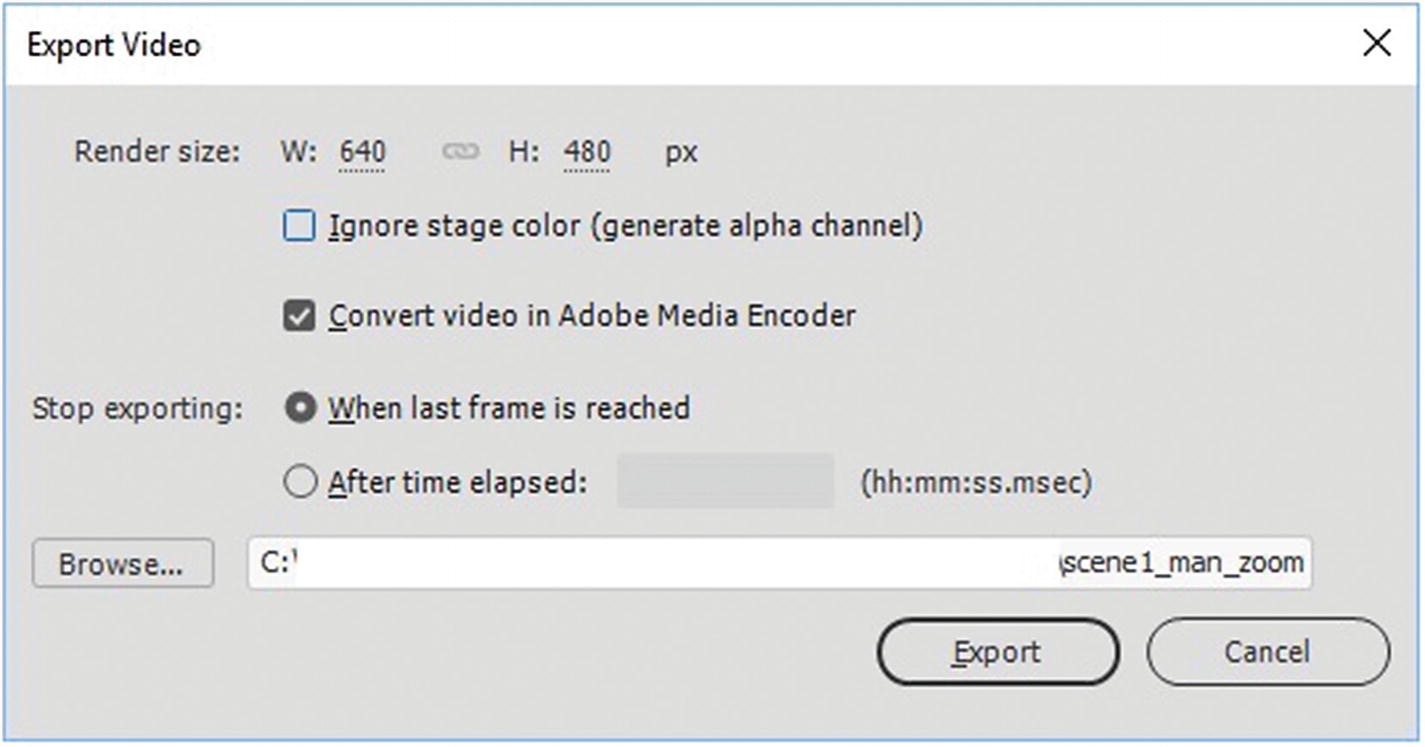
As in Chapter 22, make sure that Ignore Stage Color (generate alpha channel) is unchecked, and that Convert Video in Adobe Media Encoder is checked.
Choose Stop exporting ➤ When last frame is reached, and then browse for a location to save your file. In this case, create your own folder in a different location so that you do not override my files.
Or give the exported file a new name, such as scene1_man_zoom_out_final.mov.
Click the Export button.
Opening in Adobe Media Encoder

Media Encoder opens and adds your file to the Queue panel
Do not do anything in Media Encoder yet because you deal with this next step in Part 5. Go back to Animate and export another FLA file to video; each time you do, this file is added to the Media Encoder Queue panel. When you are done, close your FLA file and then close Media Encoder. Media Encoder stores or remembers the linked names of the files in the Queue panel until you are ready to do the final rendering to an MP4 (H.264) format.
You have completed the second project. Now let’s move to the final project, where you create an HTML5 Canvas animation for the website.
Create an HTML5 Canvas Animation
In Chapter 22, Option 6 you reviewed the basic steps to Exporting a Canvas Animation by first checking the File ➤ Publish Settings and the clicking the Publish button in the dialog box. Now let’s work with a file for the Hot Glass Tango website.
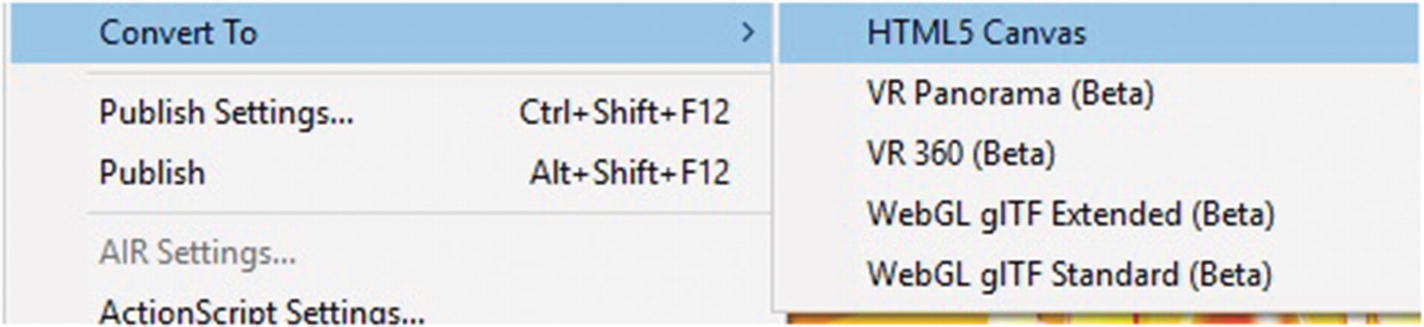
Convert your ActionScript 3.0 FLA to an HTML5 Canvas
I saved the file to scene6_end_canvasan_HTML5_Canas.fla, which is the file you should have open in Animate.
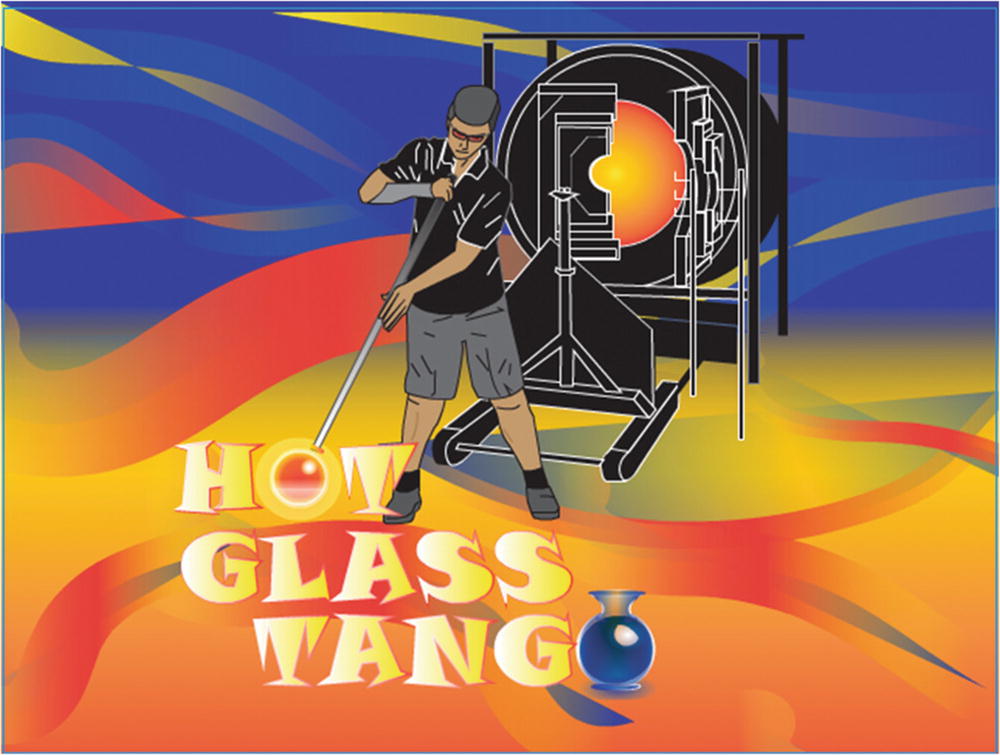
The Hot Glass Tango HTML5 Canvas animation
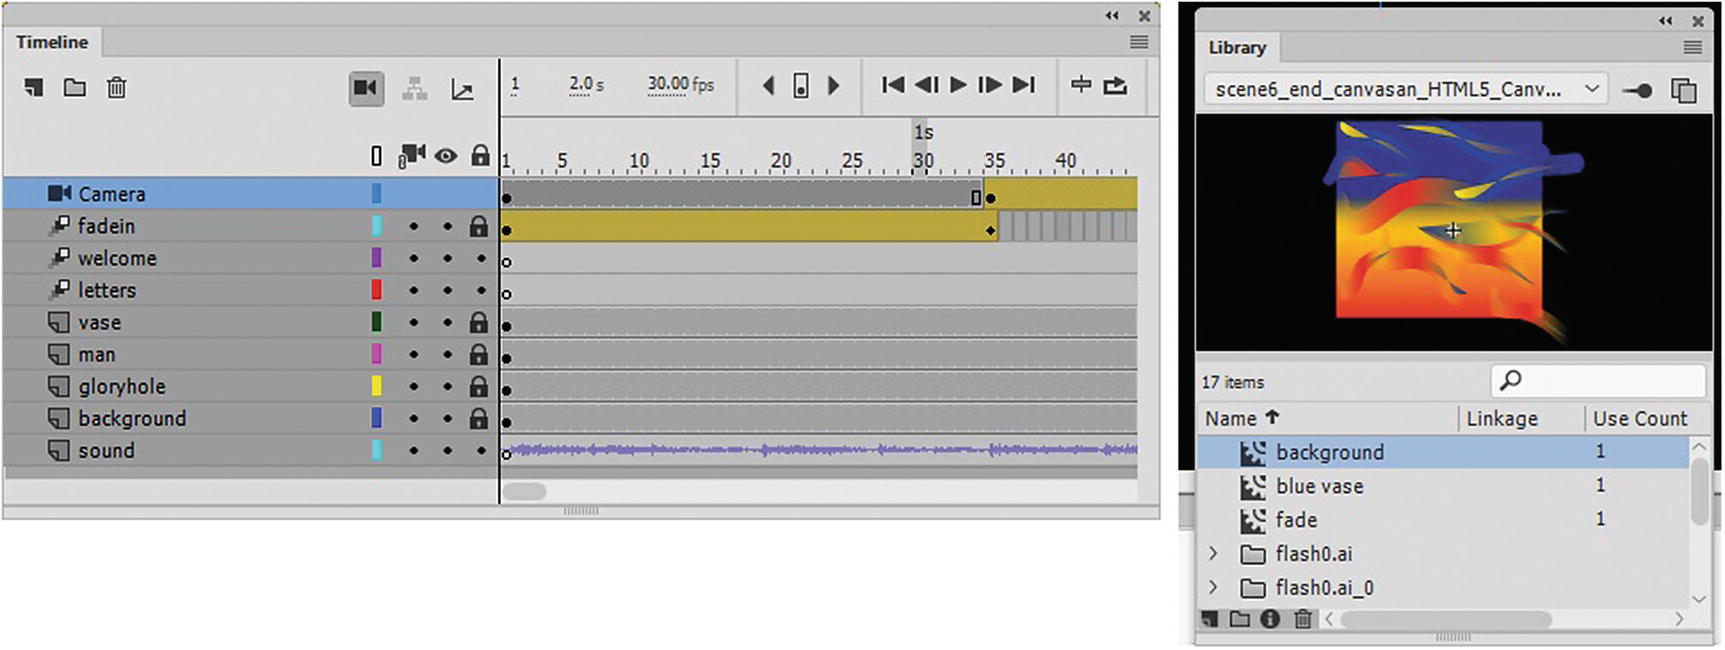
How the Animation appears in the Timeline and Library panels with sound
In Chapter 20, when you imported audio. You don’t have a lot of control of the duration or volume that the audio plays at in an HTML5 Canvas file. The sound keeps on playing even if the animation has reached its conclusion. Unlike with video, only when the sound file has reached its conclusion will it stop. In some cases, this might be OK for your intro page, if you want some quiet music playing while the user decides which page to navigate to next. In most cases, make sure that the sound does not run more than 30 seconds to a minute after the animation has stopped, or this could become tedious and annoy the viewer. They might leave the page and not continue to the rest of the website. So, run some tests to determine the sound duration, and then clip it in Adobe Audition CC or Media Encoder CC to the appropriate length.
Publish HTML5 Canvas and OAM File

Settings for the Basic tab in the Publish Settings dialog box
Center stage: Check the box and choose the Both setting (in some projects, you may want to leave this uncheck if the animation will not be at the center of the stage).
Make responsive: Check the box and the Both setting for your responsive site.
Scale to fill visible area: Keep the box unchecked.
Include preloader: Keep the box unchecked.
Make sure that the Image, Sound, and CreateJS export settings are checked and have the same folder, as seen in Figure 24-17. Alternatively, you can try “export document as texture”, but I found this made the gradients too raster so I left it unchecked.
You do not need to adjust any of the other tab settings for JavaScript/HTML in this project.

OAM Package settings in the Publish settings dialog box
Browse where the OAM file will output under. The Output name and location for the OAM and Canvas files should remain the same for now.

Click OK to save and exit without publishing, or Publish and create the HTML5 Canvas and OAM package
Drag your playhead in the Timeline panel to the final frame if you want it to be the poster image in the OAM package
If some settings in the basic tab change, make sure to reset it, as seen in Figure 24-17, and then click Publish to publish the HTML5 Canvas and its related OAM package, which you will insert later on the index.html web page for the Hot Glass Tango website.
If you compare this HTML5 Canvas scene to the video version, you will notice very little reduction in gradient quality.
In the folder that you output the files into, there is an OAM file, a sounds folder containing the sound, and external JS and HTML files.
You can now close the scene6_end_canvasan_HTML5_Canas.fla file without saving changes (File ➤ Exit Animate). You have now completed the third project and are ready to move to Part 5 to work with Media Encoder .
Summary
In this chapter, you reviewed how to create animations for webpages and video clips for the Hot Glass Tango website. This chapter concludes your study of Animate CC. Make sure to review any areas of Part 4 that you don’t understand so that you feel comfortable working with your own graphics in Animate.
In Part 5, you journey to the next junction point in the software maze: Adobe Media Encoder CC. You’ll discover how it can be used to create and export audio and video files.