
In this chapter, you look at a few other options that you may not have considered while working in Dreamweaver to apply images to your site.
Note
This chapter does not have any actual projects; however, you can use the files in the Part 6 folder to practice opening and viewing for this lesson. They are at https://github.com/Apress/graphics-multimedia-web-adobe-creative-cloud .
Target Attributes
Target attributes in HTML allow you to specify where to open a linked document, like a PDF, but with CSS selectors, they are a useful way you can display linked files that do not have an image preview or thumbnail, such as PDF files.
So far in in Part 6, you have not dealt with how to work with file types such as PDFs that don’t show up as a graphic unless you click the link. CSS has a snippet that uses target attributes to get around this issue, so that you can at least see a thumbnail of the type of file type you are looking at if you have a lengthy list.

Modifying some snippet code for targets

Add an icon beside files that need a small thumbnail preview
Note that these are just temporary links for testing; there are no actual PDF files currently linked in my site. You can replace the links with your own file to test further. When adding a document like a PDF, always remember to add a "_blank" value to open the linked document in a new window or tab. This is a best practice when you open a PDF or are directing your user to a resource link that is not a page on your site.
Graphs and Charts
Other JavaScript libraries included with jQuery also allow you to create live pie charts and graphs that you can further edit in Dreamweaver using the <canvas> element. Just bear in mind that these might be in the form of third-party plug-ins (not created by Dreamweaver), so read the documentation carefully to understand how to set it up (see https://canvasjs.com/jquery-charts/ ).
Google Charts is free. You can learn how to edit and use it on W3Schools ( www.w3schools.com/howto/howto_google_charts.asp ) and then apply it to your page in Dreamweaver in Code view. Examples are at https://developers.google.com/chart/ .
Web Fonts
Like Photoshop, Illustrator, and Animate, Dreamweaver allows you to add web fonts. If possible, work with web fonts so that your site appears consistent for as many users as possible. Rather than embedding fonts, Google Fonts and Adobe Edge Web Fonts (formerly Typekit) are two examples.
Using two or three fonts for your site is usually enough. These fonts allow you to add creative headers to your webpages, even if your viewers’ computers do not have those fonts installed. In the past, if you wanted a fancy script heading, you had to either make sure that you had a generic backup font family referenced in the CSS file in case your viewer did not have your font (New Times Roman or Helvetica), or you had to put a graphic in place of the font. However, this led to formatting issues, and it was difficult to update the graphic. When web fonts came along, it solved the issue.
There are many Google web fonts, and they are free and easy to use.
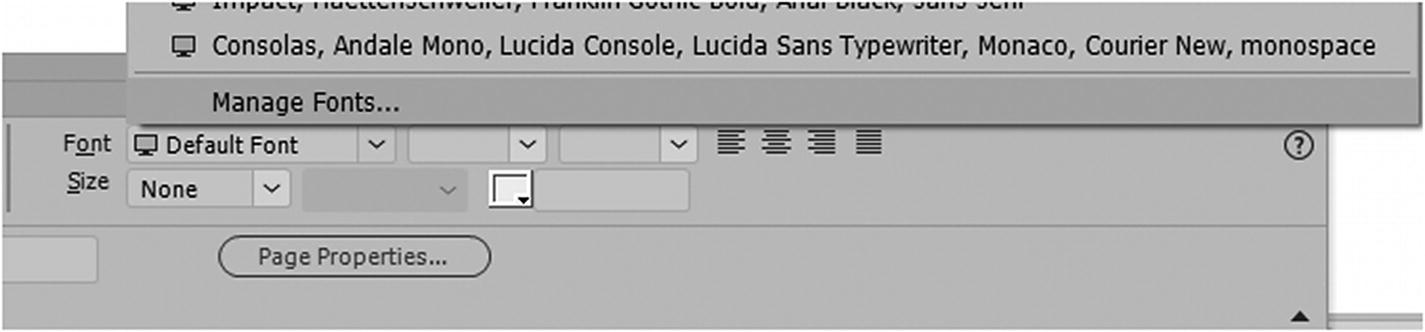
Use the Properties panel to access and manage web fonts
Or via the Tools ➤ Manage Fonts from the main menu.

You can search through many available Adobe Edge Web Fonts
Advantages and Disadvantages of Free and Paid Web Fonts
Free Fonts | Paid Fonts |
|---|---|
They are free to use | They can be expensive |
If overused by others, they can dilute your brand’s image | Can make you stand out from your competition |
Often only found in one weight and may be difficult to italicize or bold accurately | Come in more font weights, but you may need to pay more for extra ones |
May or may not be a high quality font | If they are a higher quality, there may be support for multi-language symbols, and the typography creators will get paid |

You can add fonts that are on your computer to your site if you have them properly licensed
Embedded OpenType Fonts (EOT) : Designed by Microsoft and for use as embedded fonts on all webpages. You may see it as OpenType Fonts (OTF), which is used by Mac and Window computers.
The Web Open Font Format (WOFF or WOFF 2.0) : This font was added as a recommendation by W3C. It is OpenType or TrueType with extra metadata and added compression to support a variety of bandwidths. WOFF 2.0 is the next version and provides better compression, which is useful when working with mobile devices.
TrueType Fonts (TTF) : These are for both Mac and Windows computers. They are the most common format found on both operating systems. This format allows basic digital rights management and is supported by all major browsers. A lesser known format is the TrueType Collection(TTC), which allows many fonts in a single file to save space or fonts where many glyphs are common.
SVG Fonts/Shapes : SVG is used to display various glyph shapes. Being in an uncompressed format, the size can be large, and there is no provision for font-hinting (lines up with a rasterized grid so that it can be legible at low-res sizes).
To learn which browsers support which fonts, go to www.w3schools.com/css/css3_fonts.asp .

Web fonts are added to the fonts folder
Note
Keep the font name in the URL in lowercase to avoid conflicts in the browser.
In addition, you can add a @font-face when you want to apply bold or italic styles.
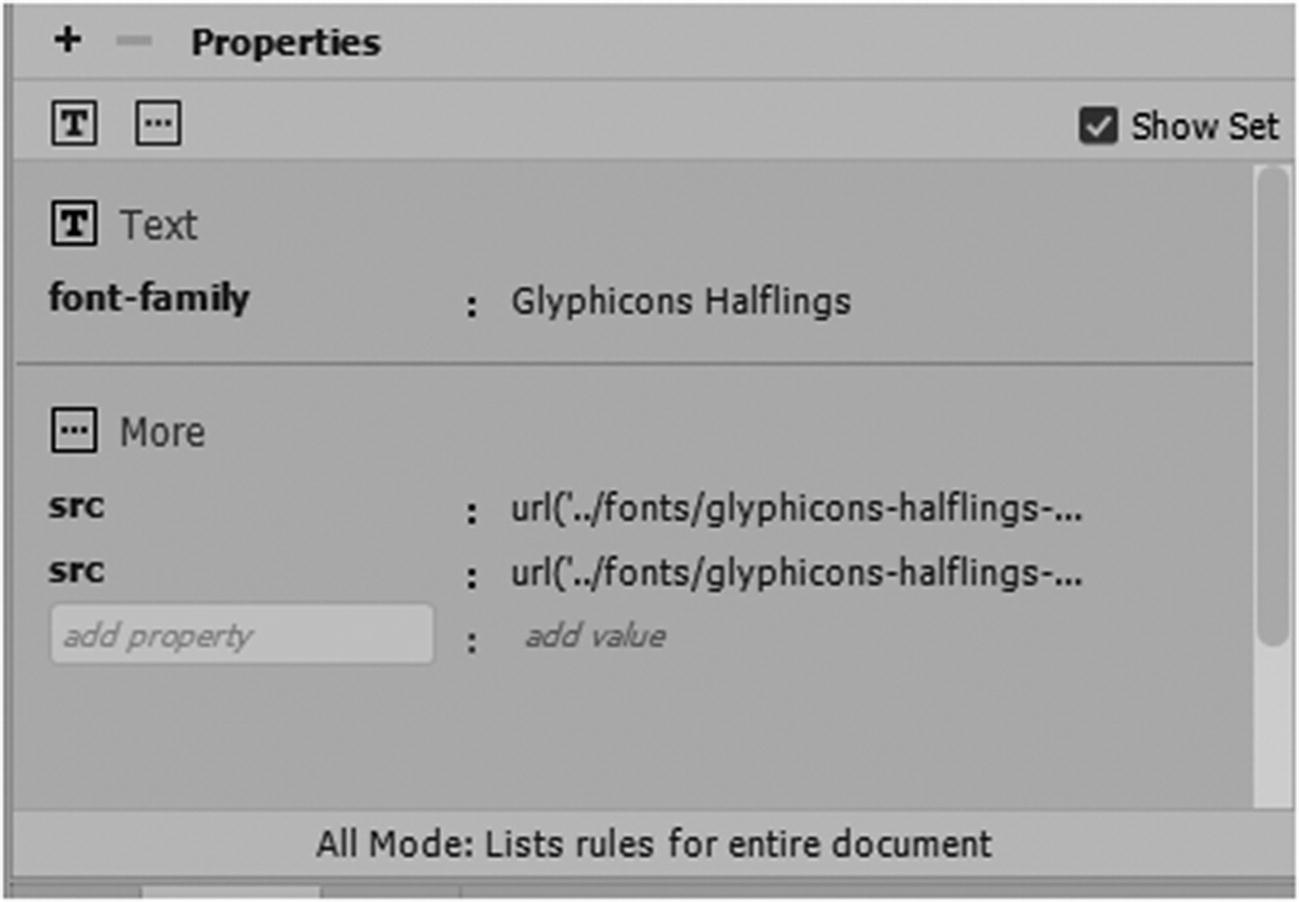
The CSS Designer panel with the fonts src listed
Note
To view web fonts in Dreamweaver correctly, you need to set the viewing to Live view. Also, some newer versions of Bootstrap CSS rely on system fonts, so if you are using the web fonts I supplied for practice, make sure to add the @font-face to your own external CSS file and follow the earlier code examples.

Manage Fonts in the Custom Font Stacks tab
When complete, click Done to exit this area. You can use these new families with your CSS.
CC Libraries Panel
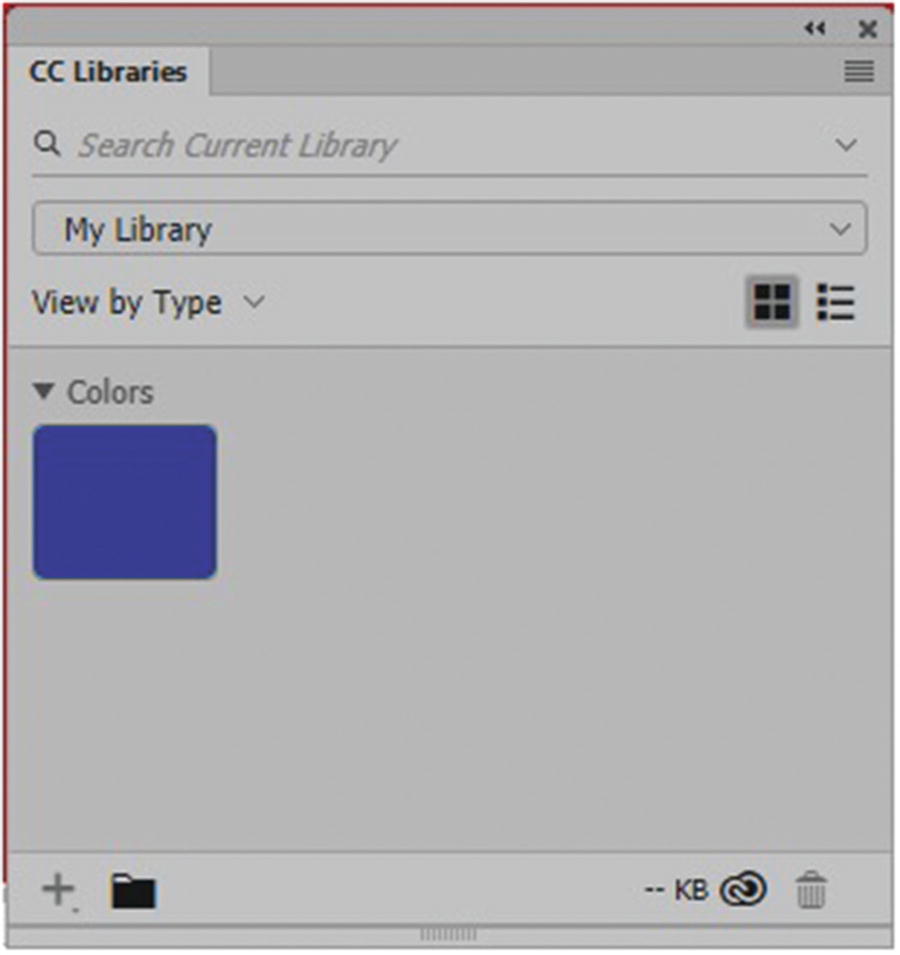
CC Libraries panel
It is a panel that was introduced with the Creative Cloud with Dreamweaver. You can store in the CC Libraries your most commonly used assets, like images, colors, and text styles that you use in projects. To increase your workflow, you can go back to a program like Photoshop, and the colors and graphics are stored there so that you can refer to them during your project upon returning to Dreamweaver.
By working through the cloud, you can insert linked assets to keep your pages updated. Note that Library CC is the same as the Library panel found in Photoshop, Illustrator, and Animate (CC Libraries). The reason for the slight name change is because Dreamweaver already has a Library Item folder that stores your library items. This can be a bit confusing when working between programs; however, use this panel if you want to move objects to the creative cloud and share between other adobe programs.
Dreamweaver ➤ Extract PSD
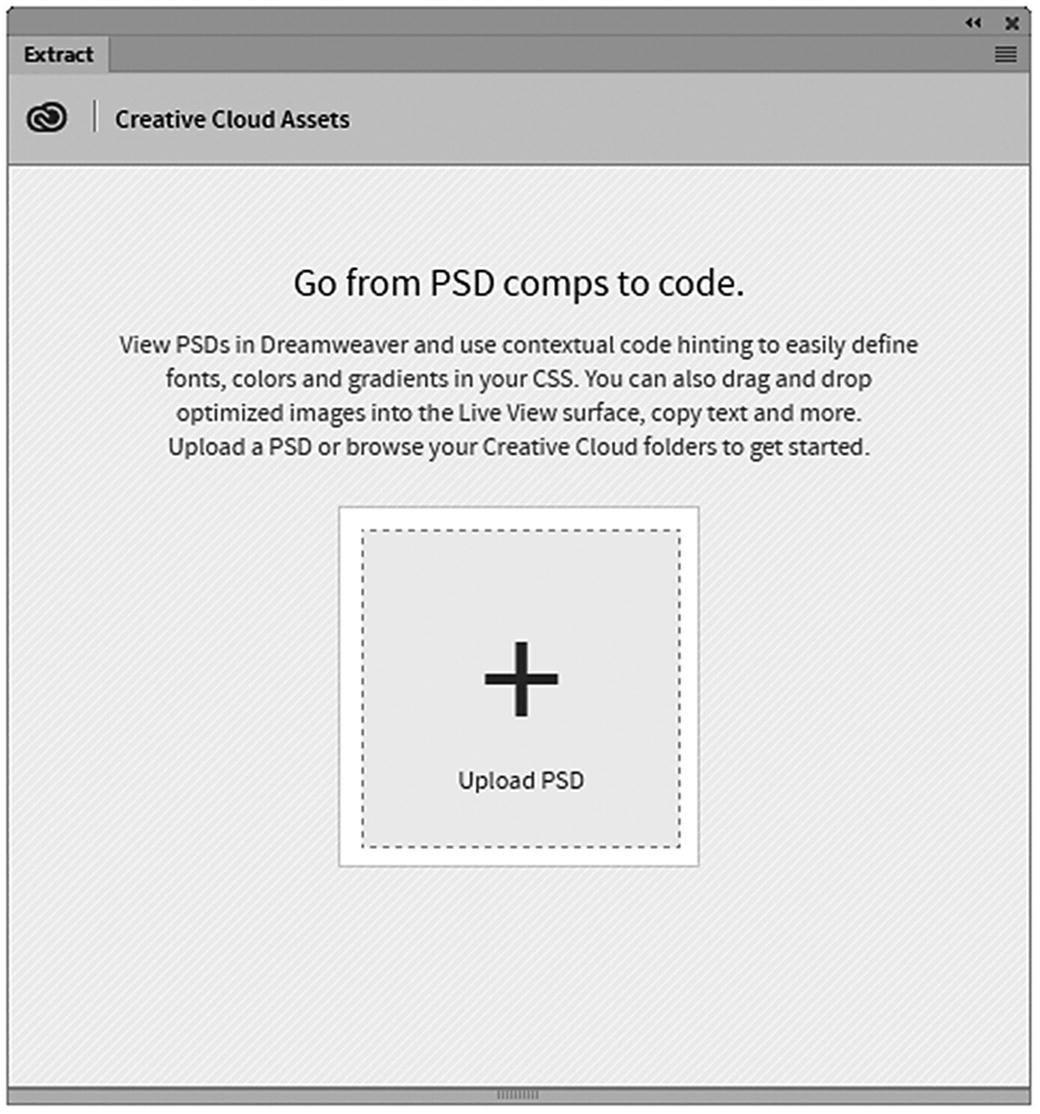
Extract panel
For more information, visit https://helpx.adobe.com/ca/dreamweaver/using/dreamweaver-integration-extract.html .
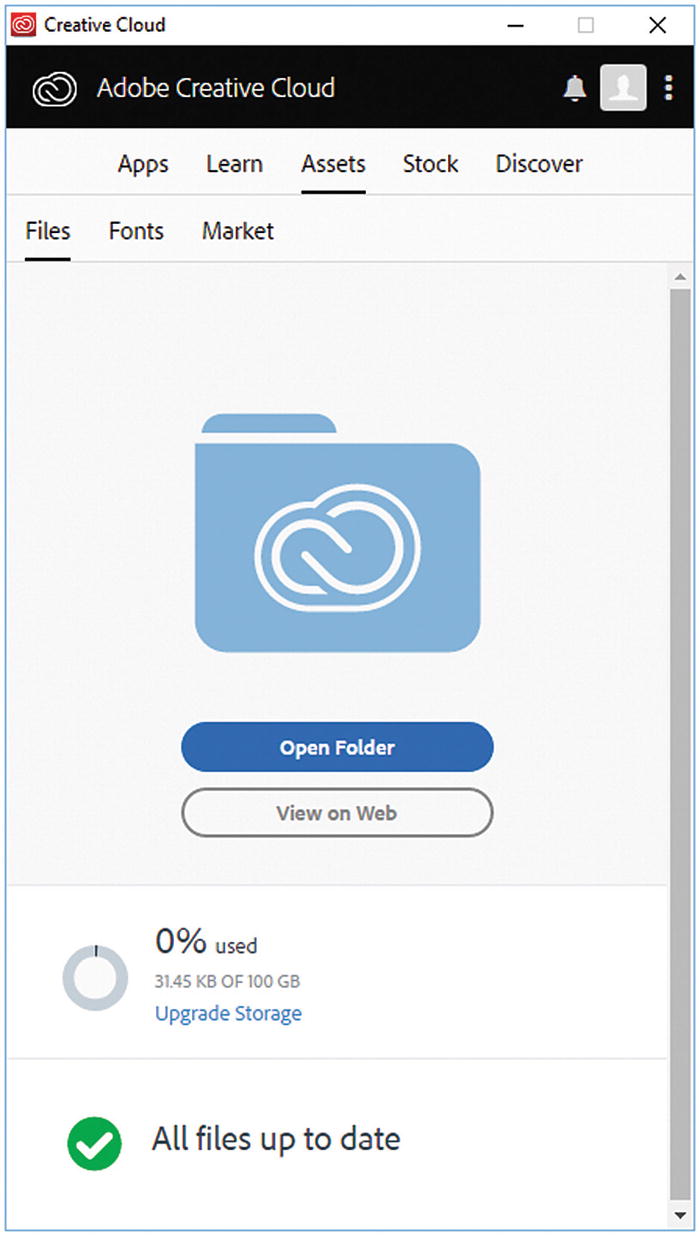
The Adobe Creative Cloud panel allows you to access uploaded images that you may want to delete later

Preferences setting for extracting images
Summary
In this chapter, you looked at a few code resources and panels—such Web Fonts, CC Libraries, and Extract—that can be used to work with images in Dreamweaver.
In the next chapter, you adjust and validate the settings in your files before uploading your site.