
Let's get MySQL installed and configured with the basic databases and access rights.
- On an Ubuntu host, install MySQL using
apt-get:$ apt-get update $ apt-get install mysql-server
- Follow the prompts, and when asked, choose a suitable root password.
- Once installed, connect to the MySQL server:
$ mysql -h localhost -u root -p - Enter the root password when prompted:
Welcome to the MySQL monitor.  Commands end with ; or g.
Your MySQL connection id is 40
…
Mysql>
- Create a new database to use for the examples in this chapter:
Mysql> create database hadooptest;You will receive the following response:
Query OK, 1 row affected (0.00 sec) - Create a user account with full access to the database:
Mysql> grant all on hadooptest.* to 'hadoopuser'@'%' identified by 'password';You will receive the following response:
Query OK, 0 rows affected (0.01 sec) - Reload the user privileges to have the user changes take effect:
Mysql> flush privileges;You will receive the following response:
Query OK, 0 rows affected (0.01 sec) - Log out as root:
mysql> quit;You will receive the following response:
Bye - Log in as the newly created user, entering the password when prompted:
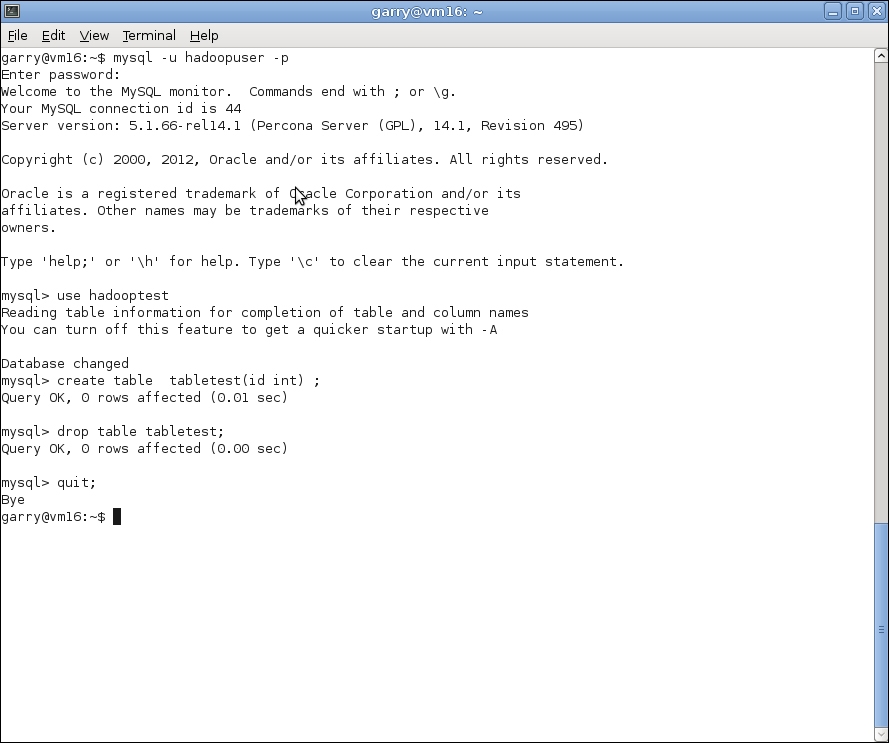
$ mysql -u hadoopuser -p - Change to the newly created database:
mysql> use hadooptest; - Create a test table, drop it to confirm the user has the privileges in this database, and then log out:
mysql> create table tabletest(id int);
mysql> drop table tabletest;
mysql> quit;
Due to
the wonders of package managers such as apt, installing complex software such as MySQL is really very easy. We just use the standard process to install a package; under Ubuntu (and most other distributions in fact), requesting the main server package for MySQL will bring along all needed dependencies as well as the client packages.
During the install, you will be prompted for the root password on the database. Even if this is a test database instance that no one will use and that will have no valuable data, please give the root user a strong password. Having weak root passwords is a bad habit, and we do not want to encourage it.
After MySQL is installed, we connect to the database using the
mysql command-line utility. This takes a range of options, but the ones we will use are as follows:
MySQL
has the concept of multiple databases, each of which is a collective grouping of tables. Every table needs be associated with a database. MySQL has several built-in databases, but we use the CREATE DATABASE statement to create a new one called hadooptest for our later work.
MySQL refuses connections/requests to perform actions unless the requesting user has explicitly been given the needed privileges to perform the action. We do not want to do everything as the root user (a bad practice and quite dangerous since the root can modify/delete everything), so we create a new user called hadoopuser by using the GRANT statement.
The GRANT statement we used actually does three distinct things:
- Creates the
hadoopuseraccount - Sets the
hadoopuserpassword; we set it topassword, which obviously you should never do; pick something easy to memorize - Gives
hadoopuserall privileges on thehadooptestdatabase and all its tables
We issue the FLUSH PRIVILEGES command to have these changes take effect and then we log out as root and connect as the new user to check whether all is working.
The USE statement here is a little superfluous. In future, we can instead add the database name to the mysql command-line tool to automatically change to that database.
Connecting as the new user is a good sign, but to gain full confidence, we create a new table in the hadooptest database and then drop it. Success here shows that hadoopuser does indeed have the
requested privileges to modify the database.
We are perhaps being a little cautious here by checking every step of the process along the way. However, I have found in the past that subtle typos, in the GRANT statement in particular, can result in really hard-to-diagnose problems later on. And to continue our paranoia, let's make one change to the default MySQL configuration that we won't need quite yet, but which if we don't do, we'll be sorry later.
For any production database, you would of course not have security-sensitive statements, such as GRANT, present that were typed in from a book. Refer to the documentation of your database to understand user accounts and privileges.