
Create a simple project in Android Studio
Create an emulator (an AVD or Android Virtual Device)
Run a test project in the emulator
You can build many things in Android Studio, a business app, an ebook, a casual game (even triple AAA titles, why not?), and so on, but before you can do all that, you need to know the basics of creating, building, and testing an app in Android Studio. This chapter is all about that.
Create a Project
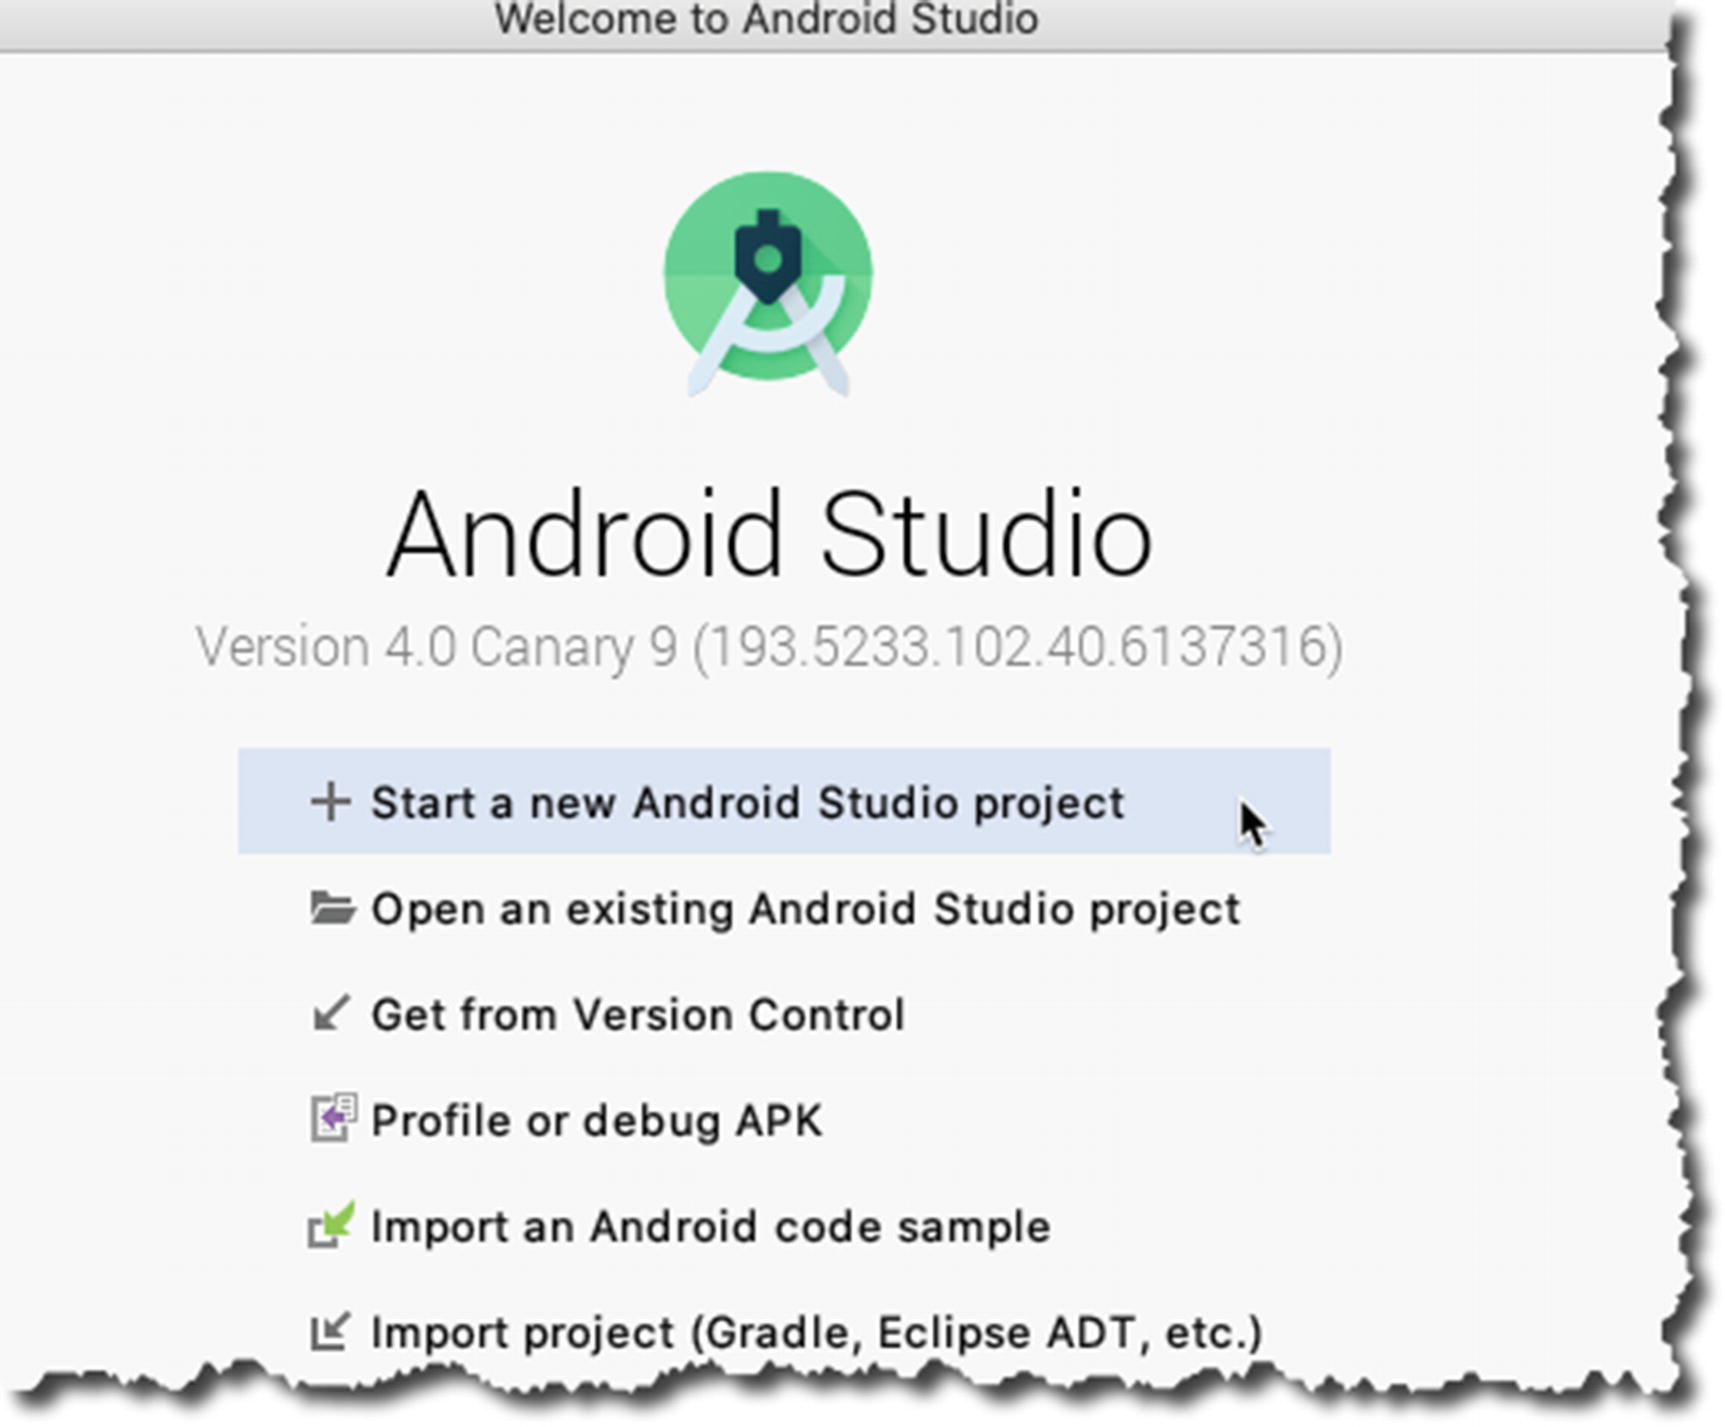
Opening screen

Create a new project; choose an Activity type
❶ | Name. This is also known as the project name; this also becomes the name of the top-level folder, which will contain all of the project’s files. This name also becomes part of the application’s identity, should you release it in the Play Store. |
❷ | Package name. This is your organization or company’s domain name in reverse DNS notation. If you don’t have a company name, you can use anything that resembles a web domain. At the moment, it won’t matter if we use a real company name or not, since we won’t release this to the Play Store. |
❸ | Save location. This is a location in your local directory where the project files will be kept. |
❹ | Language. You can use either Kotlin or Java; for this project, we will use Java. |
❺ | Minimum API level. The min API level will determine the lowest version of Android, which your application can run on. You need to choose wisely and prudently because it can severely limit the potential audience for your app. |
❻ | Help me choose. This shows the percentage of Android devices that your app can run on. If you click the “Help me choose” link, it will open a window that shows the distribution of Android devices, per Android version. |
❼ | Legacy Android support libraries. These are support libraries. They’re included so that you can use modern Android libraries (like the ones included in Android 9) but still allow your app to be run on devices with lower Android versions. |
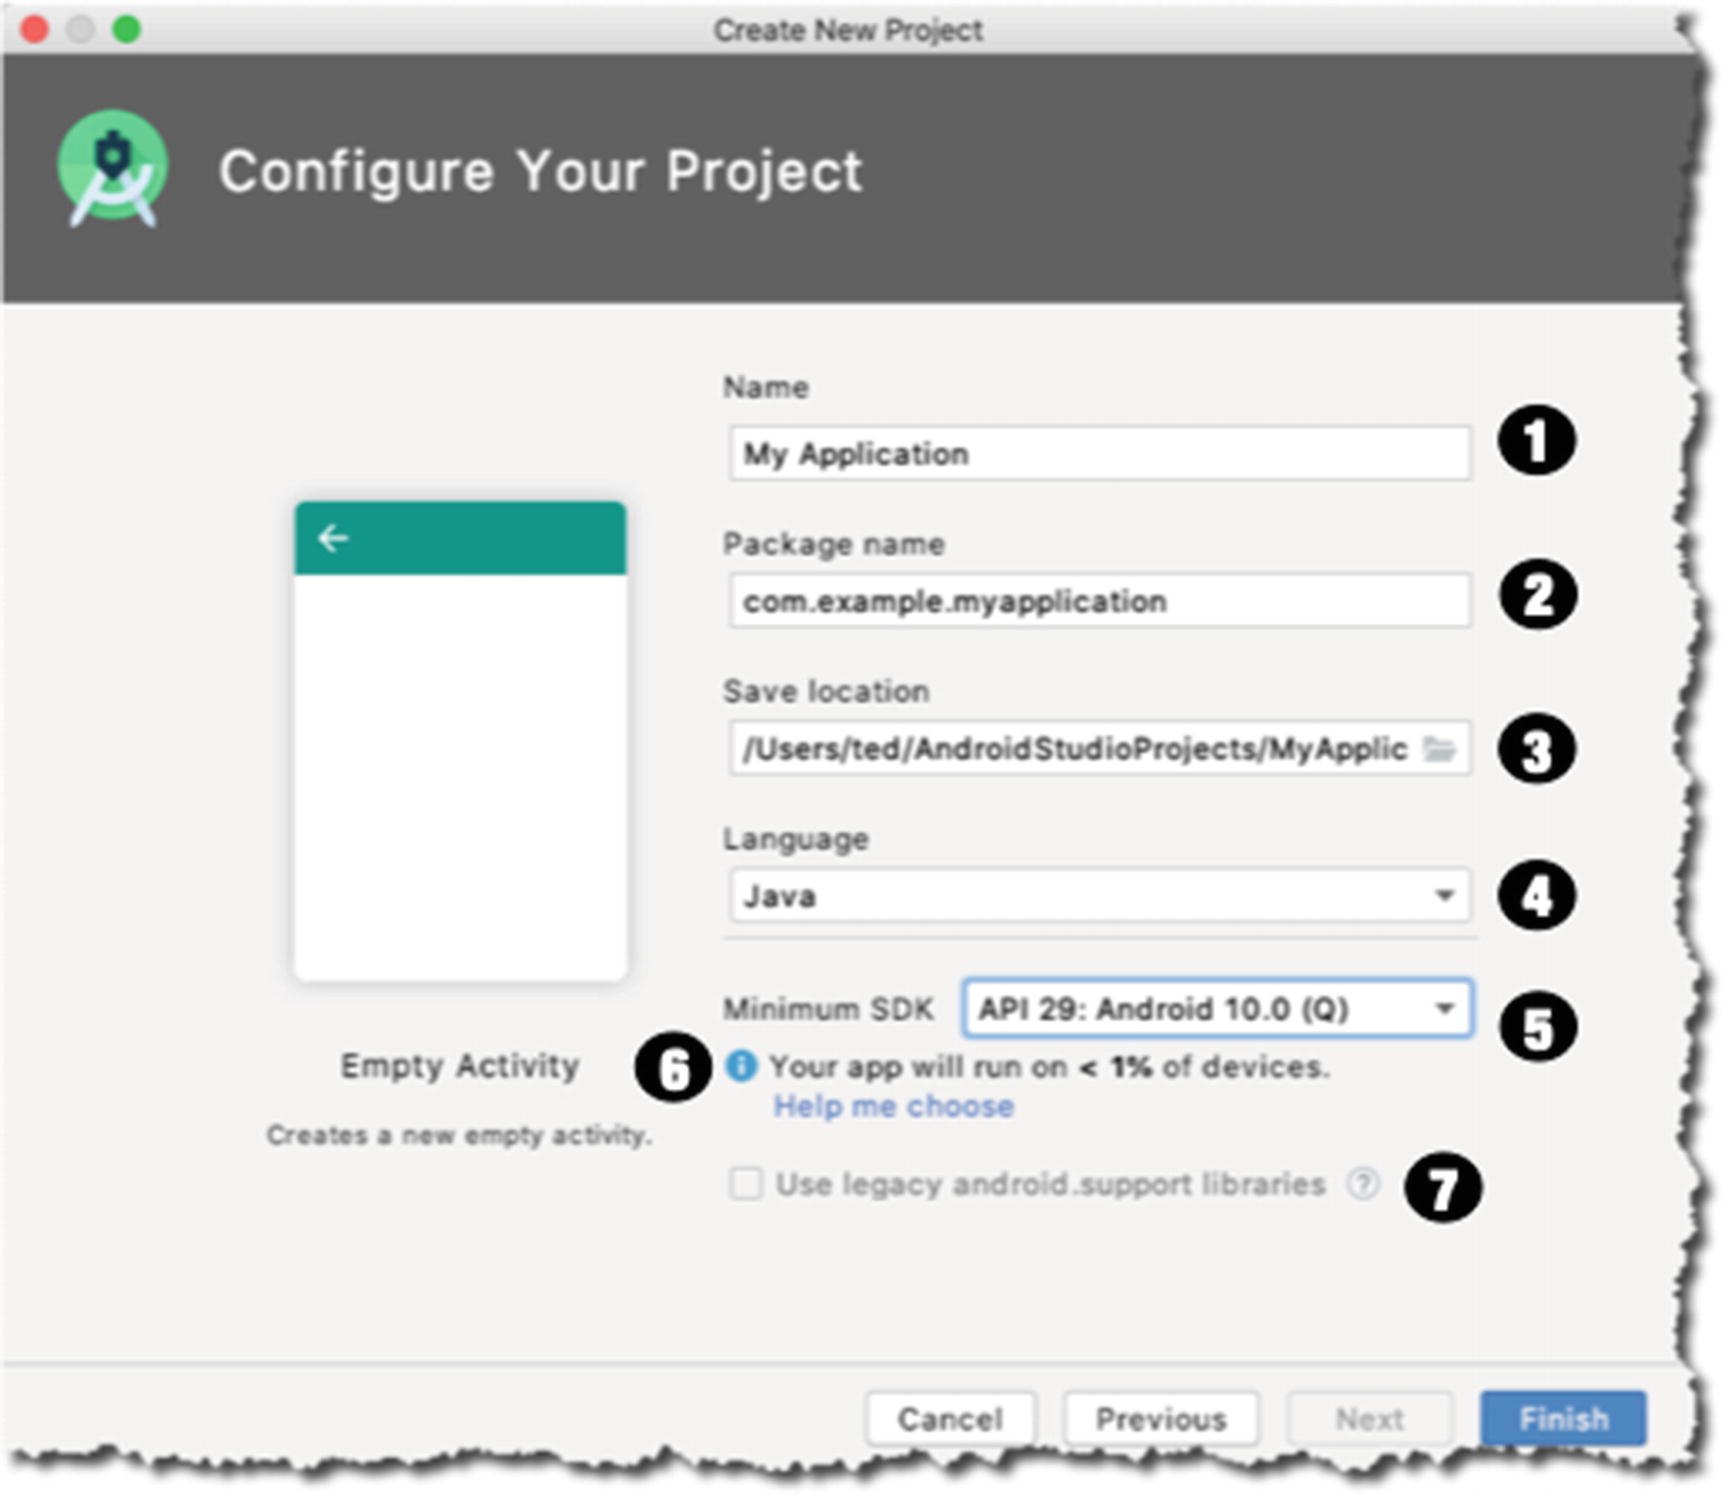
Configure your project
When you’re all done, click “Finish” to begin the project creation. Android Studio scaffolds the project and creates startup files like the main Activity file, Android manifest, and other files to get the project propped up. The build tool (Gradle) will pull quite a few files from online repos; it can take some time.
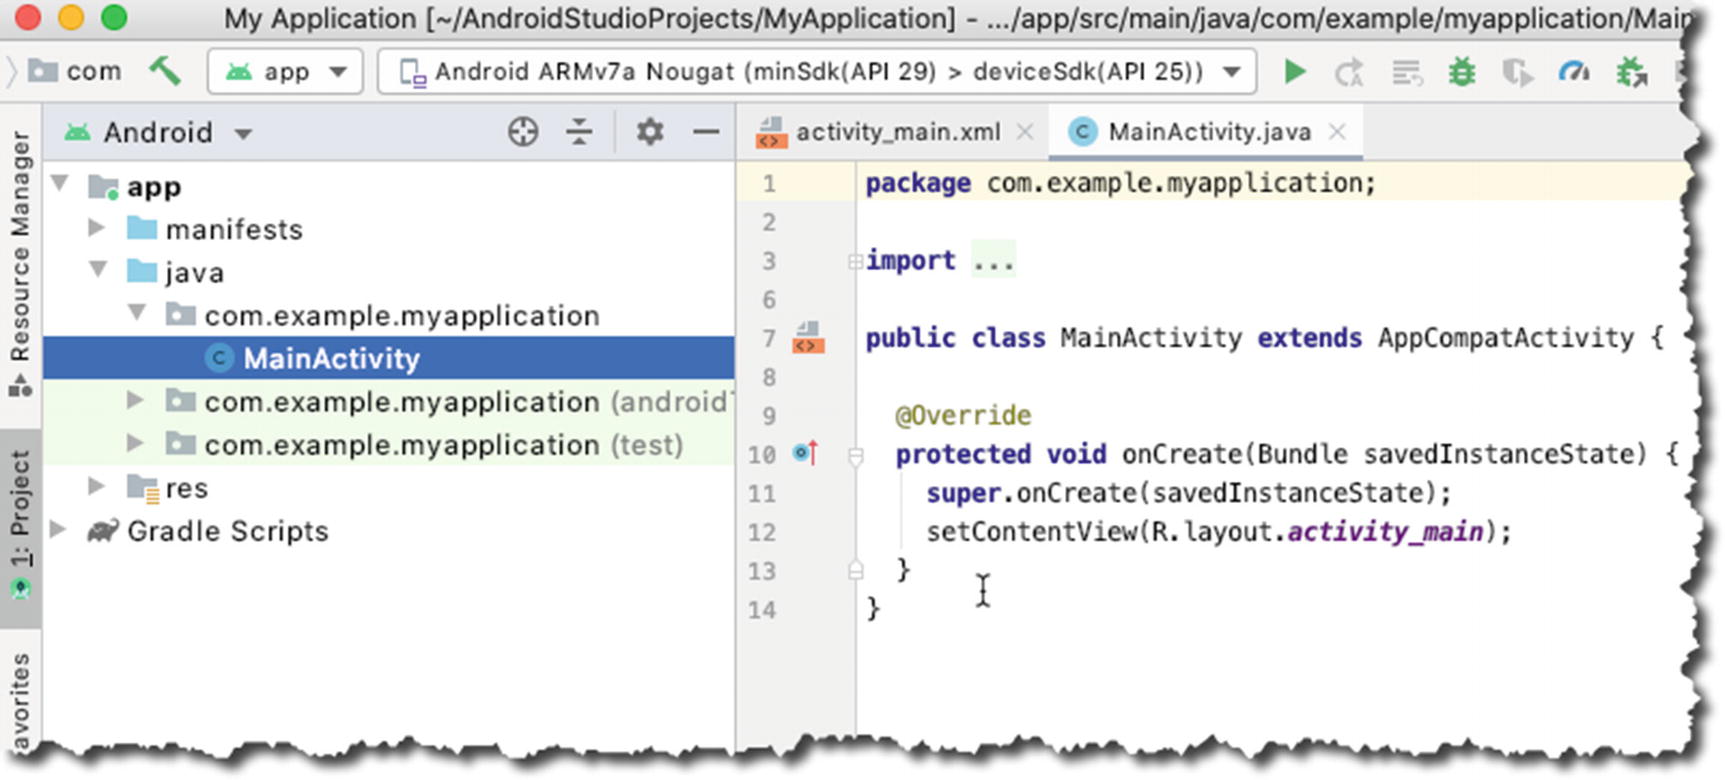
Main editor window
Android Studio’s screen is composed of several sections that can collapse and expand, depending on your needs. The section on the left (Figure 3-4) is the Project panel. It’s a tree-like structure that shows all the (relevant) files in the project. If you want to edit a particular file, simply select it in the Project panel and double-click; at that point, it will be opened for editing in the main editor window. In Figure 3-4, you can see the MainActivity.java file available for editing. Over time, we will spend a lot of hours doodling in the main editor window, but for now, we simply want to go through the basic process of application development. We won’t add or modify anything in the Java files or any other files in the project. We’ll leave them as is.
Create an AVD
The next step is to build and test the app. We can do that either by running it in an emulator or plugging in a physical Android device to your workstation. This section covers setting up an emulator.

Menu bar, Tools, AVD Manager

AVD manager
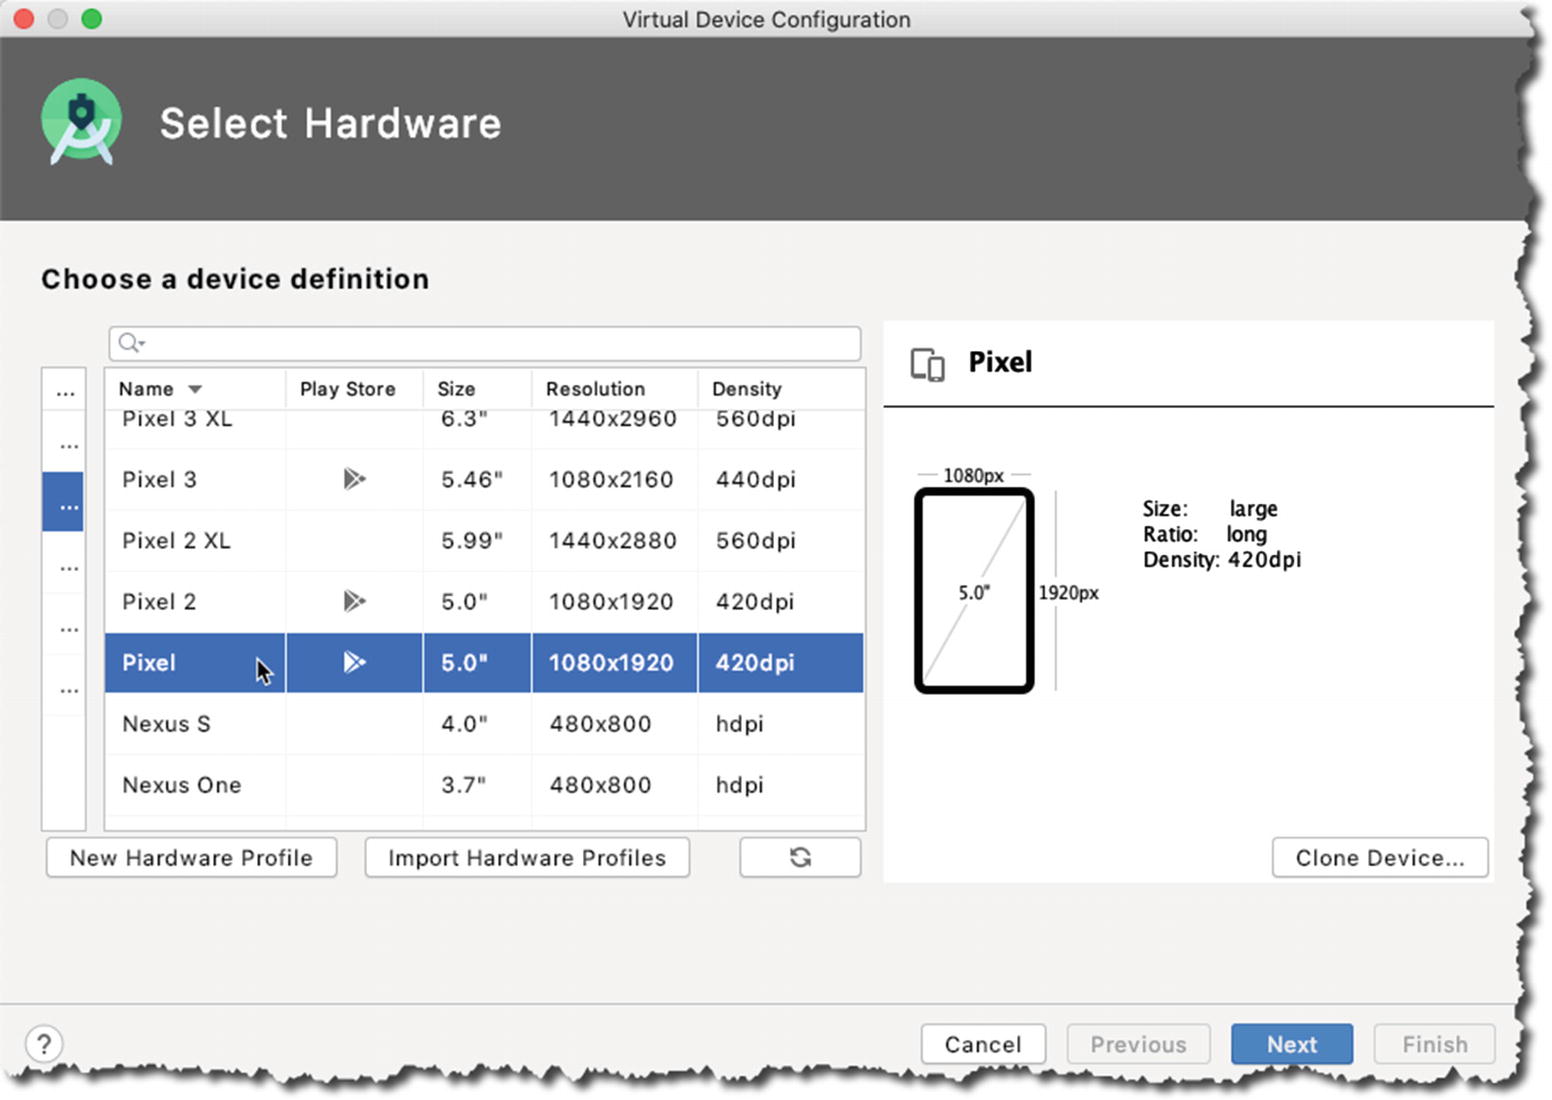
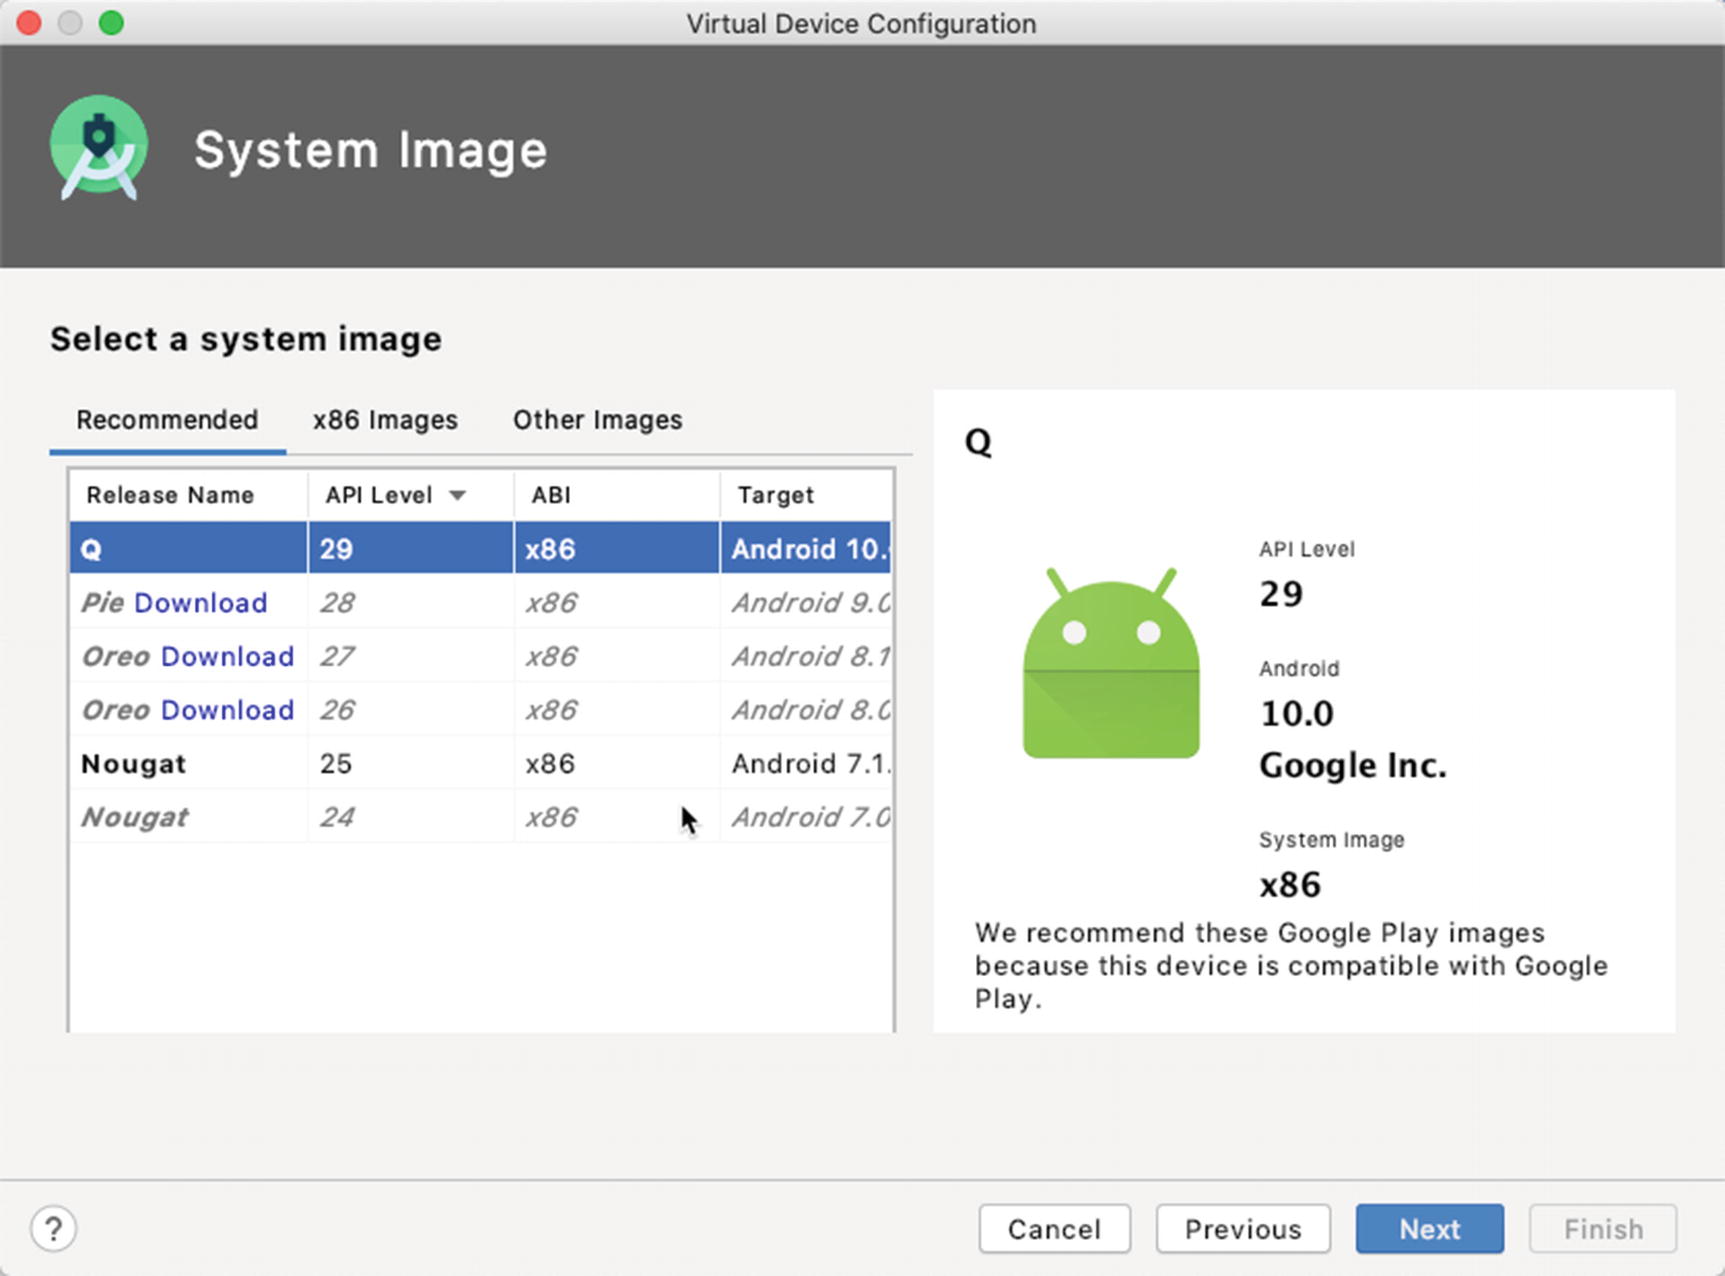
Virtual Device Configuration
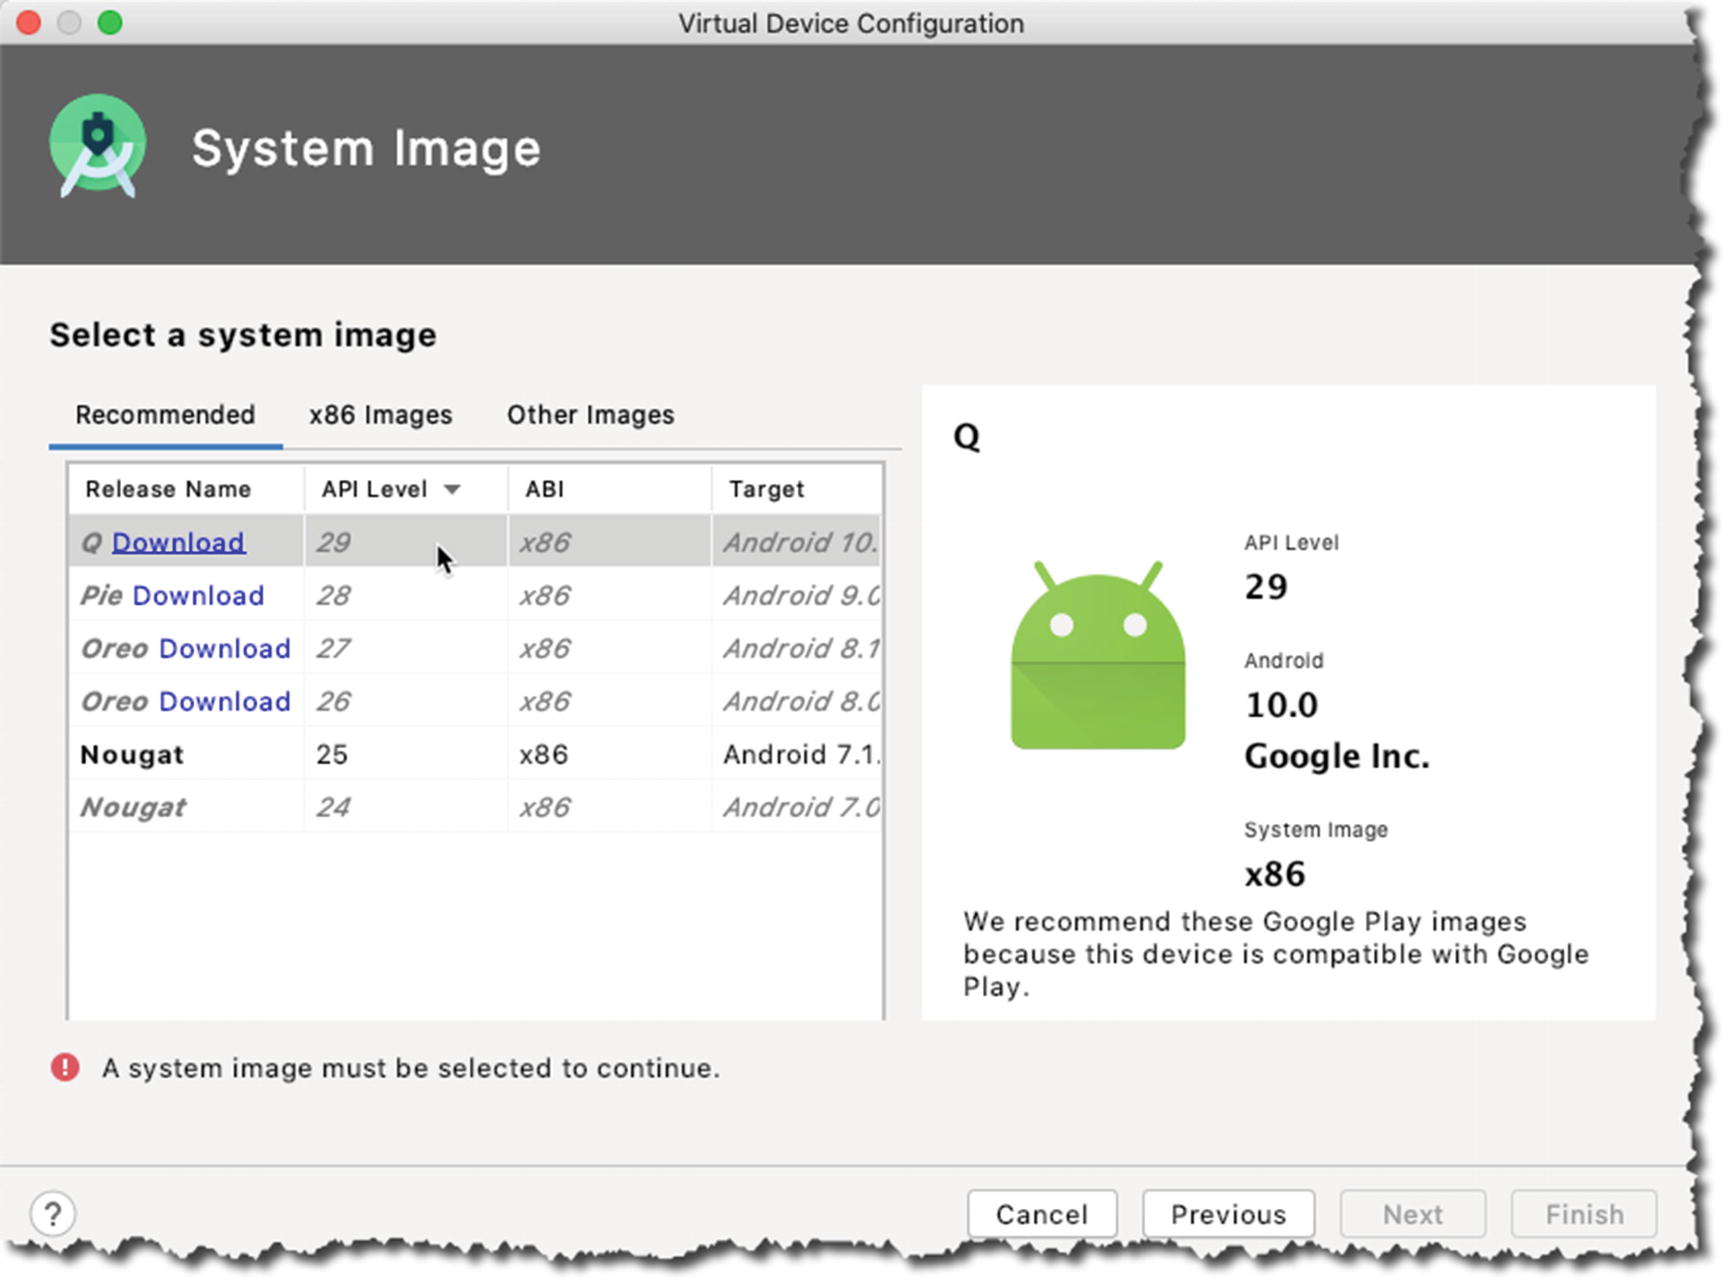
System Image

SDK Quickfix Installation
Virtual Device Configuration

Verify Configuration
Front and back camera
Emulated network speed
Emulated performance
Size of internal storage
Keyboard input (whether enabled or disabled)
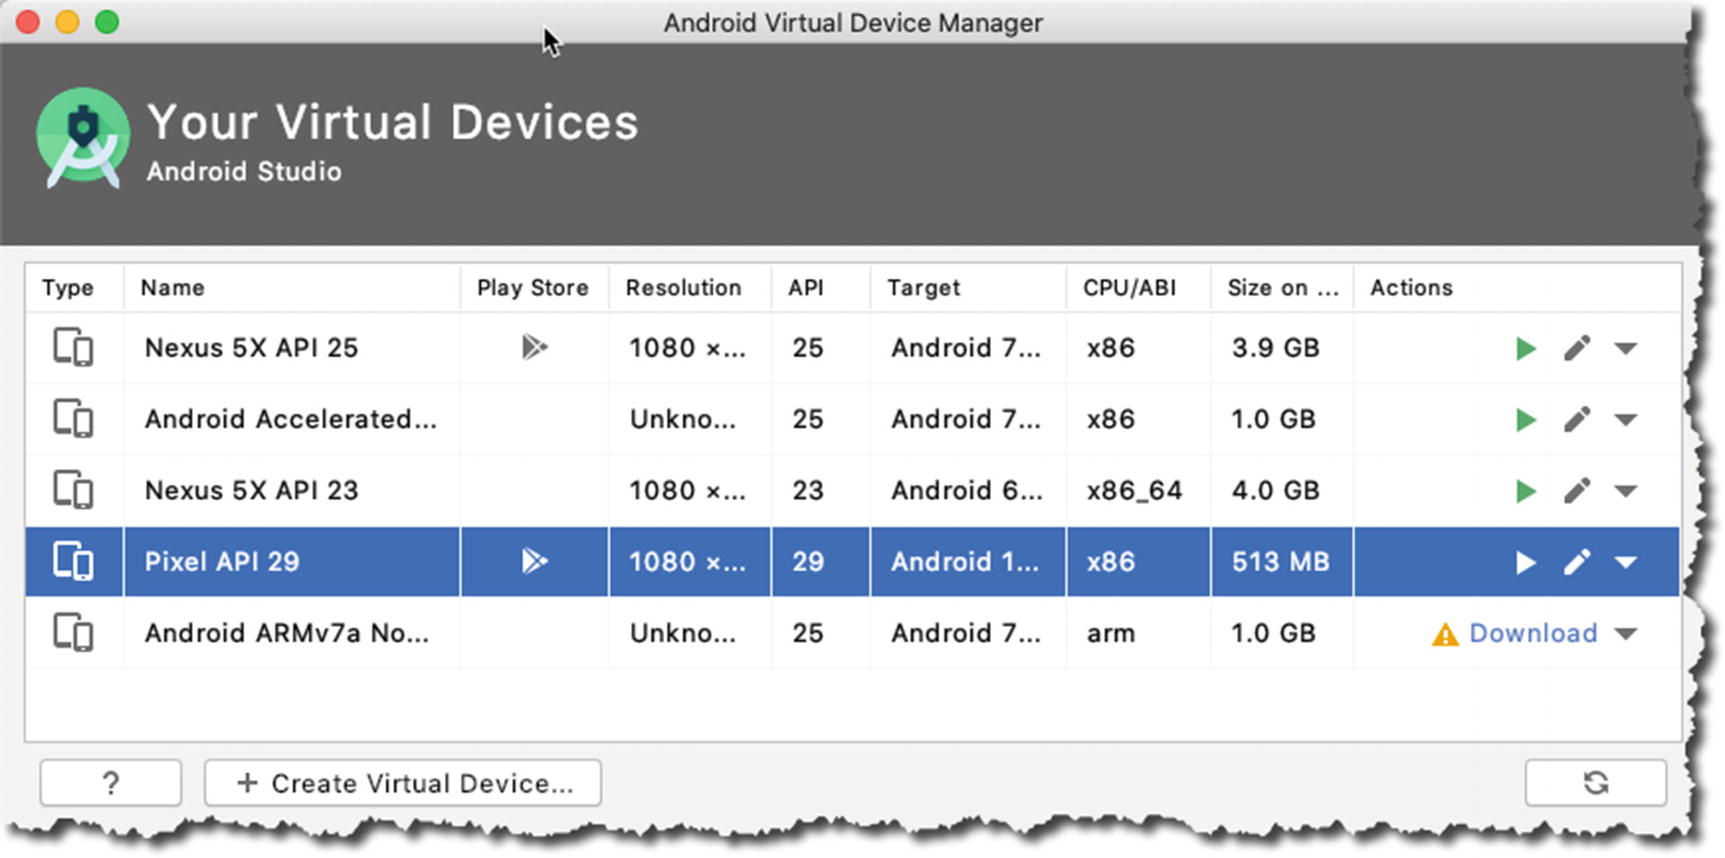
Android Virtual Device Manager
Now we can see the emulator (Pixel API 29). Click the little green arrow on the “Actions” column to launch the emulator—the pencil icon edits the emulator’s configuration, and the green arrow launches it.
When the emulator launches, you’ll see an image of the Pixel phone pop up on the desktop; it needs time to boot up completely. Go back to the main editor window of Android Studio to run the app.

Main menu bar, Run
Android Studio compiles the project; then, it looks for either a connected (physical) Android device or a running emulator. We already launched the emulator a while ago, so Android Studio should find it and install the app in that emulator instance.

Hello World
Summary
An Android project (almost) always has an Activity. You can start with a basic project and choose “Empty Activity,” as we did in the examples. Then, build from there.
Pay some attention to the project package name during creation; if you release the project to Google Play, you won’t be able to change the package name; it will be part of your application.
Choose the minimum SDK carefully; it will limit the number of potential users of your app.
You can use an emulator to run the app and see how it’s shaping up. Testing using an emulator is much better if you have HAXM (emulator accelerator) enabled on your system; if you’re on Linux, you can have acceleration using KVM.