
Let's take a look at one of the browser inspectors. The following is a screenshot of the inspector for Chrome, using the Google Mail login page. As you can see, the email input field is highlighted in the inspection window in the inspection frame at the bottom, in the page itself, and there is a hover-over control with the CSS of the element:

Users can use one of the available attributes, or a combination of them, if part of the hierarchy is required to make it unique. With some of the third-party tools, users can test out the CSS or XPath query they build using attributes in the DOM.
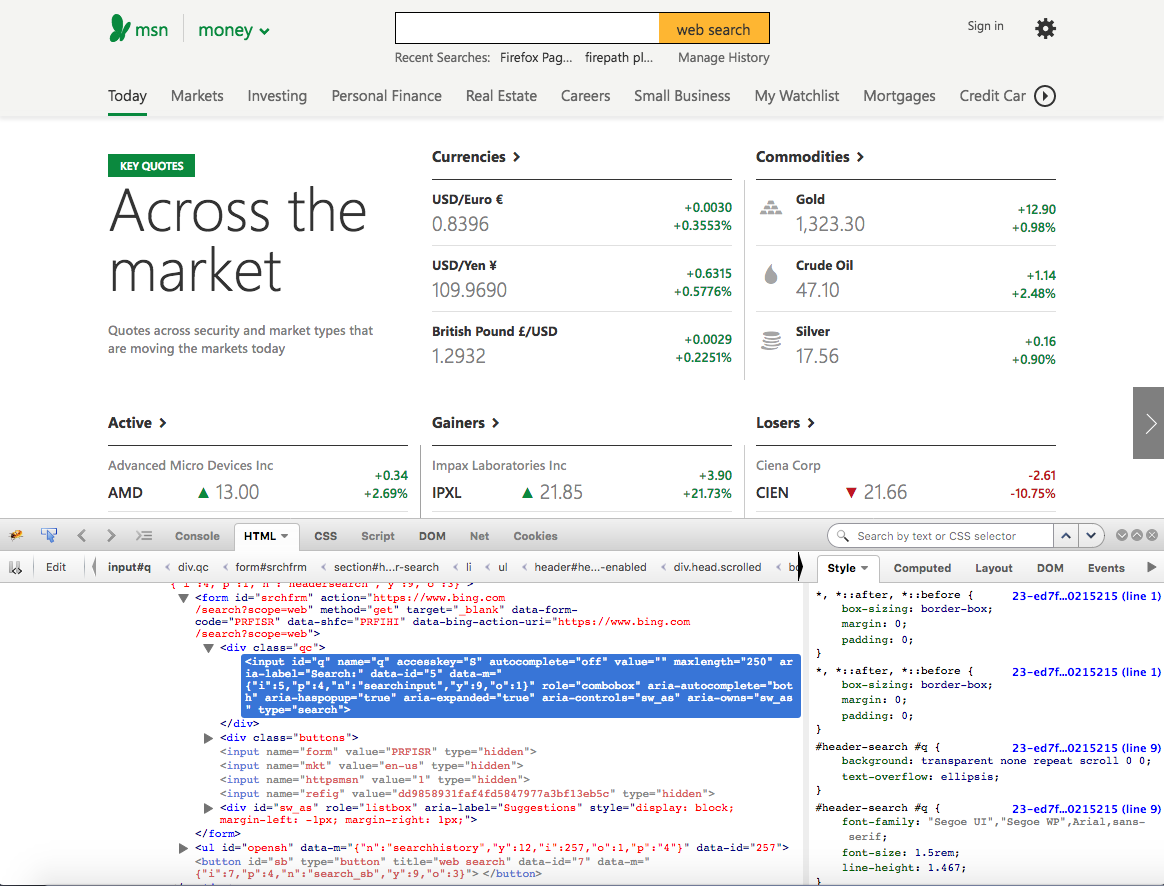
Here is another screenshot using the Firefox plugin for the Firebug/Firepath inspector tools. Once the input field is selected, the HTML code is highlighted in the Inspector window. There is a Firepath feature that allows users to build a CSS or XPath query on the fly within this window and test it out. It will highlight the element on the page if it is built correctly:
When defining static locators, users must use the @FindBy annotation in the page object classes. @CacheLookup is optional, and often causes Selenium to throw StaleElementExceptions if the page is refreshed or still rendering.
Here are the common WebElement locator methods:
- @FindBy(id = "elementId")
- @FindBy(className = "elementClassName")
- @FindBy(name = "elementName")
- @FindBy(tagName = "elementTagName")
- @FindBy(linkText = "elementLinkText")
- @FindBy(PartialLinkText = "elementPartialLinkText")
- @FindBy(css = "elementCss")
- @FindBy(xpath = "elementXpath")