
Before we explore any of the code and learn our first bit of Java, you might be surprised to learn that we can already run our project. It will just be a blank screen but as we will be running the game as often as possible to check our progress, let's see how to do that now. You have three options:
- Run the game on the Emulator on your PC (part of Android Studio)
- Run the game on a real Android device in USB debugging mode
- Export the game as a full Android project that can be uploaded to the Play store
The first option is the easiest to set up because we did it as part of setting up Android Studio. If you have a powerful PC you will hardly see the difference between the emulator and a real device. However, screen touches are emulated by mouse clicks and proper testing of the player's experience is not possible.
The second option using a real device has a couple more steps but once set up, is as good as option one and the screen touches are for real.
The final option takes a few minutes (at least) to prepare and then you need to manually put the created package onto a real device and install it.
Probably the best way is to use the emulator to quickly test minor increments in your code and then fairly regularly use USB debugging mode on a real device to make sure things are still as expected. Only occasionally will you want to export an actual deployable package.
Tip
If you have an especially slow PC or a particularly aging Android device, you will be fine just running the projects in this book using just one option or the other. Note that a slow Android phone will probably be OK and cope, but a very slow PC will probably not handle the emulator running games and you will benefit from running the games on your phone/tablet – especially the later games.
For these reasons, I will now go through how to run the game using the emulator and USB debugging on a real device.
Follow these simple steps to run the game on the default Android emulator.
- On the Android Studio menu bar select Tools | Android AVD Manager. AVD stands for Android Virtual Device (an emulator). You will see the following window.

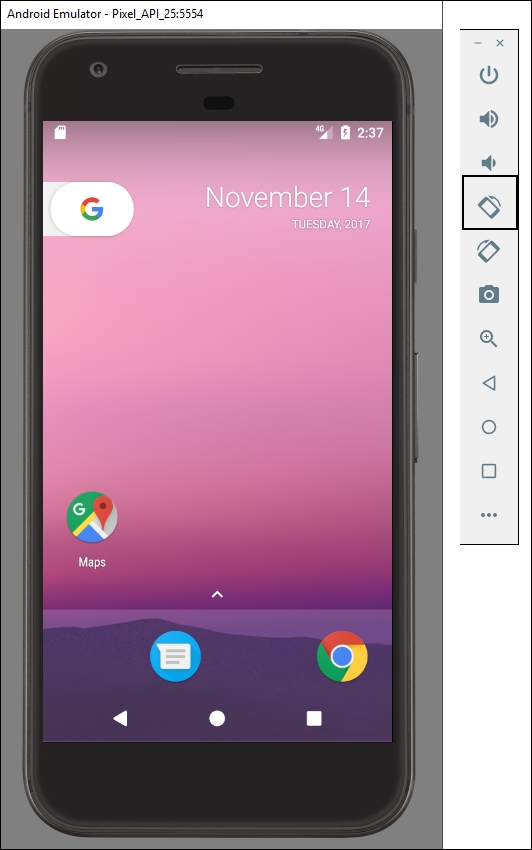
- Notice there is an emulator in the list. In my case, it is Pixel API 25 if you are following this sometime in the future it will probably be a different emulator that was installed by default. It won't matter. Click the green play icon shown in the next image and wait while the emulator boots up.

- Now you can see the emulator as shown in the next image. Note also in the next image I have highlighted one of the icons in the control panel to the right of the emulator. Click that icon to rotate the phone into landscape mode ready to run the game.
- Now you can click the play icon on the Android Studio quick-launch bar as shown in the next image and when prompted choose Pixel API 25 (or whatever your emulator is called) and the game will launch on the emulator.

You're done. Here is what the running game looks like so far:
Clearly, we have more work to do but it is a good start. Let's see how to do the same on a real device and then we can go about building Sub' Hunter further.
The first thing to do is to visit your device manufacturer's website and obtain and install any drivers that are needed for your device and operating system.
The next few steps will set up the Android device for debugging. Note that different manufacturers structure the menu options slightly differently to others. But the following sequence is probably very close, if not exact for enabling debugging on most devices:
- Tap the Settings menu option or the Settings app on your phone/tablet
- This next step will vary slightly for different versions of Android. The Developer options menu is hidden away so as not to trouble regular users. You must perform a slightly odd task to unlock the menu option. Tap the About device or About Phone option. Find the Build Number option and repeatedly tap it until you get a message informing you that You are now a developer!
- Go back to the Settings menu
- Tap Developer options
- Tap the checkbox for USB Debugging
- Connect your Android device to the USB port of your computer
- Click the play icon from the Android Studio toolbar as shown in the next image
- When prompted click OK to run the game on your chosen device.
We are now ready to learn some Java and add real code to the Sub' Hunter project.