As with all Raspberry Pi boards, the new Raspberry Pi Zero W board has a slot for a camera connection. However, first of all, we need to buy a Raspberry Pi camera in case we do not have one. There are two types of camera that you can buy--a normal IR camera or a non-IR camera. The normal IR camera does not let you see well in dark spots. This means that as soon as the sun goes down, it will be hard to view any objects. On the other hand, non-IR cameras are great for this kind of project. Depending on the project, buy the appropriate camera. Here, you can find two links for both camera types.
https://www.amazon.com/gp/product/B00E1GGE40/ref=as_li_tl?ie=UTF8&camp=1789&creative=390957&creativeASIN=B00E1GGE40&linkCode=as2&tag=pimylifeup-20&linkId=JKO72D2M4YJG3YCK
The normal camera looks as follows:

https://www.amazon.com/gp/product/B00G76YEU8/ref=as_li_tl?ie=UTF8&camp=1789&creative=390957&creativeASIN=B00G76YEU8&linkCode=as2&tag=pimylifeup-20&linkId=3HZBGLZYYAUE4NTY
The advanced camera module looks as follows. It has no IR filter and is awesome for night vision purposes:

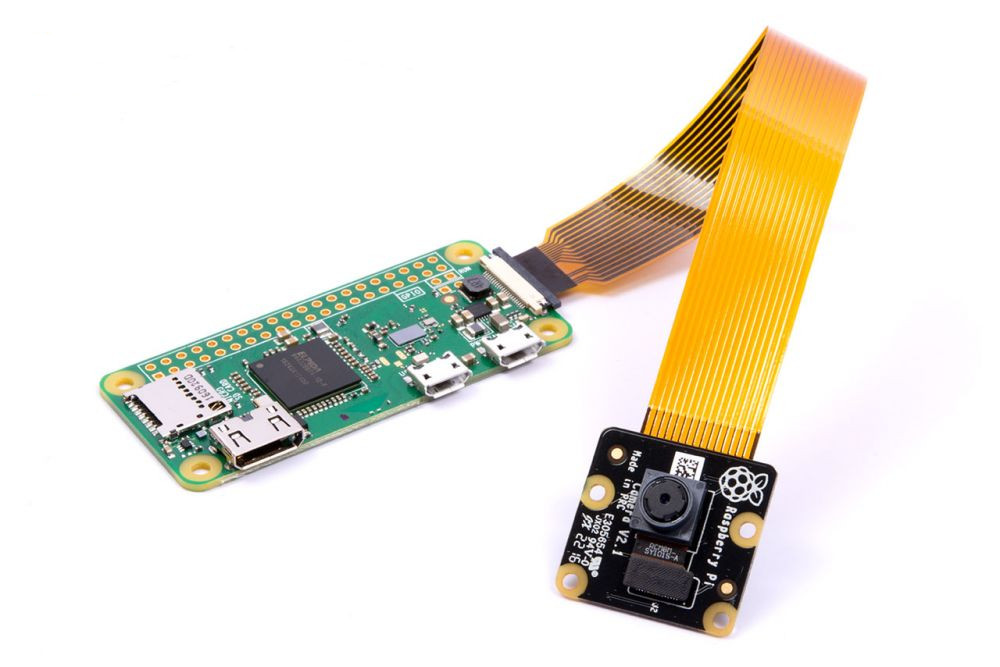
To connect your camera to your Raspberry Pi Zero W board, simply place it in by hand and pull up both sides of the connector. As soon as the connector is pulled up, try to place the ribbon cable inside and gently press the board connector that you pulled up before. Now, the camera should be locked on the board and that is it: