
This appendix presents a couple of options for creating a Spring Boot project. The examples I show in this book use Spring Boot. Even though I assume that you have some basic experience with Spring Boot, this appendix serves as a reminder of what your options are for creating projects. For more details about Spring Boot and creating Spring Boot projects, I recommend the fun and easy-to-read book Spring Boot in Action by Craig Walls (Manning, 2015).
In this appendix, I present two easy options for creating your Spring projects. After creating your project, you can choose at any time to add other dependencies by changing the pom.xml file in the case of Maven projects. Both options create projects with predefined Maven parents if that’s what you choose, some dependencies, a main class, and usually a demo unit test.
You can do this manually as well by creating an empty Maven project, adding the parent project and dependencies, and then creating a main class with the @SpringBootApplication annotation. If you choose to do this manually, you’ll probably spend more time setting up each project than if you use one of the presented options. Even so, you can run the book’s projects with the IDE of your choice. I don’t encourage you to change the way you are accustomed to running your Spring projects.
A.1 Creating a project with start.spring.io
The most direct way to create a Spring Boot project is by using the start.spring.io generator. From the Spring Initializr web page, https://start.spring.io/, you can select all the options and dependencies you need and then download the Maven or Gradle project of choice as a zip archive (figure A.1).
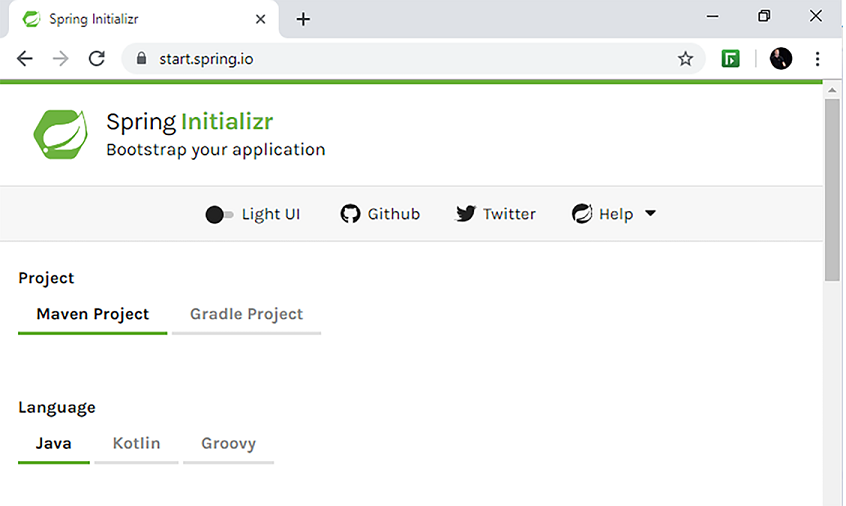
Figure A.1 A partial view of the Spring Initializr page. It offers a light UI that you can use to create a Spring Boot project. In the Initializr, you select the build tool (Maven or Gradle), the language to use (Java, Kotlin, or Groovy), the Spring Boot version, and the dependencies. Then you can download the project as a zip file.
After downloading the project, unzip it and open it as a standard Maven or Gradle project in the IDE of your choice. You choose whether you want to use Maven or Gradle at the beginning of creating a project in the Initializr. Figure A.2 shows the Import dialog for a Maven project.

Figure A.2 An existing Maven project can be opened from any programming environment. Once you create your project with start.spring.io and download it, unzip it and open it as a Maven project from your IDE.
A.2 Creating a project with the Spring Tool Suite (STS)
The first option presented in section A.1 lets you easily create a Spring project and then import it anywhere. But a lot of IDEs allow you to do this from your development environment. The development environment usually calls the start.spring.io web service for you and obtains the project archive. In most development environments, you need to select a new project and then the Spring Starter Project options like those you see in figure A.3.

Figure A.3 Some IDEs let you directly create Spring Boot projects. These call start.spring.io in the background and then download, unzip, and import the project for you.
After selecting a new project, you just fill in the same options as in the start.spring.io web application in figure A.1: language, version, group, artifact name, dependencies, and so forth. Then, the STS creates your project (figure A.4).
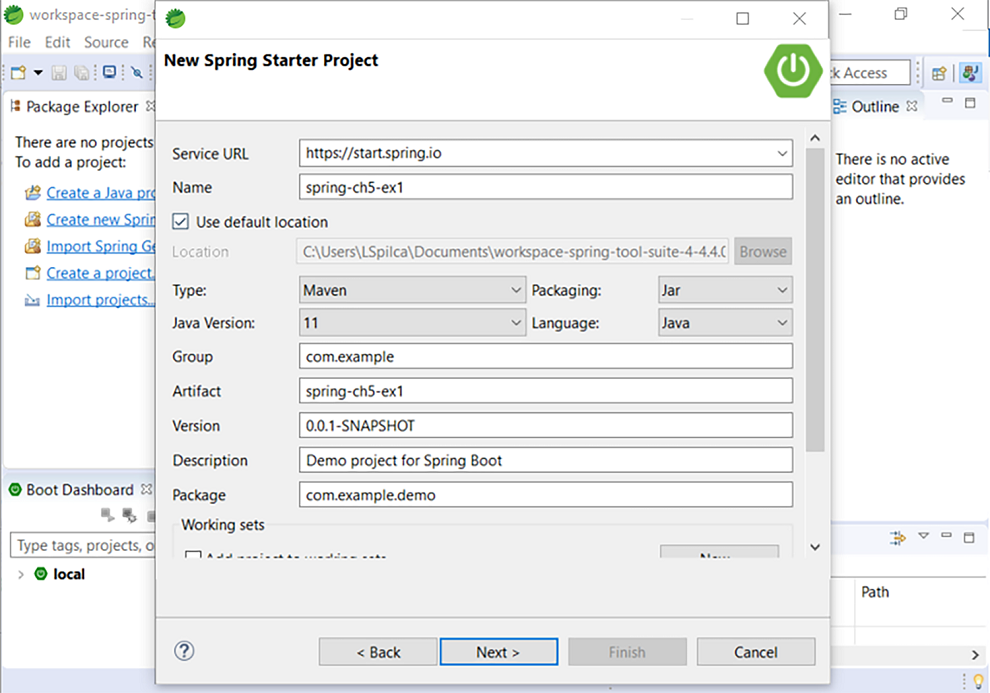
Figure A.4 When creating the Spring Boot project directly from the IDE, you need to choose the same options as on the start.spring.io page. The IDE asks you about the build tool type, preferred language, language version, and dependencies, among other things.