
An Android Virtual Device (AVD) is a software-produced model of a real device, which can be configured with custom hardware specifications. It can be a virtual copy of the real device as well. This is one of the most important tools for any Android developer. This lets the developer test the application in a typical Android environment without using an actual hardware device, to cut short the development time (image source: http://www.geeknaut.com/images/2014/08/top-android-emulators-for-windows3.png):
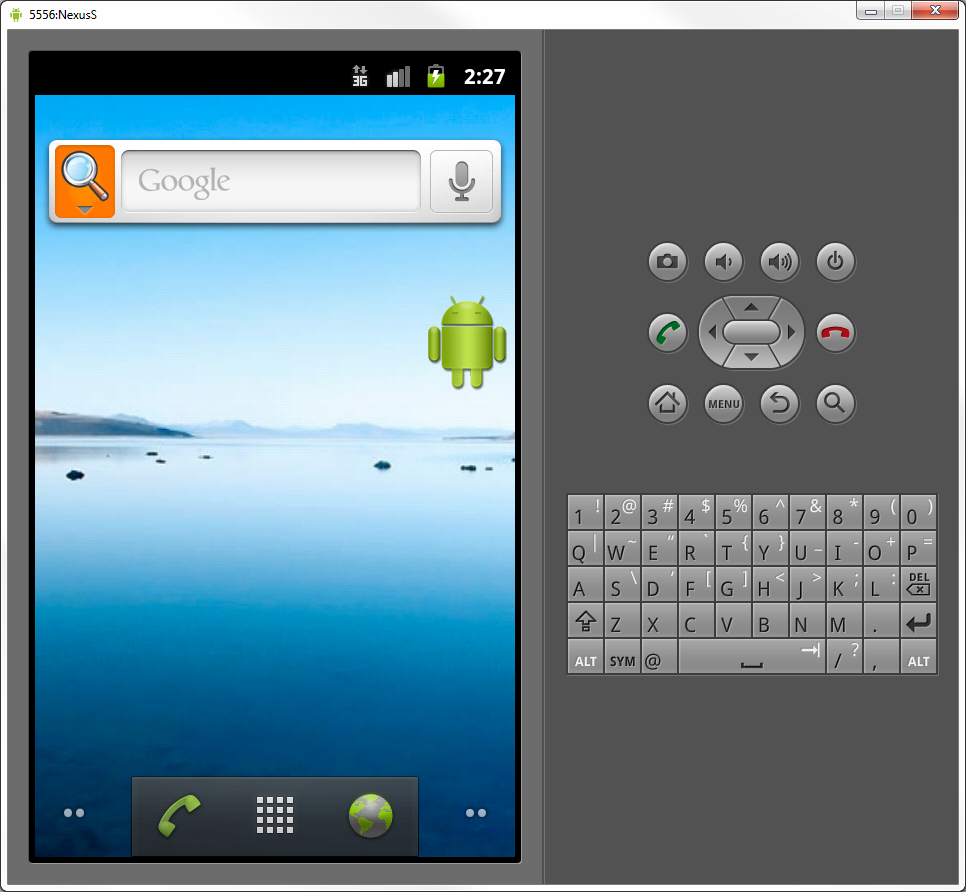
An AVD consists of the following:
- Hardware profile: This profile describes the hardware features of the virtual device. This can be configured with hardware options like a QWERTY keypad, camera, integrated memory, and so on.
- System image mapping: The running Android platform version can be configured depending on the installed set of Android platforms. Android platforms can be installed by the Android SDK manager.
- Dedicated disk space: Dedicated storage area on your development machine can be set with this feature, which saves the emulator's user data and the virtual SD card.
- Other features: The developer can even specify the look and feel of the virtual device such as device skin, screen dimension, and appearance.
The following is the brief procedure to create an AVD through AVD manager, which is located in the <SDK Path>/tools directory:
- On the main screen, click on Create Virtual Device.
- In the Select Hardware window, select a device configuration such as Nexus 5, then click on Next, then click on Finish.
- To begin customizing the device by using an existing device profile as a template, select a device profile and then click on Clone Device. Or, to create a complete custom emulator, click on New Hardware Profile.
- Set the following to create a new custom emulator:
- Device name
- Screen size
- Screen resolution
- RAM
- Input options
- Supported states
- Camera options
- Sensor options
- After setting every property, click on Finish.
The developer can also create a new custom emulator using the command line, as follows:
android create avd -n <name> -t <targetID> [-<option> <value>] ...
Here, the following options can be set:
name: This will be the custom AVD nametargetID: This will be the custom IDoption: This can include options such as device screen density, resolution, camera, and so on.
The developer can execute this command to use a previously defined AVD:
android list targets
Then, the developer can run the following command:
emulator –avd <avd_name> [options]