Now that we have learned about DI and design patterns, in this section, we will learn to create our services. Angular CLI provides us with the fastest and easiest way to generate services inside our project. We will create a sample project called LearningDIServices by running the following command:
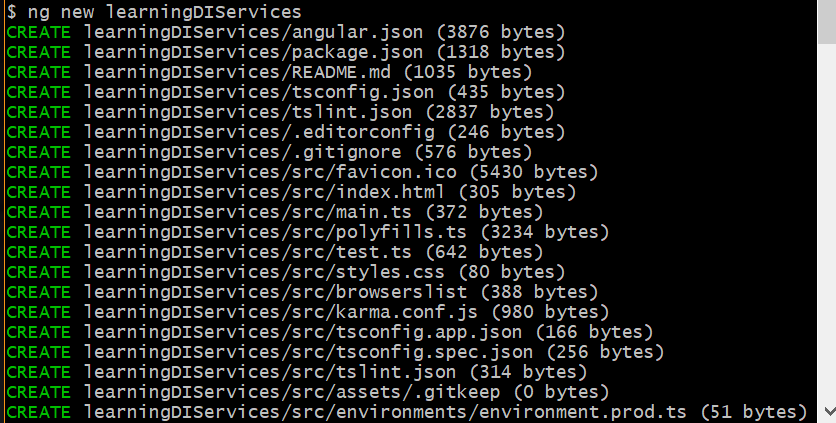
ng new LearningDIServices
We are creating a new Angular project using the ng command, and we name the project LearningDIServices. Upon successful execution of the command, we should see the output shown in the following screenshot:
Now that we have our project directory created, using the Angular CLI, we will generate a few services and interfaces. We will create a service called Photos. Run the following command and we should see the service added to our project directory:
ng generate service photos
Upon successful execution, we should see the output shown in the following screenshot:

We can see that there are two new files generated. One is the service file, and the other is the spec file, which is for writing the tests for the service. Let's take a closer look at the files containing autogenerated code for the photo.service.ts file:
import { Injectable } from '@angular/core';

@Injectable({
 providedIn: 'root'
})

export class PhotosService {
 constructor() { }
}
In the preceding code, we can see that the Injectable class needs to be imported from the angular/core library. The Injectable class allows us to make the service inject in various component classes so that we can reuse the methods. Using the injectable decorator, we are explicitly mentioning that the service needs to be injected in the root. And finally, we are exporting our PhotosService class, which will contain the constructor method and other methods that we will create, specific to our application.
In previous sections, we learned about the overview of interfaces. Now, let's quickly learn how to generate use of the interfaces in our applications. Using Angular CLI, we can also quickly create interfaces:
ng generate interface photo
In the preceding command, we have generated an interface named photo and, once the preceding command is executed successfully, we should see the following output:

Let's take a closer look at the interface files that are generated. The following is the default code generated:
export interface Photo {
}
We can see it's empty intentionally. Since interfaces are used to define the entity or model classes, each interface created in the application will be unique and specific to each application. Now, if we want to create an interface for our photos, we will have to define it as follows:
export interface Photo {
 photoId: number;
 photoURL: string;
 photoOwner: string;
 isActive: boolean;
}
In the preceding sample code, we have created an interface for photos with some properties and their data types. This will allow us to create strictly typed objects for photos.
In this section, we learned to create Angular services and interfaces. Even if some of the concepts are not very clear, do not worry, my friend. We have an entire chapter dedicated to showing you how to generate and implement services in our applications. In the next chapter, we will learn how to implement and use them, and also integrate them into our components.