Each time that you connect your iPad to your computer through its USB cable, the iTunes program on your computer makes a backup of your entire iPad. That way if your iPad malfunctions or fails completely, you can restore your backed up data to a new iPad and start working right away as if nothing had happened.
Restoring your iPad is an easy fix for many software troubles—give restoring a try if your iPad starts to malfunction or fails to sync properly and restarting doesn’t work. Even if you lose your iPad, you can get a new one, restore your backups to this new iPad, and essentially clone your old iPad onto your new iPad.
To restore a backup from iTunes to your iPad, follow these steps:
Connect your iPad to your computer through its USB cable.
Right-click on the name of your iPad under the Devices category in the iTunes window. A pop-up menu appears, as shown in Figure 30-1.
Choose Restore from Backup. A Restore from Backup dialog appears.
Choose the backup you want to use (if you have multiple choices) and click the Restore button.

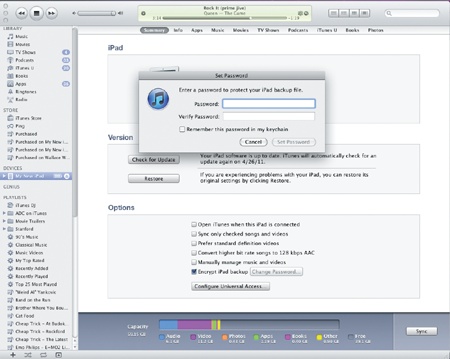
Normally iTunes on your computer just backs up your data without encrypting it. However, if you want to protect your backed up data with a password, you can turn on backup encryption by following these steps:
Run the iTunes program on your computer.
Click the name of your iPad under the Devices category in the iTunes window.
Click the Summary tab and select (or unselect) the Encrypt iPad backup check box. A dialog pops up, asking you to type in a password twice as shown in Figure 30-2.
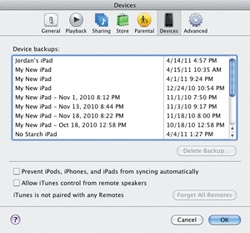
Backing up your iPad is a good idea, which is why iTunes does this automatically. However, if you’re selling or giving away your computer, you probably don’t want to keep your iPad backups on that computer anymore. To remove your backups, follow these steps:
Run the iTunes program on your computer.
Choose iTunes
 Preferences (Macintosh) or Edit Preferences (Windows). A window appears.
Click the Devices icon or tab. A list of your backups appears, as shown in Figure 30-3.
Click the iPad backup you want to delete and click OK.