
Page layouts provide easy-to-use templates for content creators to use when creating SharePoint site content. In scenarios where a certain page design is used repetitively, a page layout is ideal. One example of this is an image carousel used by landing pages. In this recipe, we will create a JavaScript-based image carousel that displays images from a picture library in the SharePoint site.
To simplify the process of creating the JavaScript image carousel, we will use the jQuery framework (http://www.jquery.com) and jQuery bxSlider plugin (http://www.bxslider.com).
For this recipe, we will use the page layout we previously created in the Creating a page layout with three columns of web part zones recipe.
Follow these steps to create a page layout with an image carousel:
- Open SharePoint Designer.
- Select Open Site. Enter the complete URL to the SharePoint site and select Open.
- From the Navigation pane, select Page Layouts.
- In the list of files in the Page Layouts library, make a copy of
PageLayout_ThreeColumn.aspx(for our example, we have renamed itPageLayout_ImageCarousel.aspx). - Check out the new
PageLayout_ImageCarousel.aspxpage layout. - Open the
PageLayout_ImageCarousel.aspxpage layout. - Add an
ImageCarousel.css stylesheetfile and anImageCarousel.jsJavaScript file to theresourcesfolder located at_catalogs/masterpage/resources. - Add references to our custom stylesheet, the jQuery bxSlider stylesheet, the jQuery JavaScript, and the jQuery bxSlider plugin JavaScript to the page. In addition, reference the SharePoint JavaScript files to ensure they are loaded on the page.
<SharePointWebControls:CssRegistration ID="customCss" name="<% $SPUrl:~Site/_catalogs/masterpage/resources/imagecarousel.css %>" runat="server"/>
<SharePointWebControls:CssRegistration ID="bxSliderCss" name="<% $SPUrl:~Site/_catalogs/masterpage/resources/jquery.bxslider.css %>" runat="server"/>
<SharePointWebControls:ScriptLink ID="jQuery" Name="~site/_catalogs/masterpage/resources/jquery-2.0.2.min.js" runat="server"></SharePointWebControls:ScriptLink>
<SharePointWebControls:ScriptLink ID="bxSliderJs" Name="~site/_catalogs/masterpage/resources/jquery.bxslider.js" runat="server"></SharePointWebControls:ScriptLink>
<SharePointWebControls:ScriptLink ID="customJavaScript" Name="~site/_catalogs/masterpage/resources/imagecarousel.js" runat="server"></SharePointWebControls:ScriptLink>
<SharePointWebControls:ScriptLink Name="sp.js" runat="server" Localizable="false" LoadAfterUI="true" />
<SharePointWebControls:ScriptLink Name="sp.runtime.js" runat="server" Localizable="false" LoadAfterUI="true" />
<SharePointWebControls:ScriptLink Name="sp.core.js" runat="server" Localizable="false" LoadAfterUI="true" />
- Locate the first
<div class="ms-table ms-fullWidth">element. - Before the
<div>elements it contains, add the following<div>tag to contain the image carousel:<div class="ImageCarousel"></div>
- In our
ImageCarousel.cssstylesheet, provide a default height, width, and display for the image carousel as follows:.ImageCarousel { height: 400px; width: 800px; display: block; } - In our
ImageCarousel.jsJavaScript file, create a function to initialize the carousel and use theExecuteOrDelayUntilScriptLoadedfunction to execute the function after the SharePoint JavaScript files load as shown in the following code:function InitializeImageCarousel() { } ExecuteOrDelayUntilScriptLoaded(InitializeImageCarousel, "sp.js"); - In our initialization function, get the current SharePoint context:
var context = new SP.ClientContext.get_current();
- From the context, get the current SharePoint site:
var web = context.get_web();
- Get the
Imagespicture library from the SharePoint site as follows:var list = web.get_lists().getByTitle('Images'), - Use a CAML query to limit the number of returned items to five:
var camlQuery = new SP.CamlQuery(); camlQuery.set_viewXml('<View><RowLimit>5</RowLimit></View>'), - Get the items from the list with the CAML query as follows:
var items = list.getItems(camlQuery);
- Instruct the context to load the items with the
Id,Title, andFileRefproperties as follows:context.load(items, 'Include(Id, Title, FileRef)'),
- Call the
executeQueryAsyncmethod on the context to execute the query and provide delegate functions to execute on success or failure of the request, as shown in the following code:context.executeQueryAsync( Function.createDelegate(this, function (sender, args) { // Success }), Function.createDelegate(this, function (sender, args) { // Failed })); - In the failure delegate function (the second function), use the SharePoint debug trace function to write the error to the browser console as follows:
Sys.Debug.trace('Request failed. ' + args.get_message() + ' ' + args.get_stackTrace()); - In the success delegate function (this first function), create the
<ul>container object for the image carousel using the following line of code:var slider = $('<ul class="bxslider"></ul>'), - Iterate through each item and add the
<li>element representing the image using the following code:var listItemEnumerator = items.getEnumerator(); while (listItemEnumerator.moveNext()) { var oListItem = listItemEnumerator.get_current(); var itemHtml = $('<li><img title="' + oListItem.get_item("Title") + '" src="' + oListItem.get_item("FileRef") + '" /></li>'), itemHtml.appendTo(slider); } - Add the
<ul>image carousel container to the following image carousel<div>we have on the page:var imageCarousel = $('.ImageCarousel'), slider.appendTo(imageCarousel); - Initialize the jQuery bxSlider plugin using the following line of code:
$('.bxslider').bxSlider({ captions: true, slideWidth: 750 }); - Set the height of the image carousel
<div>to match thebxSliderheight to ensure there is no overlapping content:$('.ImageCarousel').height($('.bx-wrapper', $('.ImageCarousel')).height()); - Save the page layout.
- Navigate back to the Properties page for the page layout.
- Select Manage all file properties in the browser from the Customization section.
- Select Edit Item from the ribbon and ensure that the Content Type is set to Page Layout.
- Provide a new title for the page layout (for example,
Image Carousel). - For the Associated Content Type option, set Content Type Group to Page Layout Content Types and Content Type Name to Article Page.
- Save the item.
- Check in and publish the page layout using the Check In and Publish options.
- Navigate to the Pages library of the SharePoint site using your preferred web browser.
- Select New Document from the Files tab on the ribbon.
- Provide a title and URL for the new page in the Title and URL fields.
- Select the newly created page layout.
- Click on Create.
- View the page to observe our image carousel. The following screenshot shows the Image Carousel window:
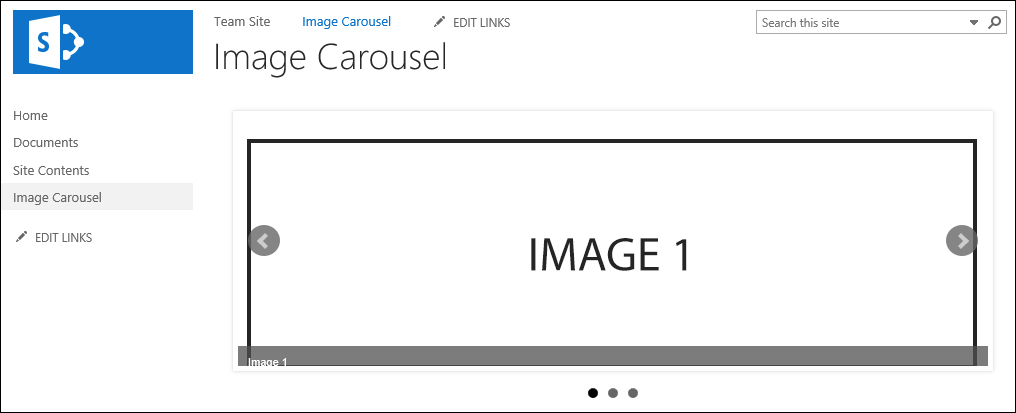
In addition to the server-side object model, SharePoint provides additional object models to interact with SharePoint content. In this recipe, we used the JavaScript object model (JSOM). Using JSOM, we retrieved the current site from the current SharePoint context. We used a CAML query to retrieve the Images picture library in the current site. We then created an unordered list with the images and used our JavaScript libraries and plugins (jQuery and bxSlider) to create our image carousel. Once we had our page layout created, we created a page with it to observe our image carousel.
- The JavaScript API Reference for SharePoint 2013 topic on MSDN at http://msdn.microsoft.com/en-us/library/jj193034.aspx
- The ScriptLink class topic on MSDN at http://msdn.microsoft.com/en-us/library/microsoft.sharepoint.webcontrols.scriptlink.aspx
- The CssRegistration class topic on MSDN at http://msdn.microsoft.com/en-us/library/microsoft.sharepoint.webcontrols.cssregistration.aspx
- The Overview of the SharePoint 2013 Page Model article on MSDN at http://msdn.microsoft.com/en-us/library/jj191506.aspx
- The SharePoint Designer for Developers article on MSDN at http://msdn.microsoft.com/en-us/sharepoint/hh850380.aspx