
The cross-site publishing features work ideally with list content. However, it is possible to create catalog libraries. In this recipe, we will add a new pages library to our product catalog site created in the Creating a product catalog authoring site collection recipe. In addition, we will publish the pages library as a catalog library.
The product catalog site template does not provide the pages library template in the list of items that can be added to the site. As such, we will create a document library and turn it into a pages library.
Follow these steps to create a catalog library:
- Navigate to the product catalog site in your preferred web browser.
- Select Site contents from the Settings menu.
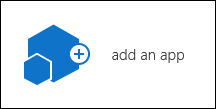
- Click on add an app as shown in the following screenshot:
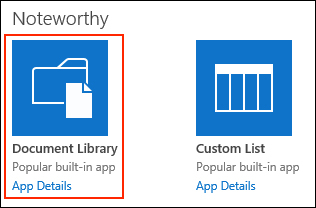
- Select Document Library as shown in the following screenshot:
- Provide a name for the library,
Product Documents, for example, as shown in the following screenshot: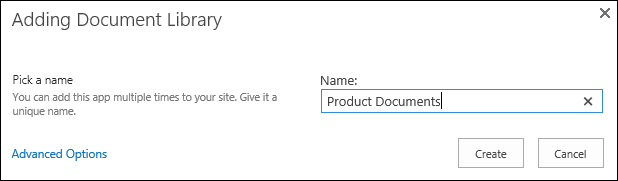
- Click on the Create button.
- Navigate to the new document library.
- From the Library tab on the ribbon, select Library Settings.
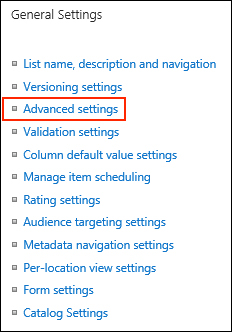
- Select Advanced settings from the General Settings section as shown in the following screenshot:
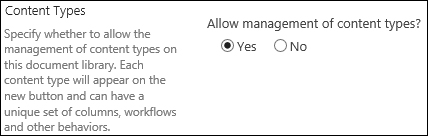
- Set Allow management of content types? to Yes. Have a look at the following screenshot:
- Click on OK.
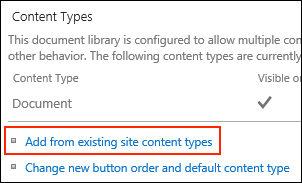
- Select Add from existing site content types from the Content Types section:
- Add the Basic Page content type as shown in the following screenshot:

- Click on OK.
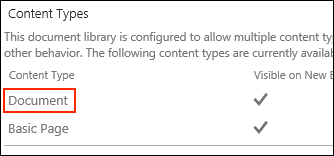
- Select the Document content type from the Content Types section:
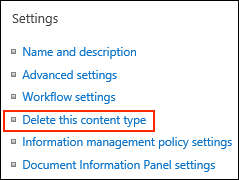
- Select Delete this content type from the Settings section:
- Select Create Column from the Columns section.
- Enter
categoryfor the Column Name. - Select Managed Metadata for the type.
- Set Require that this column contains information to Yes.
- Under Term Set Settings, navigate to and select our Widgets term set.
- Click on OK.
- Navigate to the document library and select New Document from the Files tab on the ribbon.
- Enter
WidgetASpecsas the Name and then click on Create: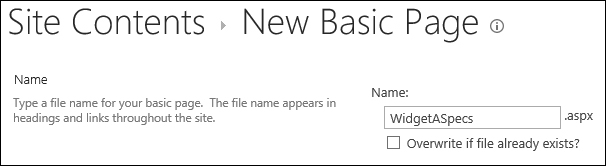
- Edit the page and provide some text.
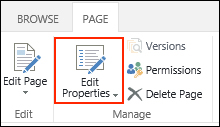
- From the PAGE tab on the ribbon, select Edit Properties as shown in the following screenshot:
- Select a term for the category:

- Click on Save.
- Navigate to the document library.
- Check-in the newly created page.
- Select Library Settings from the Library tab on the ribbon.
- Under General Settings, select Catalog Settings.
- Check the Enable this library as a catalog checkbox.
- Click on Enable anonymous access and then click on Make Anonymous.
- Add Category and Title to the Selected Fields list for Catalog Item URL Fields.
- Select Category as the column to categorize items for navigation and click on OK.
In a similar fashion to our Products list, the document library will be made available as a catalog library through the search services once it has been crawled. Using a catalog library may not prove as useful as a catalog list. By default, the properties of a catalog library item will be displayed in the consuming site, not the document itself. Additional customization would be required in order to retrieve the documents themselves through a catalog connection. For more information on catalog libraries, refer to http://technet.microsoft.com/en-us/library/jj656774.aspx.