
Since SharePoint 2007, Microsoft has released a companion application called SharePoint Designer with each version of SharePoint. Originally the successor to Microsoft FrontPage, SharePoint Designer provides users the ability to customize SharePoint sites based on their permissions. This includes master pages, page layouts, workflows, lists, libraries, and so on.
SharePoint Designer uses the SharePoint web service APIs and remote procedure calls (RPC) to interact with the SharePoint server. This allows connecting to SharePoint from remote computers rather than requiring the software be run on the SharePoint server itself. This also allows SharePoint Designer to be used with hosted SharePoint implementations, such as the SharePoint Online service of Microsoft Office 365. In addition, any user with access to a SharePoint site can connect with SharePoint Designer (when not disabled by a site collection or farm administrator). Users will only be able to see and interact with the SharePoint site based on the permissions they have.
Follow these steps to edit a master page in SharePoint Designer:
- Open SharePoint Designer.
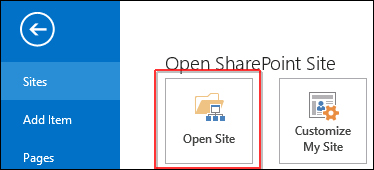
- Select Open Site. Enter the complete URL to the SharePoint site and select Open.
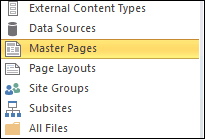
- From the Navigation pane, select Master Pages as shown in the following screenshot:
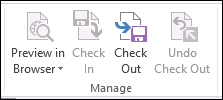
- From the list of files in the Master Pages library, select
seattle.master. - From the ribbon, select Check Out.
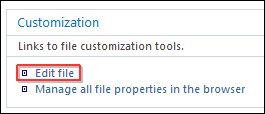
- Under Customization, select Edit file as shown in the following screenshot:
- Once the file has been edited and saved, select the back icon to return to the Properties page for
seattle.master:
- Select the back icon again to return to the Master Pages library.
- Right-click on the
seattle.masterfile. - Select Check In as shown in the following screenshot:
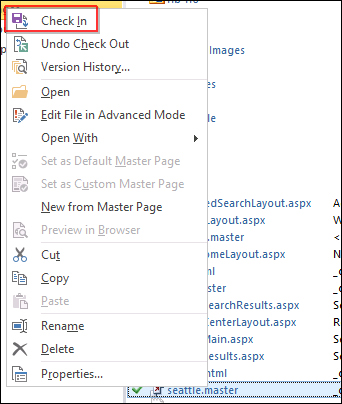
Tip
Using the Check In option from the ribbon where we used the Check Out option will allow you to check in the file using the Check In option. However, it does not allow you to Check In and Publish the file at the same time. Right-clicking on the file and selecting the Check In option will allow you to do both at the same time.
- Select Publish a major version as shown in the following screenshot:
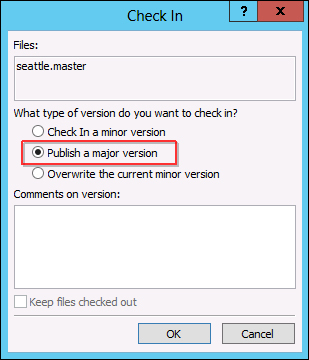
- Click on OK.
Using the SharePoint web services API and remote procedure calls, SharePoint Designer allows us to modify files in a SharePoint site. Using the versioning and publishing features of SharePoint, we can Check Out and Check In content to ensure only one person is editing the content at a time. In addition, this allows for that content to have published versions that noneditors can view. These features allow multiple content editors to work with content and only have published versions visible to everyone else.
SharePoint Designer 2013 allows us to edit the code of the master pages, but does not provide a WYSIWYG (design view) editor.
- The SharePoint Designer for Developers article on MSDN at http://msdn.microsoft.com/en-us/sharepoint/hh850380.aspx