
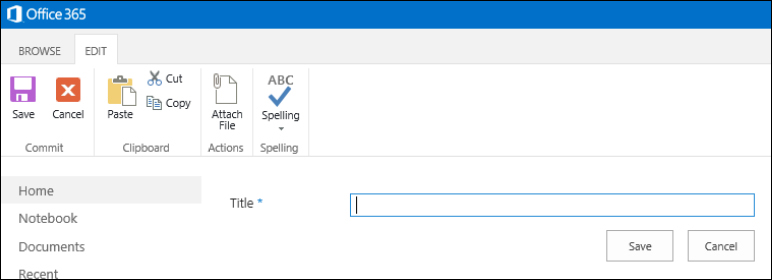
With SharePoint Server 2010, Microsoft added the ability to use Microsoft InfoPath form templates to replace the default entry form pages illustrated in the following screenshot. The default entry form pages use a basic layout and offer only a few validation and calculation options.
Though entry forms may also be customized in SharePoint Designer and Visual Studio, using InfoPath is a much simpler approach, particularly for power users who do not have development experience. In this recipe, we will create a SharePoint list and customize the entry form template with InfoPath.
Follow these steps to customize the input form for SharePoint:
- Navigate to the SharePoint site using Internet Explorer.
- Select Site contents from the Settings menu.
- Click on Add an app.
- Click on Custom List.
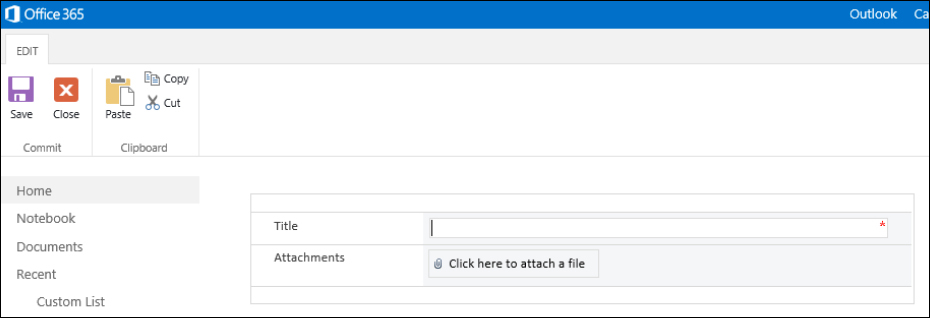
- Provide a name for the list in the Name field and click on Create.
- On the Site contents page, select the newly created list.
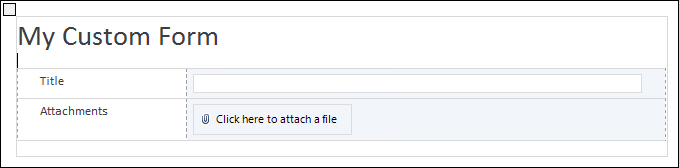
- Select Customize Form from the LIST tab in the ribbon as shown in the following screenshot:.

Internet Explorer may ask for your permission to open the form template in InfoPath.
- Add some text to the form template.
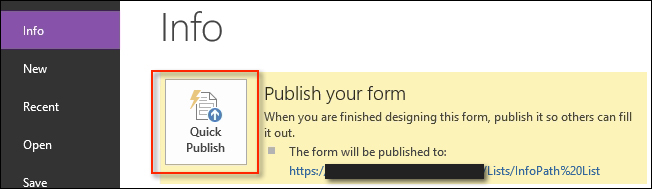
- Select Quick Publish from the Info menu as shown in the following screenshot:
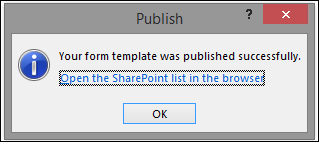
- Once the form has been published, select Open the SharePoint list in the browser and click on OK, as shown in the following screenshot:
- From the ITEMS tab in the ribbon, select New Item to observe the results of the newly customized InfoPath form template:
By default, SharePoint lists use automatically generated forms within web part pages to create, view, and edit list item data. These web part pages can be customized with tools such as Microsoft SharePoint Designer or Microsoft Visual Studio. They may also be replaced with an InfoPath form template. When selecting Customize Form on the ribbon, SharePoint automatically creates the InfoPath form template based on the list columns, configures the list to use the InfoPath form template in place of the web part pages, and opens the form template in InfoPath Designer for editing.
The Quick Publish option is only available for a form template that has already been published. When customizing a list entry form template, SharePoint has already published it. We will cover the initial publishing of a new form template later in the Creating InfoPath forms that are submitted to the SharePoint form libraries recipe of this chapter.
Tip
Using InfoPath form templates in SharePoint requires a state service application to be configured. If this has not been configured, you may receive the following error message:
The form cannot be rendered. This may be due to a misconfiguration of the Microsoft SharePoint Server State Service. For more information, contact your server administrator.
A new state service application can be configured with the New-SPStateServiceApplication Cmdlet in PowerShell.
- The New-SPStateServiceApplication topic on TechNet at http://technet.microsoft.com/en-us/library/ff608084.aspx
- The Customize a SharePoint List Form article on Microsoft Office at http://office.microsoft.com/en-us/infopath-help/customize-a-sharepoint-list-form-HA101821257.aspx