
With the growing number of applications undergoing internal testing and even external testing during beta testing, it becomes cumbersome for a manager to track all the automated tests, results, feedback, and encountered problems by test engineers and beta users scattered in different geographical locations. The web portal is the manager's gateway to track all the mobile apps' status during their lifetime.
Through the web portal, you can:
- Know the quality of the applications through the Testing view.
- Know how the users find your application through the Feedback view.
- Know the number of crashing errors through the Crash Reports view.
- Let others collaborate through the Contributors view.
Applications participating in the web portal must be registered first. As web portal owners, we will use Switchy as an example on how to register an application:
- Log in to the web portal with your Telerik account on http://my.teststudio.com.
- Go to Settings by clicking on the button highlighted in the following screenshot:
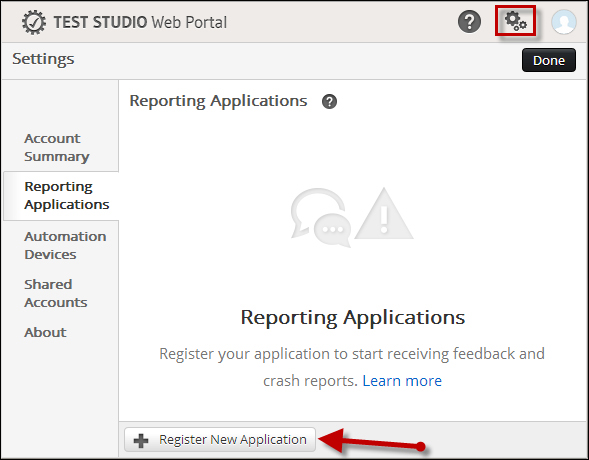
Registering a new application
- Go to Reporting Applications.
- Click on the Register New Application button also found in the preceding screenshot.
- In the ensuing Add New Application window, edit:
- Application Name to
Switchy - Type to
iOS - Bundle Identifier to
com.emirbytes.switchy.Switchy - Allow anonymous access to
True
- Application Name to
- Click on the Add button.
- Click on OK to close the result message.
- Click on Done to finish adding the reporting application.
The web portal has a tab dedicated for viewing automation projects and tests that have been created against your applications. Data can be synced from your local device and once they are uploaded they will then be accessible from the web portal. To explore the syncing feature, let's first fix the web portal settings of Test Studio as follows:
- Run Switchy from XCode and launch Test Studio.
- On the main menu screen, choose Settings.
- On the Settings screen, click on the web portal disclosure button.
- The Web Portal window prompts you to first log in with your Telerik account, so click on the Log In button.
- In the invoked login window, enter your Telerik username and password and then click on the Log In button.
- Once your credentials are verified, a window prompts you whether you would like to move the present projects to the account you just used for logging in as follows:
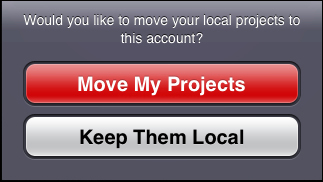
Moving projects to account dialog
- The profile for this account will be used to sync data to the web portal, so select the Move My Projects option.
Test Studio now takes you to the Web Portal window giving you the ability to switch between the local and the newly created profile. Keep the selection as it is, in order to proceed with syncing the data for the Switchy_Test project, which has been moved to this profile following the event of our choice in the previous step.
To initiate the syncing process, go back to the main menu and choose Testing. In the Projects view, click on the syncing button found at the lower-left corner of the screen as follows:
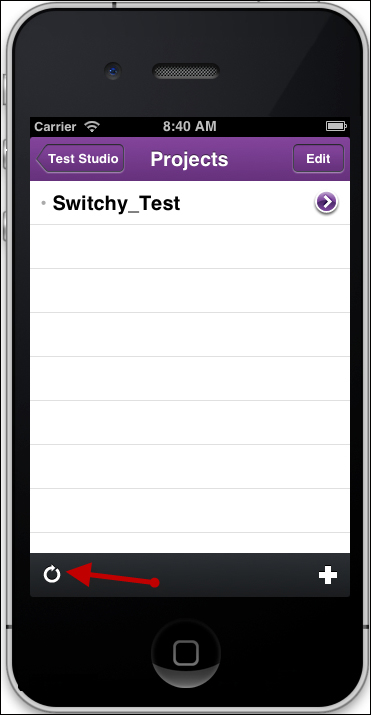
Syncing projects
Once syncing completes, you can log in to your web portal to view the project that was pushed into the test projects grid, which is viewable from the Testing tab:
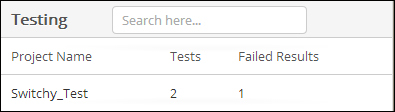
Synced project on Web Portal
To drill down to the tests, double-click on the Switchy_Test entry:
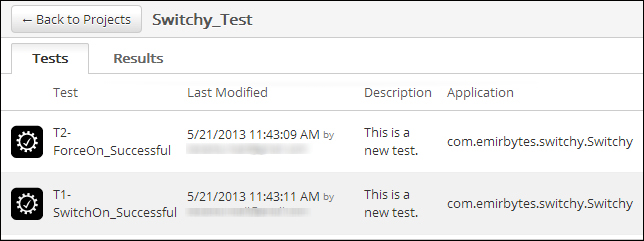
Synced tests
To view the results, click on the Results tab, whereas to view the test steps double-click on any of the tests.
Contributors can be managed by the account owner of the web portal. These people will be able to surf through a project web portal by choosing the corresponding account from the dropdown at the top of the screen.
For now, only one account is available. In order to invite contributors to it, execute the following steps:
The contributors to whom the invitation have been sent and accepted will appear inside the grid.