
- Hover over the Admin option from the toolbar and click on Projects.
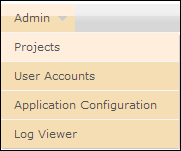
Navigating to Projects
- After the project page loads, click on the Create New Project option. The following images show the step-by-step instructions for creating a BugNet project . For each step, enter the information shown in the following screenshot:
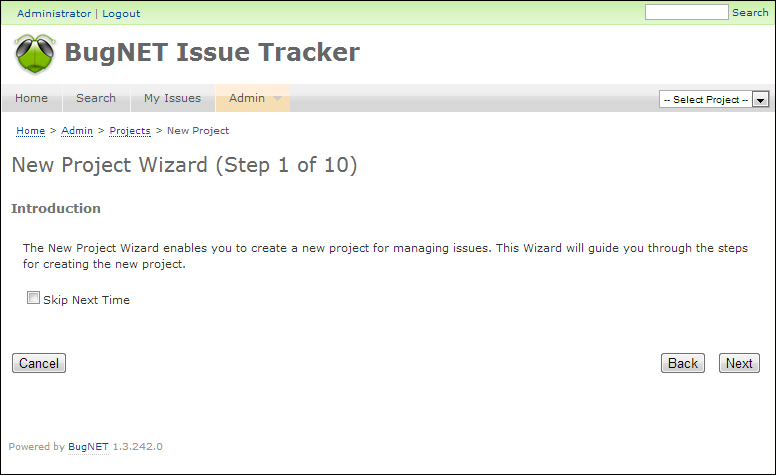
The New Project Wizard page
- Click on the Next button.
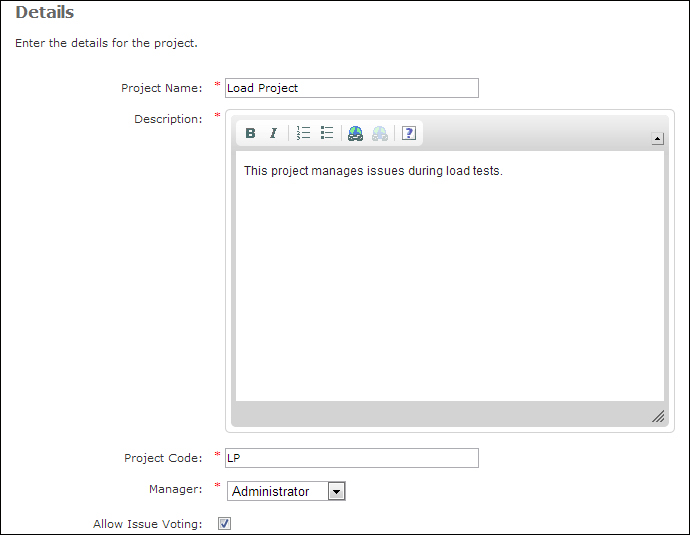
The Details page
- Enter the relevant details and click on Next.
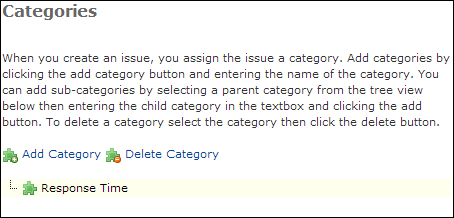
The Categories page
- Click on Add Category and then click on Next.
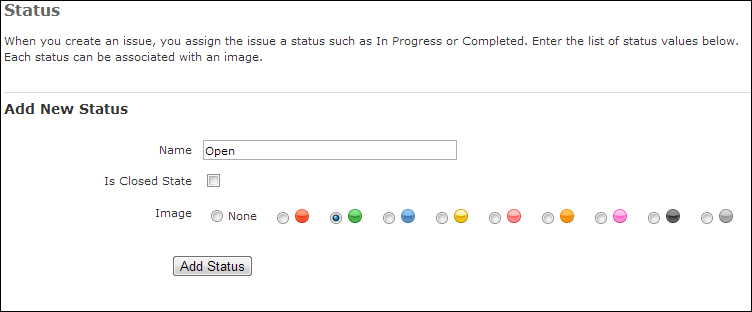
The Status page
- Click on Add Status and then click on Next.
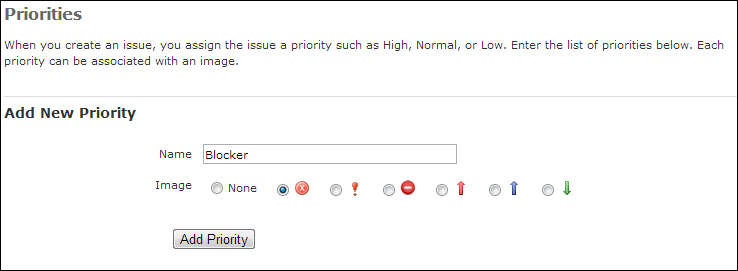
The Priorities page
- Click on Add Priority and then click on Next.
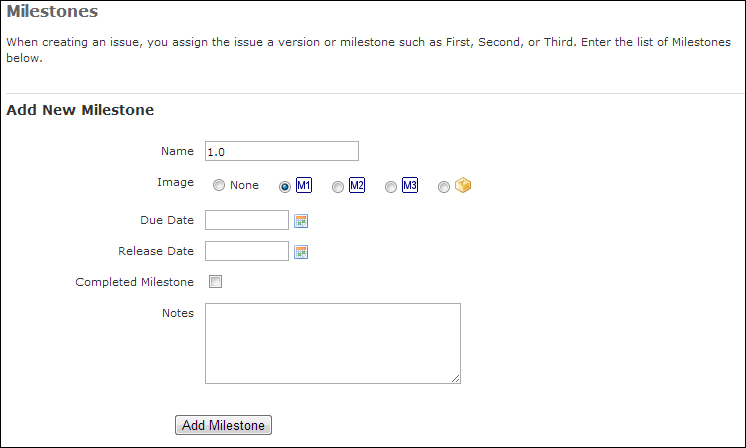
The Add New Milestone page
- Click on Add Milestone and then click on Next.
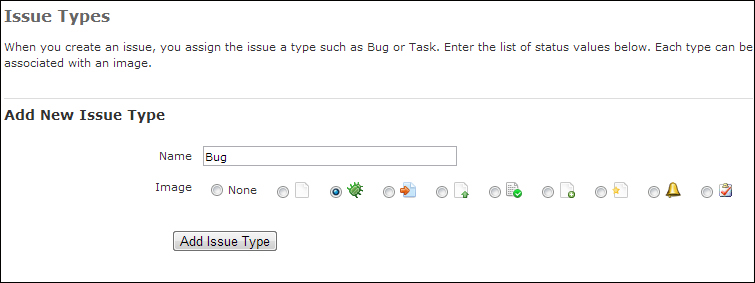
The New issue page
- Click on Add Issue Type and then click on Next.
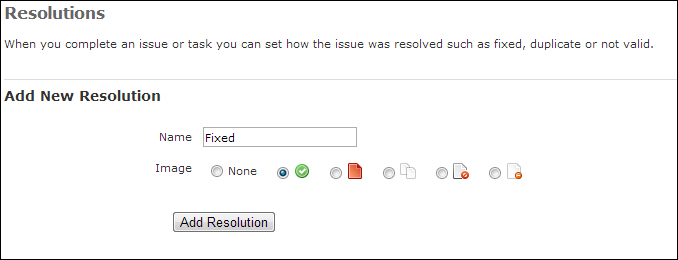
The Add New Resolution page
- Click on Add Resolution and then click on Next.
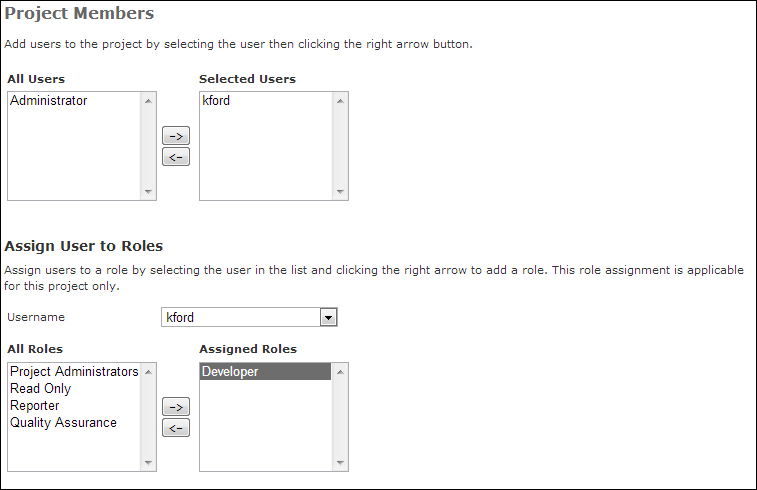
Adding the first user to the project
- Add a user by following the steps in the preceding screenshot and click on Next.
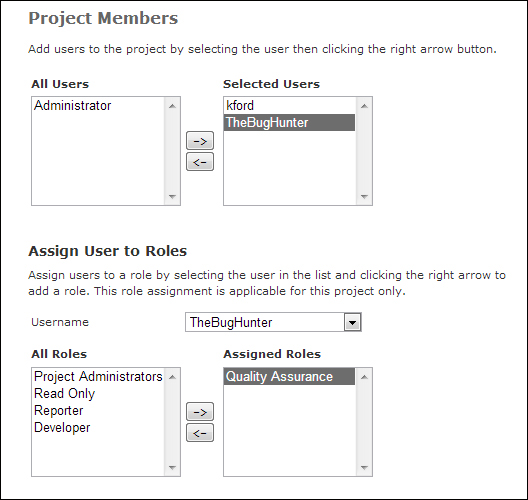
Adding a second user to the project
- Add another user in the same way and click on Next. On the last page, click on Finish.
..................Content has been hidden....................
You can't read the all page of ebook, please click here login for view all page.