The first thing we need to do is create a background for the main menu of our game. This will give us a chance to see how to setup Unity GUI components. To keep things simple, initially we will start with the main menu.
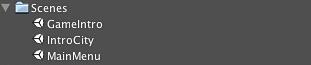
- Create a new scene called MainMenu.
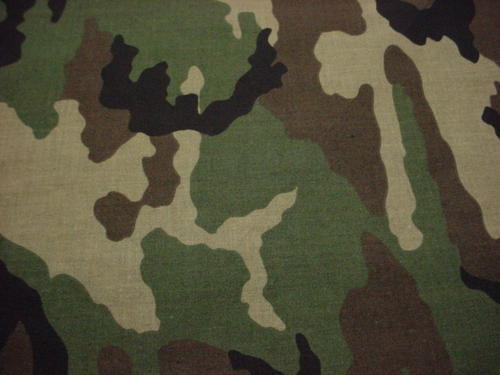
- As this is a military style game we can use a simple camouflage texture for the background of our main menu.
On top of this we will display the buttons for our game. While it is possible for us to modify our existing GameIntro scene to handle a main menu, it is better from a design perspective to create a standalone scene for the main menu. This will aid the development workflow as content creators can work on this scene in isolation.
- After adding our MainMenu scene we need to make a change to our
PlayIntroMoviescript to have it load the MainMenu scene instead of just dropping directly into the game.using UnityEngine; using System.Collections; public class PlayIntroMovie : MonoBehaviour { // Use this for initialization IEnumerator Start () { iPhoneUtils.PlayMovie("Snowpocalypse2011.m4v", Color.black, iPhoneMovieControlMode.CancelOnTouch, iPhoneMovieScalingMode.AspectFill ); yield return null; Application.LoadLevel("MainMenu"); } } - The next step is to import the texture that we will be using for the background. In the project folder for this chapter you will find the asset
army_camo.jpg. If you drag this into Unity it will be imported and ready for use. However, there are a few settings we want to change for our iOS release. If you display the Inspector settings for the asset you will find that it is imported at 1024x1024. However, for our iOS game, we don't want such a large texture simply as a background. - Override the settings for this texture for our iOS device by selecting the iPhone icon and checking the box to override the settings for iPhone. Set the Max Size for this texture to 512 and click on the Apply button.
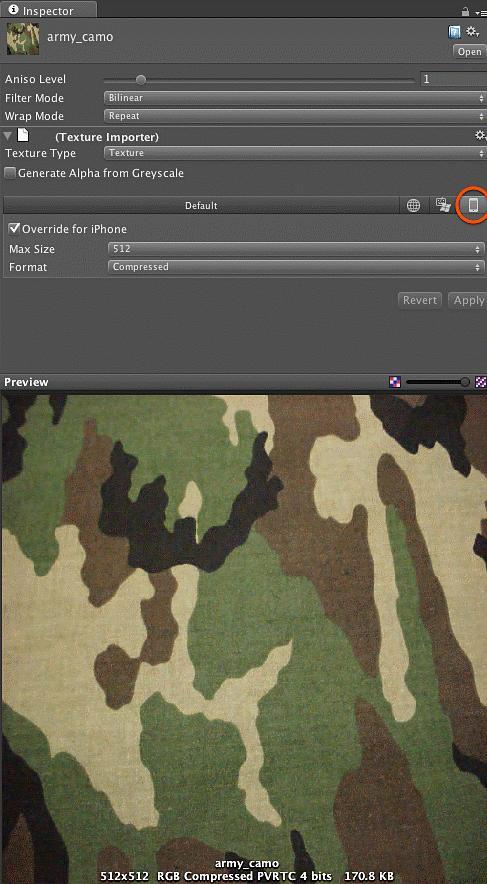
Now our texture for iOS will only be 512x512, while it can be 1024x1024 for other platforms. From a workflow perspective this is important, as you will want to override your assets for the platform you're deploying to, while not creating entirely new assets for each platform.
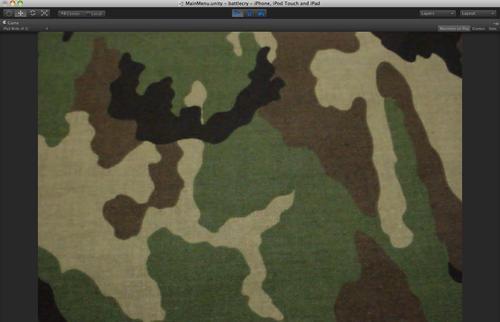
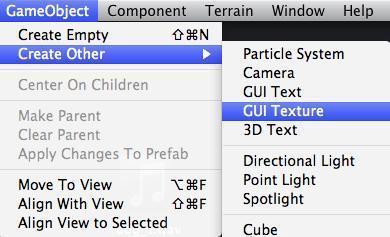
- Our next step is to make this image the background of the scene. Select the texture that we just imported in the Project view and create a GUI Texture.
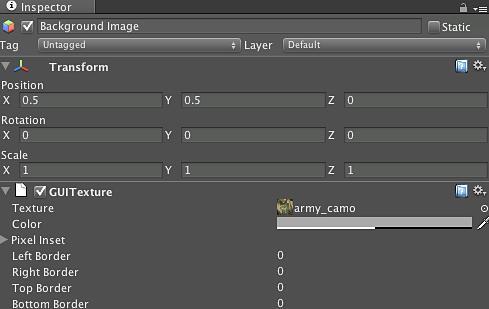
- Change the scale of our background texture to (1,1,1) so that it is scaled to fill the screen. Since a GUITexture is a Unity UI construct specifically for UI elements, all of its position and scale is done in screen space as opposed to world space. By setting this to 1 in all dimensions. We're telling Unity to fill the screen with our GUITexture. The Z-axis in this case is the same as for prior chapters. If you need to draw other items in front of the background, they simply need to have a lower Z value than the background.
- Run the project and you will see a camouflage texture that fills the entire screen.