
- Create a new scene in the project by selecting File | New Scene.
- Save the scene.
- Create a Cube Prefab.
- Create a new Material from the Assets menu by selecting Assets | Create | Material.
- Select the Material in the Project view.
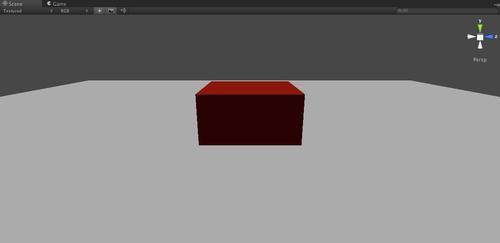
- In the Inspector, select the Main Color selector and set the color of the material to red.
- Assign the Material to the Cube by dragging the Material onto the Cube in the Hierarchy view:
- Create a new Prefab in the Project View by selecting Create | Prefab:

- Let's rename it to EvilBox so that we know that when we use this Prefab we are creating the Red Cubes that have to die:

- Next we will take the Red Cube that we created earlier and drag it onto the EvilBox prefab. When you do this you will notice that the Cube and the EvilBox prefab are both highlighted in blue. This notes that the prefab now has all of the settings of the original object:

- Delete the original Cube from the Hierarchy view.
- Drag the EvilBox prefab into the scene several times and you will notice that new objects are created in the Hierarchy view. These new GameObjects are Instances of the original prefab template:

We have just created a reusable prefab object for our game. This Prefab object has a well defined appearance and behavior which can be duplicated over and over. More important still, if you need to change the EvilBox because someone told you that it's really blue boxes that are evil, you can select the Prefab and change its settings and all of the instances will change accordingly as every instance of a prefab is tied to its template's properties.
If, for some reason, you change one of the instances of a Prefab Instances in a material way, the Instance will change from being blue back to the default gray color. This denotes that the Prefab no longer represents the Instance. But suppose that you wanted to take the settings of the Instance and make it the new default? To accomplish this, drag the child instance that you changed from the Hierarchy over to the Prefab and you will see that the settings of the Prefab are updated with those of the instance and that the instance itself is now linked with the prefab again.
The Scene is the place where all of your action takes place. From a Unity perspective the words Scene and Level are synonymous and there are times when the tool uses the terms interchangeably. You can create new scenes from the File menu:

Once created and saved, a Scene will show up in the Project view and have a Unity icon next to it. If you're ever looking for your scene you can find it in the
Assets folder of your project with a .unity extension.