
One of the hardest things to do when building an application for an iOS device is to be able to get some real time feedback from the device, while still having the richness of the development environment to work with. Unity solves this problem with the Unity Remote application that will allow you to play test your application within Unity, while using the iOS device as a controller. Unity Remote accomplishes this by streaming the game to the iOS device through WiFi and gathering the input actions from the device and injecting them into the Unity environment. With Unity Remote you can avoid having to build and deploy your application to your device every time you make a change.
There is only one problem with Unity Remote when it comes to testing our application – we need to build it specifically for our device.
We are going to walk through each of the steps necessary to produce commercial content for Unity 3 that can be deployed to an iOS device:
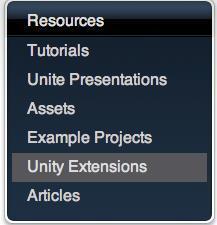
- The first step is to open the Unity Remote project in the XCode environment. The Unity Remote source project is not in the distribution for Unity and needs to be downloaded from the Unity website. Unity Remote is an official Unity extension on the website and can be downloaded at http://unity3d.com/support/resources/unity-extensions/unity-remote:
- Once this project has been downloaded, select the UnityRemote.xcodeproj to open this project in XCode. As we did in the last chapter, we need to create an App ID for Unity Remote in the iOS Provisioning Portal:

- With our App ID created, we need to enter that App ID into the XCode project so that the application will build with that App ID and be deployed to our iPhone. While Unity takes care of these steps for us, we will need to do them ourselves for Unity Remote as this is a regular XCode application.
- Open the project settings using the Edit Project Settings in the Project menu in XCode. This will display all of the settings that XCode will use to build and deploy your application:
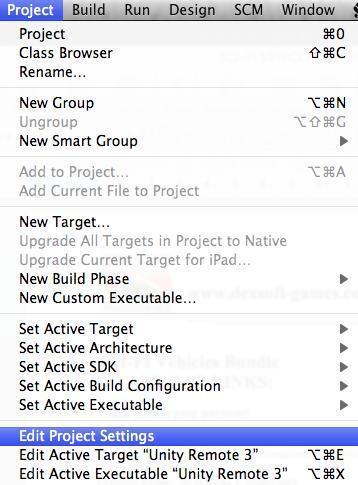
There are two groups of settings that we are interested in for this project: Architectures and Code Signing.
- In the Architectures section we want to make sure that we have set the project's Base SDK to the appropriate version for our device. For example, if our device is running iOS 4.0 we want to make sure that we don't have the Base SDK set to build for iOS 4.2. Simply select the drop-down list on the Base SDK line and XCode will tell you what the valid options are for your configuration. If XCode doesn't show an SDK here, it is because it is not installed properly and XCode will not be able to build with it.
- In the Code Signing section you will want to select the Any IOS entry under the Code Signing Identity item. When you select the drop-down for this item it will display all of the possible code signing options for this project. Simply select the one that corresponds to the App ID you just created in the iOS Provisioning Portal.
- With those settings updated for your App ID, and device, you can now build the project in XCode from the Build menu by selecting Build and Run. This will build the Unity Remote application with XCode and deploy it to your device.
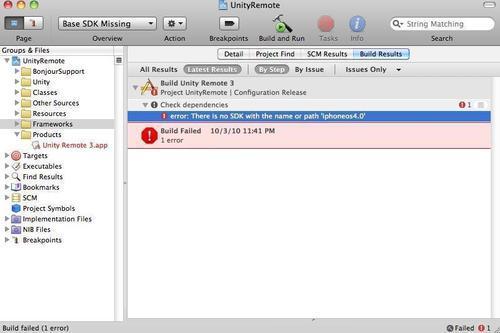
- Make sure that you have the target device plugged in when you run this command or XCode will complain profusely:

What this error is saying is that the Unity Remote was expecting iphoneos4.0 to be installed as the SDK. This is represented in the toolbar, as well in the build configuration drop-down as Base SDK Missing. Depending on when you've begun your trek into iOS development, iphoneos4.0 may be a distant memory. To remedy this you will have to adjust the settings for the project to match the SDK that you have installed by editing the Active Target for Unity Remote:
Tip
In the Architecture section you can change the Base SDK to whichever SDK you desire. Generally, the best option is to set this to the Lastest iOS unless you have a particular reason to do otherwise. With this setting changed you will see that the Base SDK Missing error is gone from the toolbar and when you build the project it will successfully install on your device.

We have just built and deployed Unity Remote to our device. This allows us to use our iOS device as an input to our game and test the behavior of the game from the iOS device, without having to deploy the application on the device. This is useful as it will speed the development process and reduce the number of code-compile-deploy cycles we have to perform.