Some testing operations are simplified by the Store Test Kit, which allows to perform a set of automatic and manual tests. They can be used to verify many requirements that should be met to accept the application in the store.
You can open the tool by choosing the Open Store Test Kit option from the context menu of the SpaceAim3D project (not solution), or by choosing the Open Store Test Kit entry from the Project menu. The tool contains three pages: Application Details, Automated Tests, and Manual Tests. You will learn how to use all of them in this section.
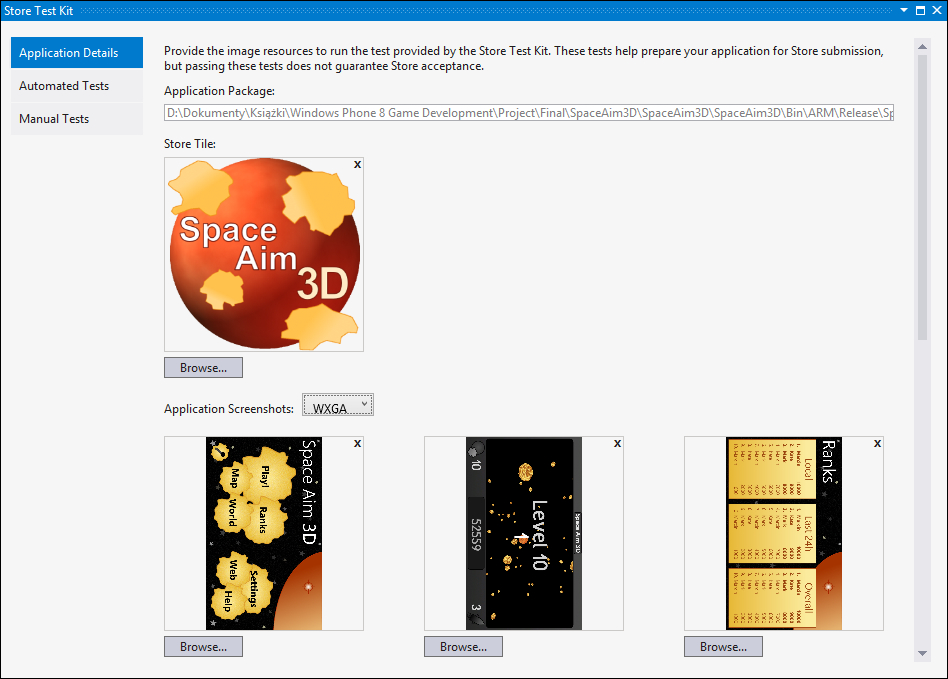
In the first page you should specify some details regarding the application, including the store tile image with size 300 x 300 pixels. Apart from it, you need to choose a set of screenshots for each supported screen resolution. It is important to add at least one screenshot and not more than eight. Each of them should be provided in proper resolution, that is, 480 x 800 (WVGA), 768 x 1280 (WXGA), and 720 x 1280 (720P).
The Application Details page is shown in the following screenshot:
You can make screenshots either in the emulator (using the Screenshot tab in the Additional Tools window) or on the phone. In the latter case, you should press the Start and power buttons. When a screenshot is taken correctly, a shutter sound is played and the image is saved in a suitable album.
The Application Package field is a read-only textbox, where a path to the .xap file is shown. It is worth mentioning that it indicates the Release version for ARM, thus it is exactly the same version as you generated earlier.
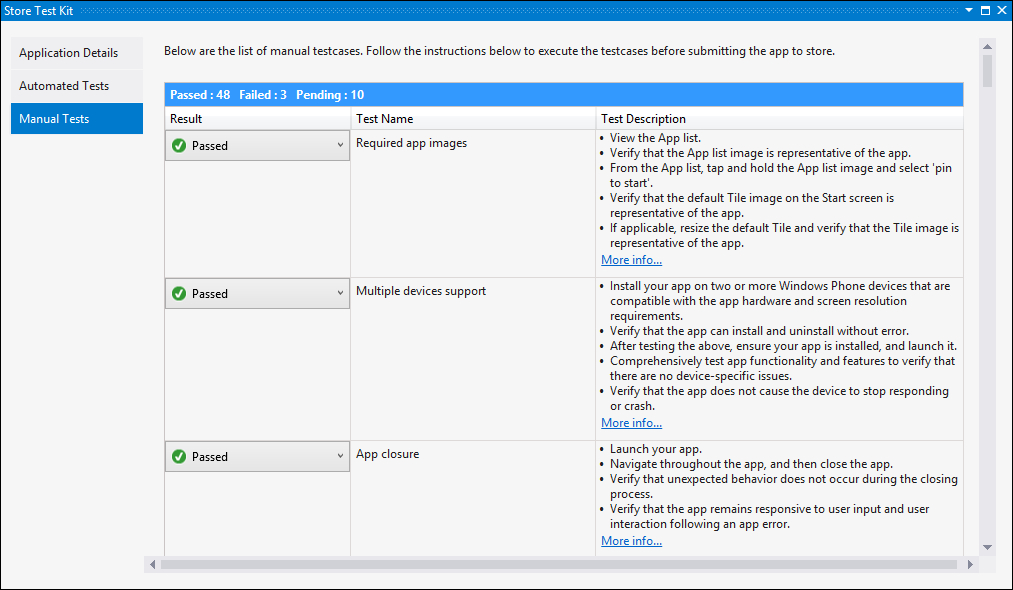
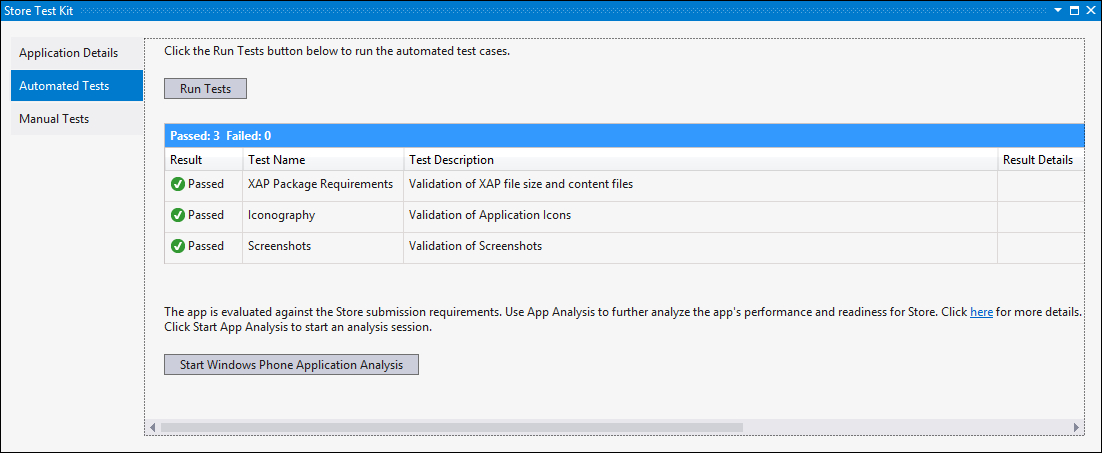
The second page is named
Automated Tests. By clicking on the Run Tests button, you run a basic verification of your project regarding the submission requirements, for example, whether the .xap file size is correct, as well as you provide the suitable icons and screenshots. If all tests are passed, you will receive a result as shown in the following screenshot. Otherwise, some additional notes are shown. In such a situation, you need to fix errors and run the tests once again.
It is important to note that passing all automated tests does not mean that the application does not contain any errors which could prevent the project from being accepted in the store.