
Now, let's see how we can add 3D lighting effects to our pause menu so that it looks like this:
In order to have refraction effects on widgets, you need to have a normal map for your atlas. A default refractive atlas with normal maps is available with NGUI:
- In your Project view, type
refractin the search bar. - Select the Refractive Atlas material.
In the inspector, you can see that the Refractive Atlas material has both Normal and Specular maps, in addition to the Base texture containing the sprites:
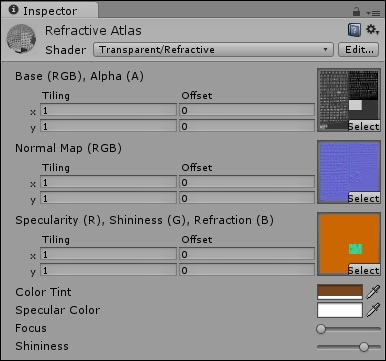
We can now use this refractive atlas to make sure our level name on the ground reacts to lights present on the scene. We'll need to change the sprites from Wooden Atlas to Refractive Atlas:
- Select our
Ground|LevelName|BackgroundGameObject:- Click on the UISprite Atlas button.
- Click on the Show All button to display all atlases.
- Select Refractive Atlas.
- Change Sprite to the Dark sprite.
Ok! We can now do the same for the label and border so that they become refractive:
- Select our
Ground|LevelName|BorderGameObject:- Change Atlas to the Refractive Atlas.
- Change Sprite to the Highlight sprite.
- Select our
Ground|LevelName|LabelGameObject.- Set the font type to NGUI.
- Click on the Font button.
- Click on the Show All button to display all fonts.
- Select Refractive Font - Header.
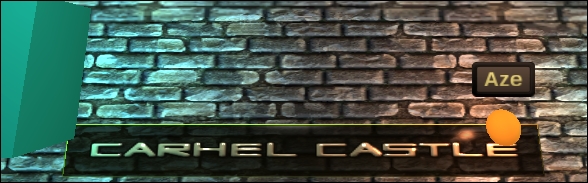
You will notice that our level name is no longer displayed correctly, as shown in the following screenshot:

This problem is due to two reasons:
- The
LevelName'sTranformYposition is currently at 0, which means it's overlapped by the ground's mesh. We must move it above the ground. - The attached
UIPanelofLevelNamedoes not have normals enabled. This option is needed for the refractive shader to work properly.
We can correct these two issues by executing the following steps:
- Select our
Ground|LevelNameGameObject. - Check the Normals option in the attached
UIPanel. - Change the Transform position to {0, 0.05, -3.8}.
That's it! Hit Unity's play button. When you drag the power sources next to the level name widget, it reacts to its light source and also works with the player!
Now that we have seen how to create 3D widgets and nice lighting effects, let's summarize what we worked on in the course of this chapter.