
Edge Finishing: Edge Beveling
Beveling softens edges and corners by removing material at a 45-degree angle, just like bullnosed countertops. Beveled edges can also help stitching lay flat. Keep your beveler sharp for best results.
Materials
Leather
Tools
Cutting mat
Edge beveler
Clamps (optional)
Sandpaper, 150 grit (optional)

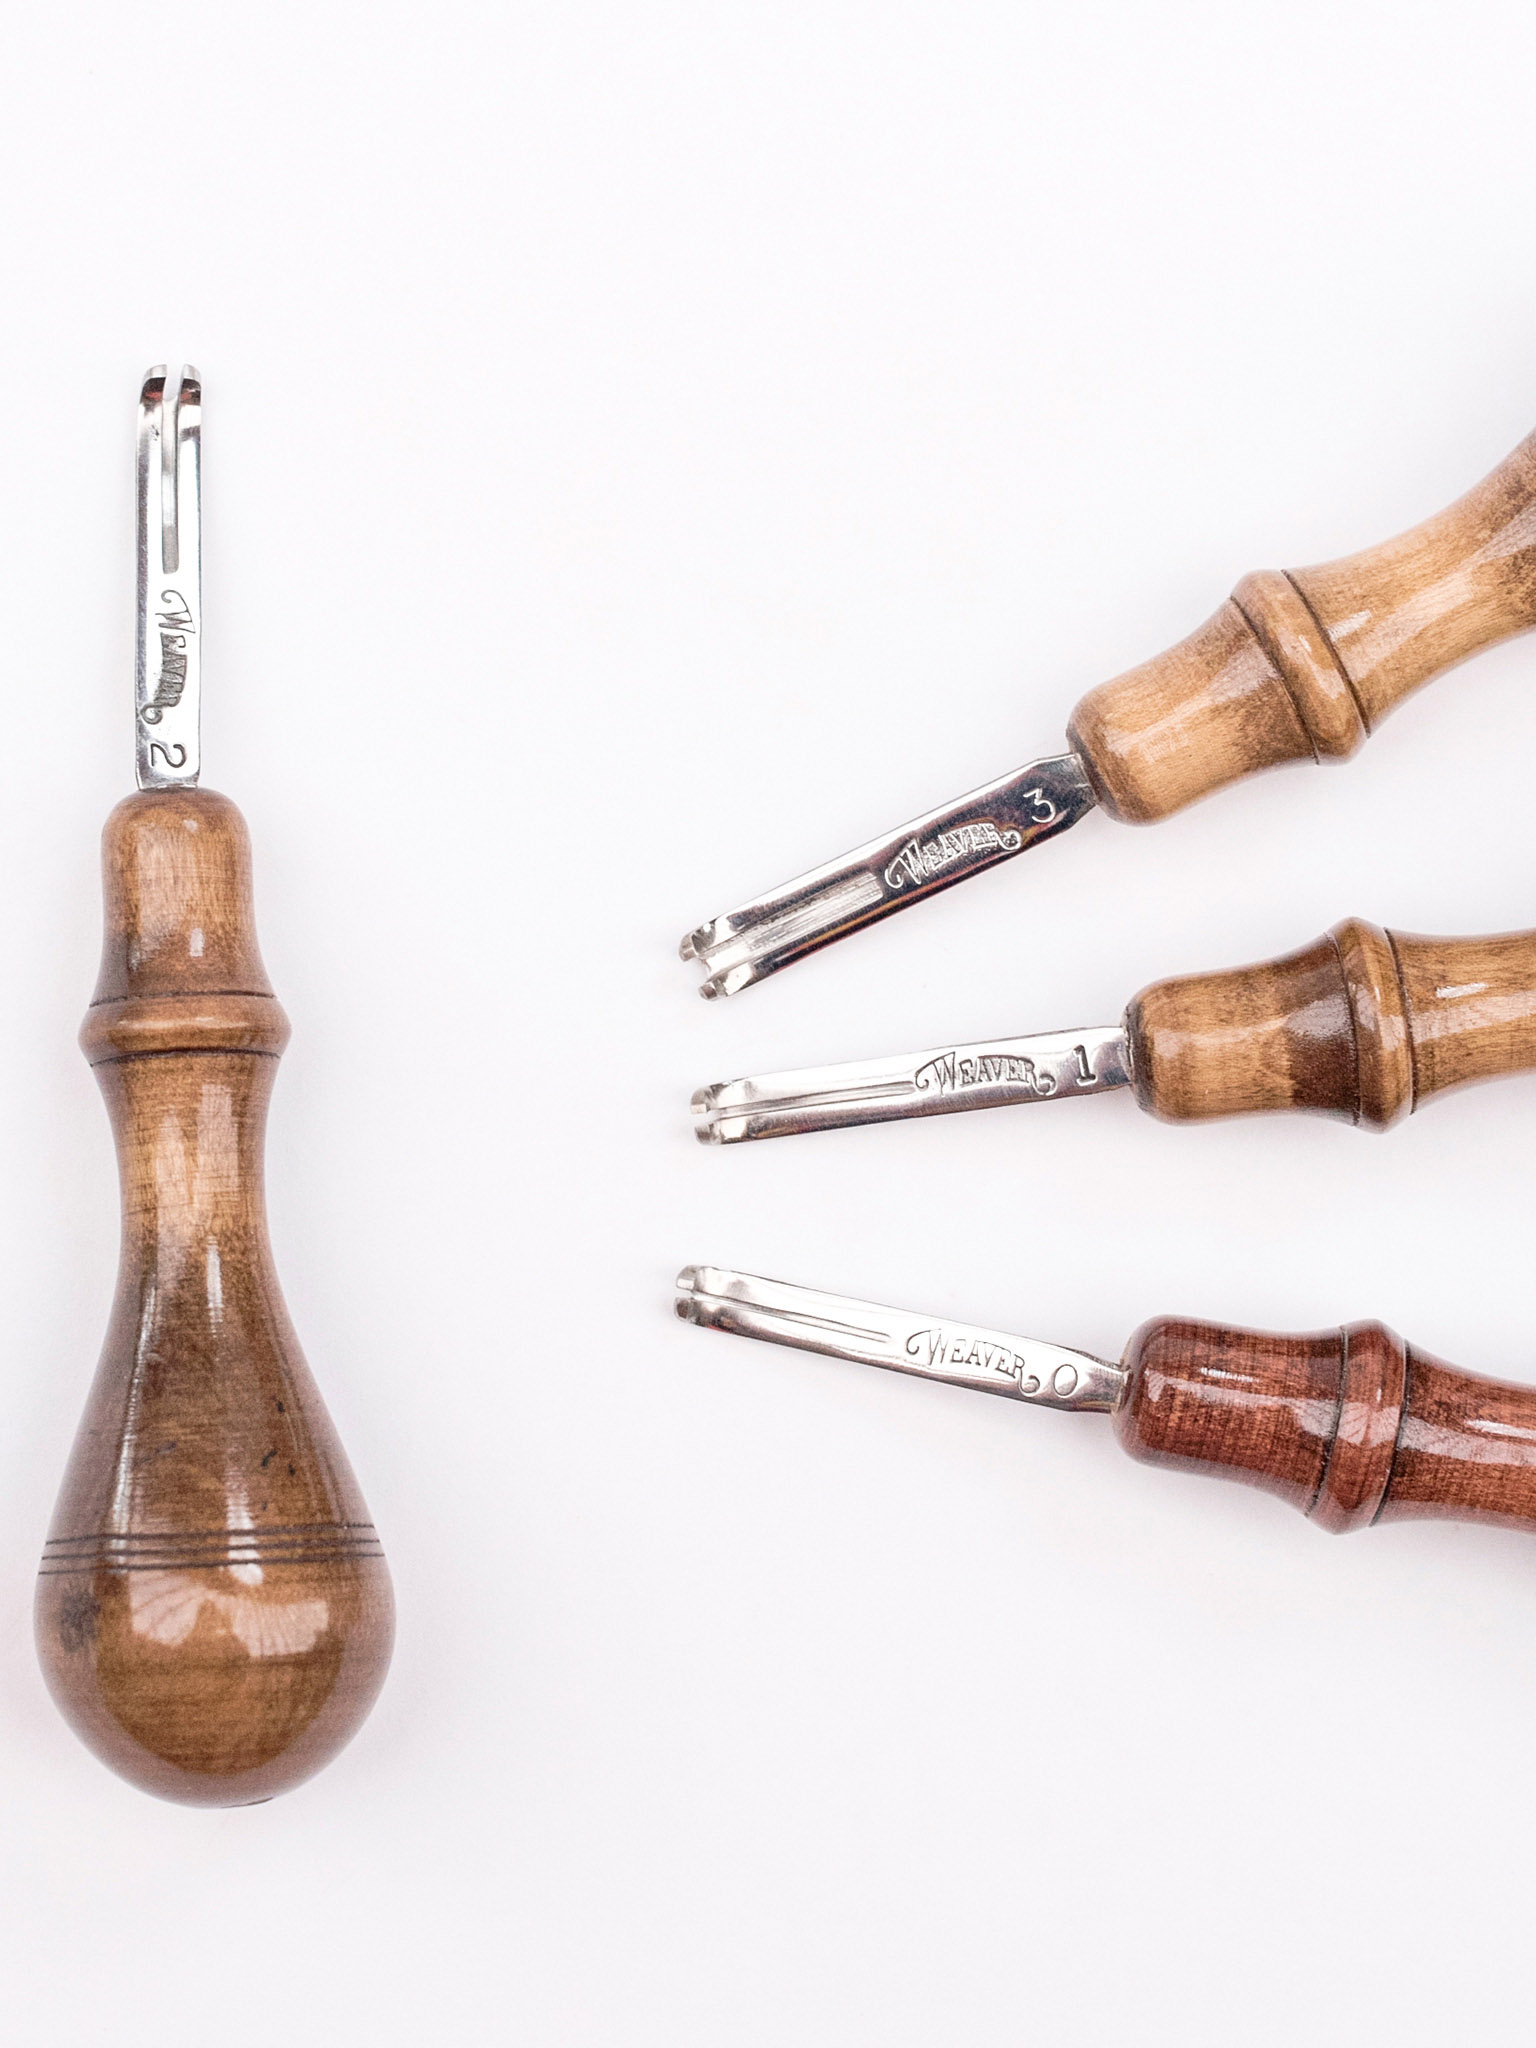
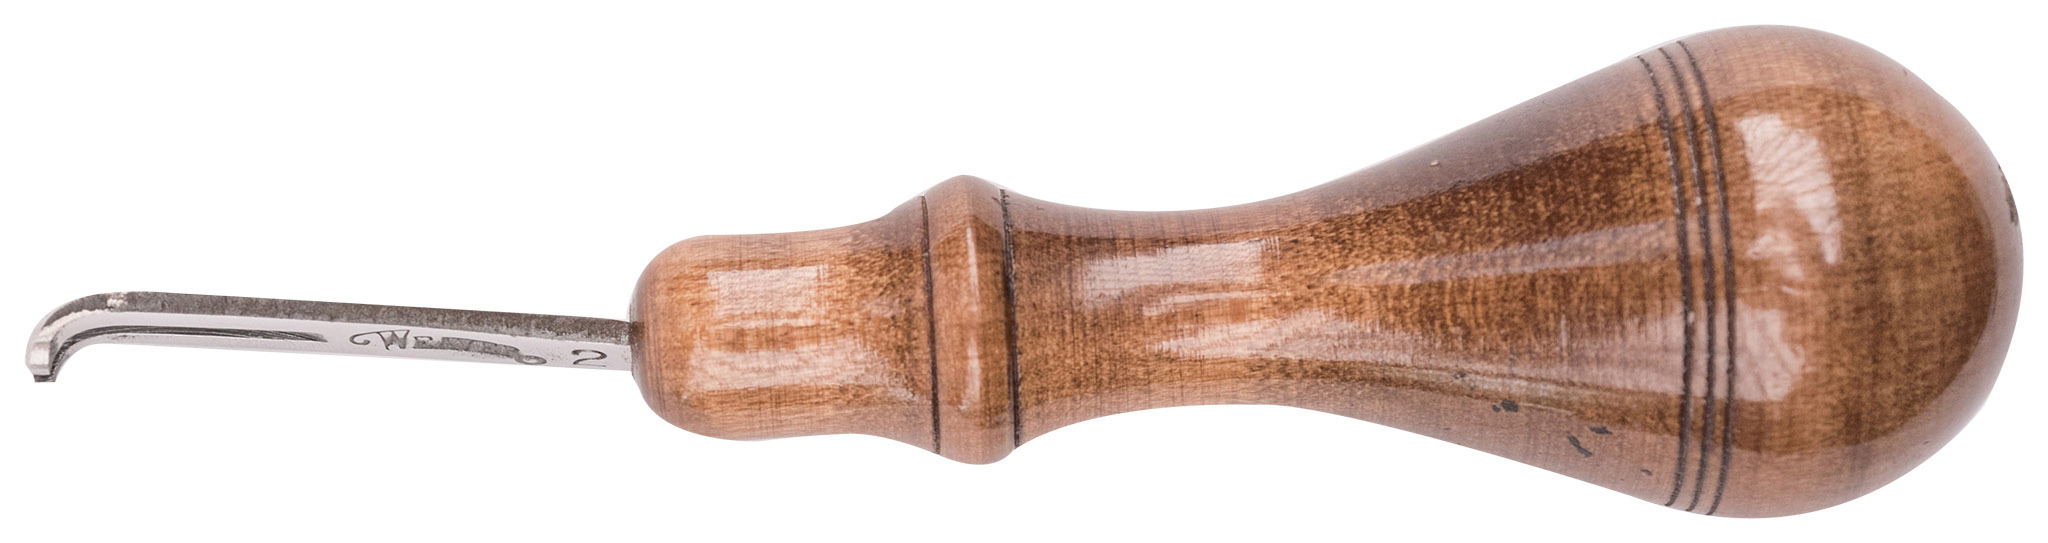
1 Select your beveler. Edge bevelers come in many sizes, from #0 to #3. The larger the number, the thicker the leather it’s meant to cut. The projects in this book call for a #2 edge beveler, which is an all-purpose size.
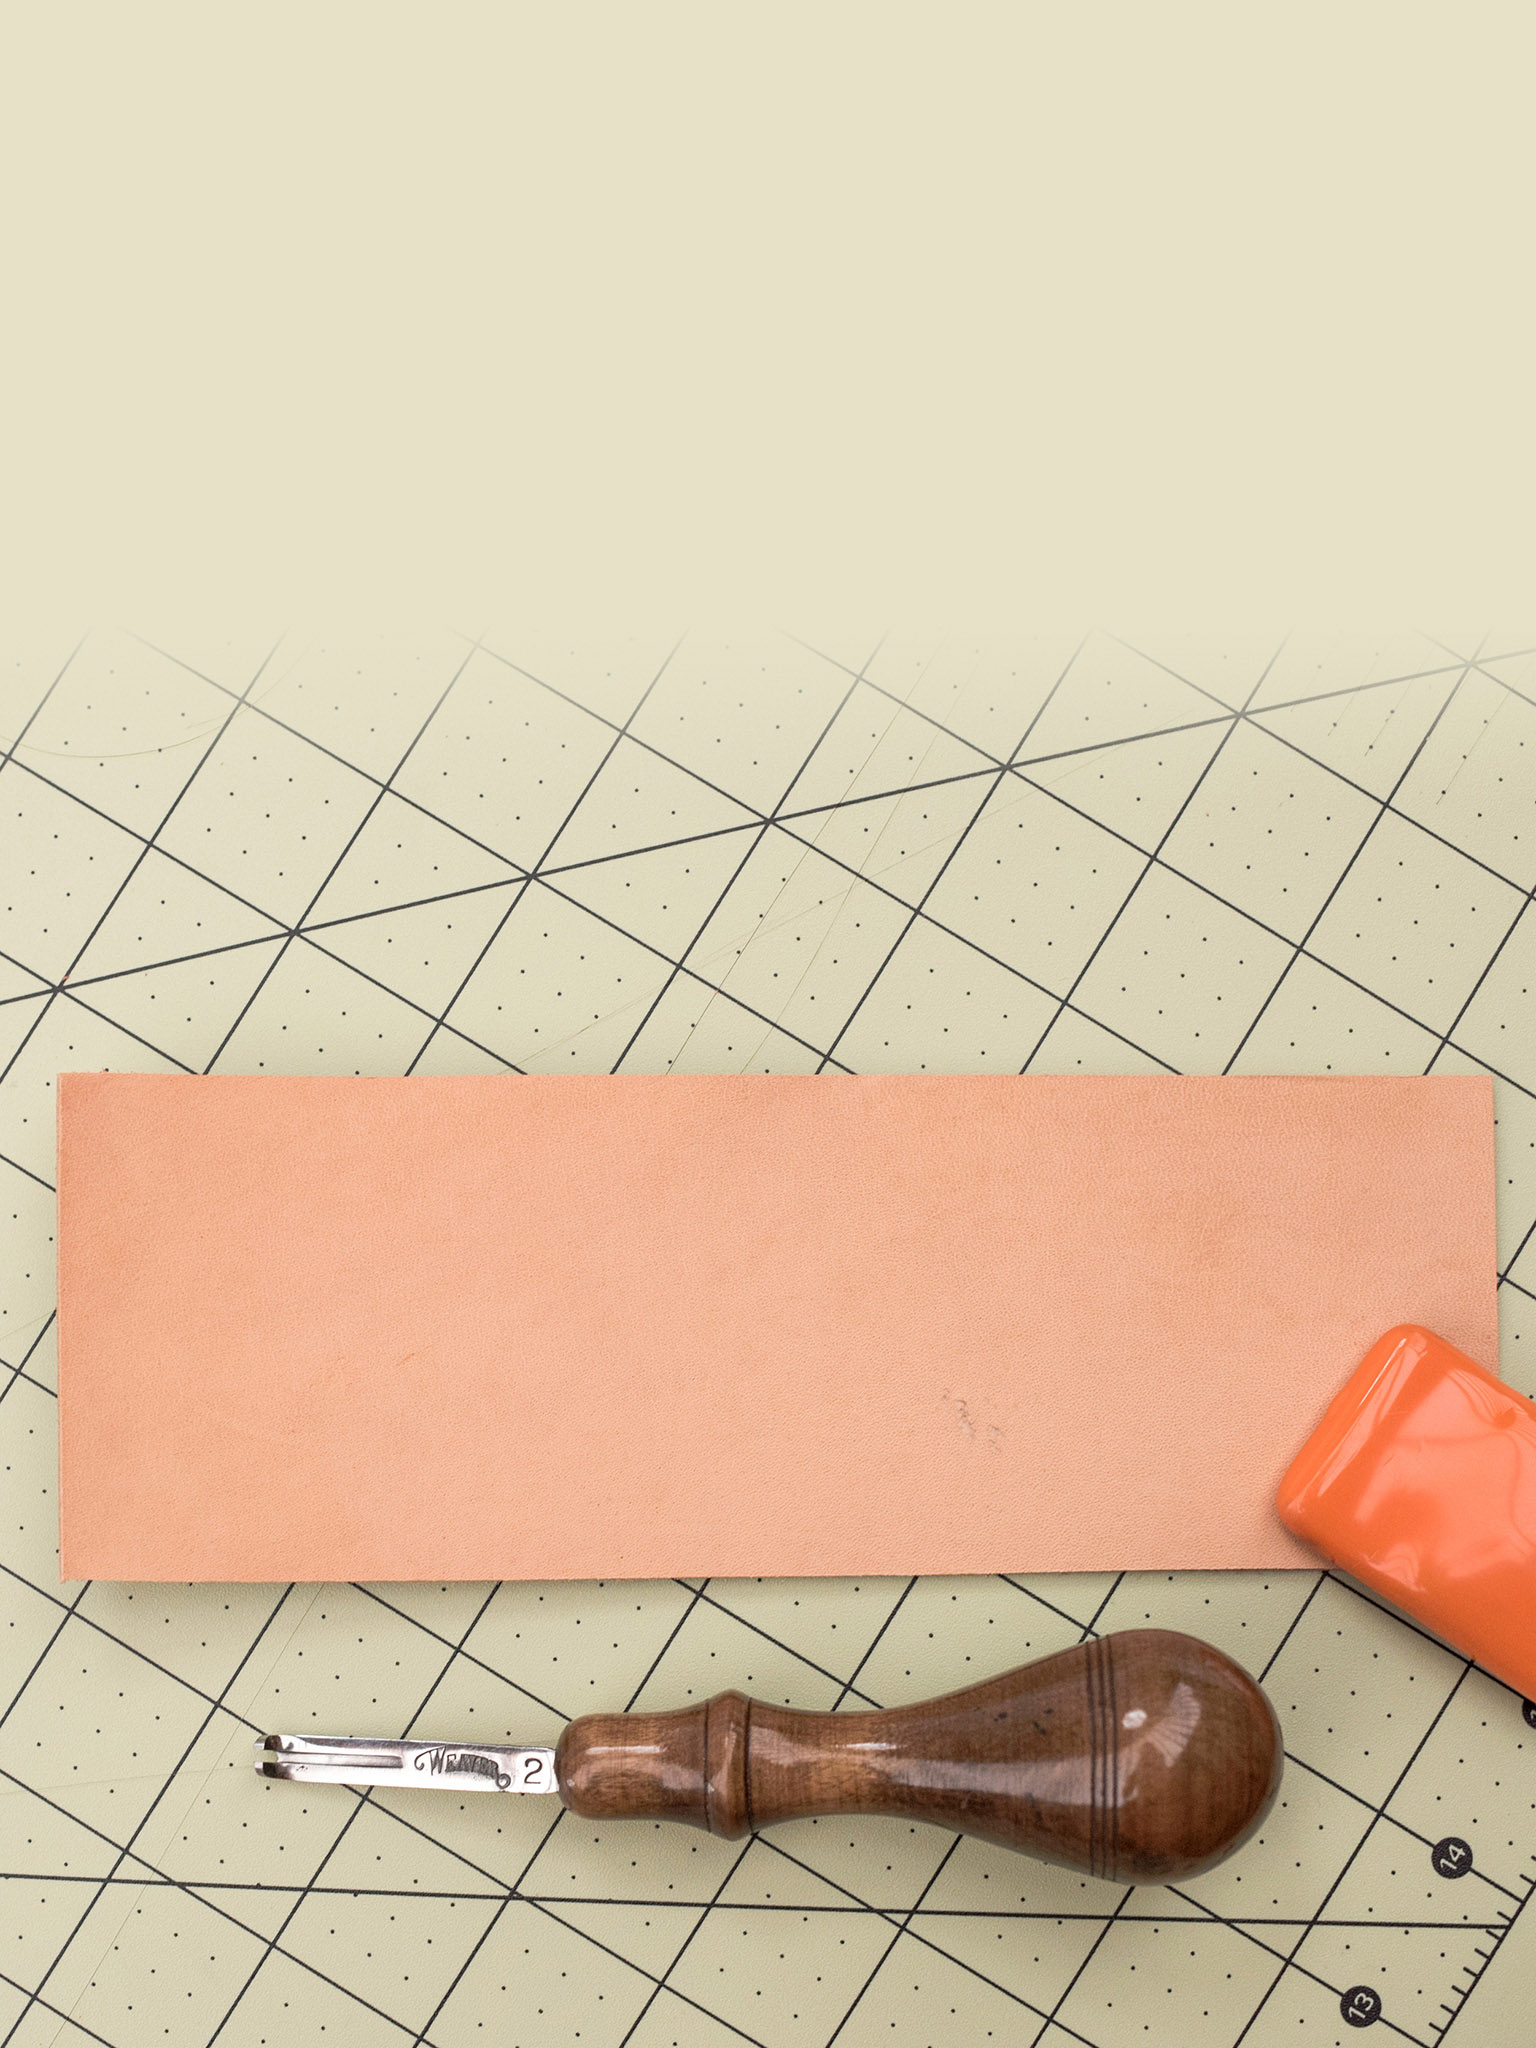
2 Position the leather. Lay out the leather to be beveled. Your project needs to be held firmly in place. If you can’t do this with your free hand, employ clamps.
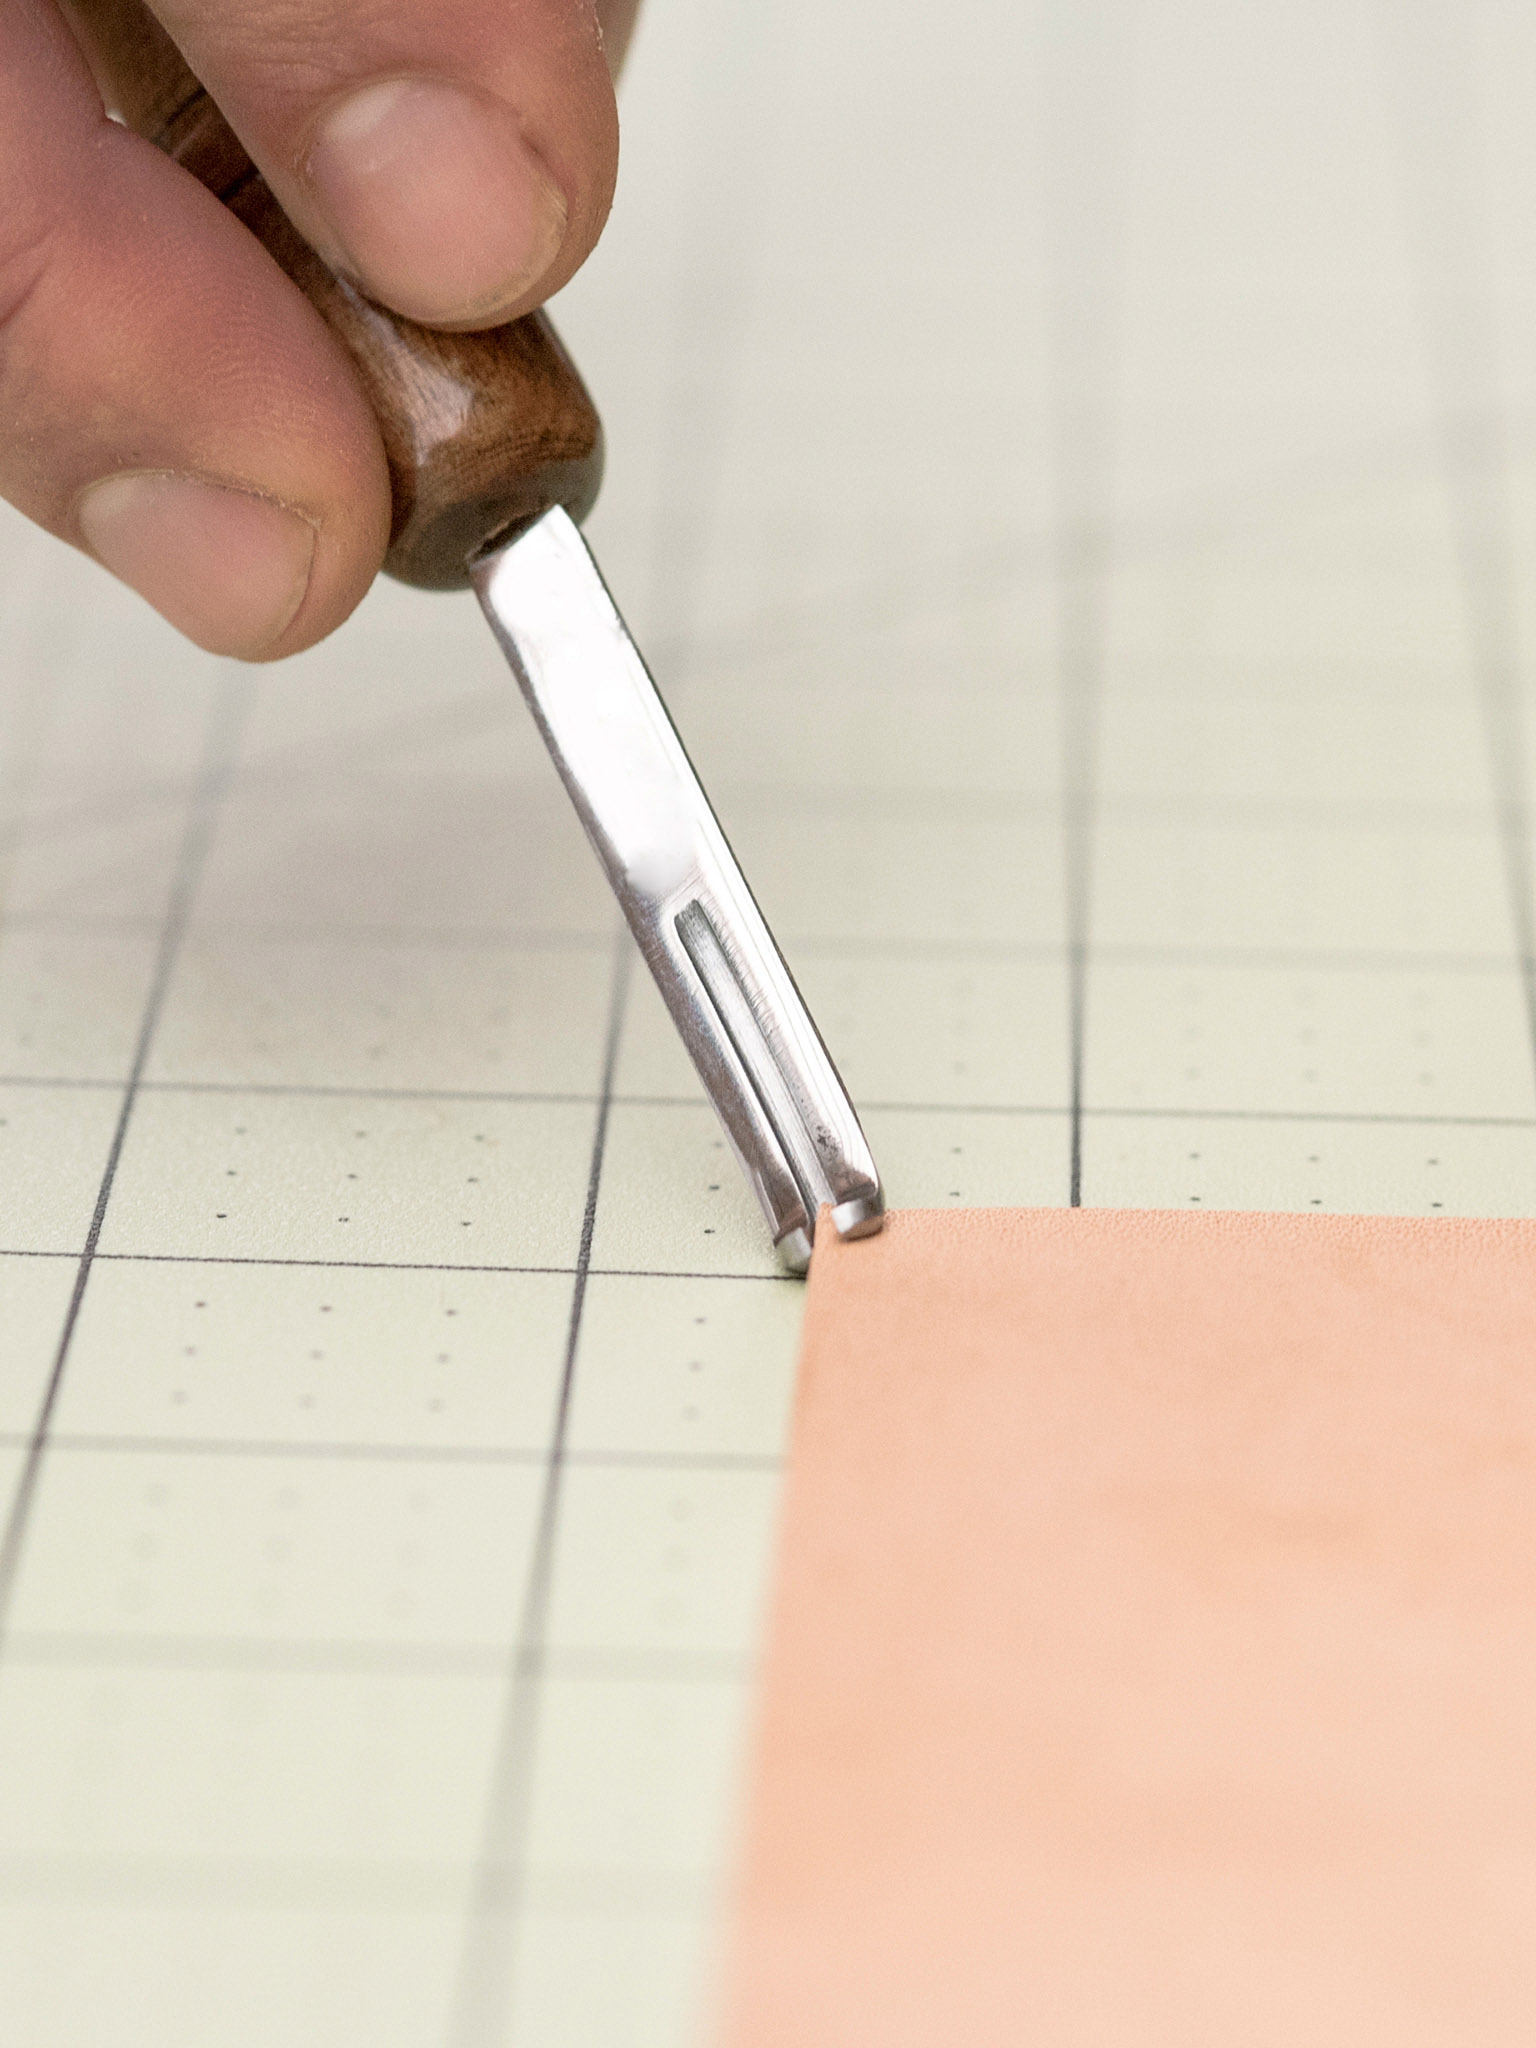
3 Position the beveler. Hold the beveler with the butt of the tool in the palm of your hand, using your fingers to steady it. Start at roughly 45 degrees vertically and horizontally. Not all edge bevelers are the same, so you may need to adjust as you start cutting.
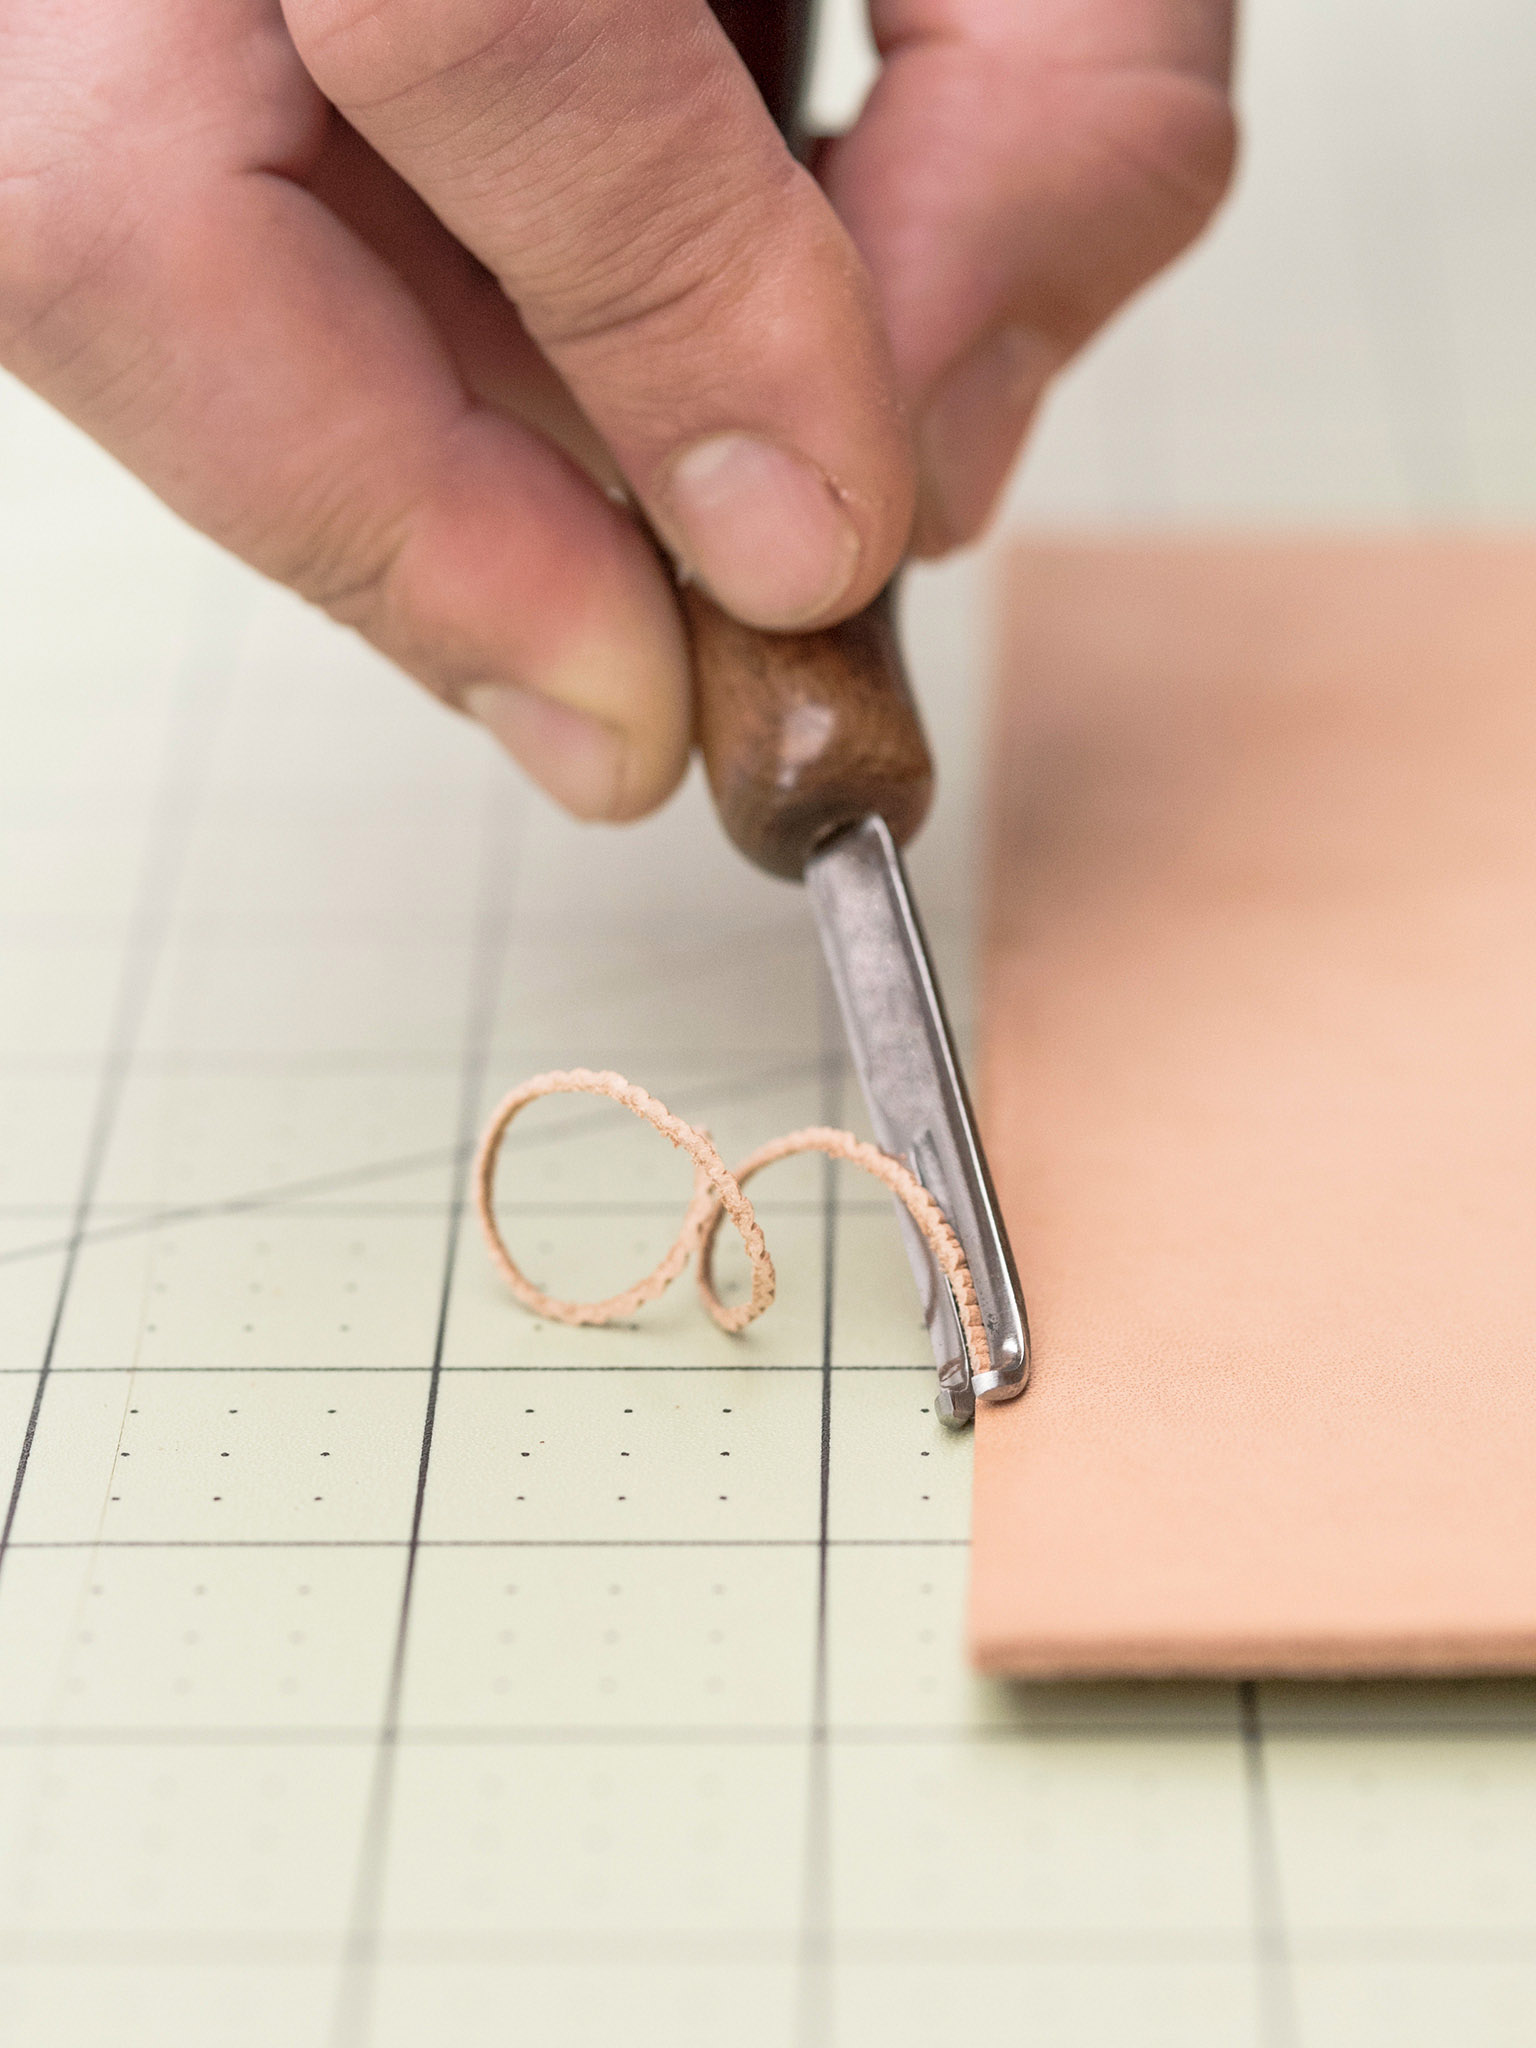
4 Begin beveling. Begin beveling on the finished side of the leather first, which is crisper and easier to cut. Try to bevel in a smooth, fluid motion. This can be difficult, especially with soft areas and on the rough backside. Outside (convex) curves can be especially challenging. Go slowly and have patience.

5 Sand the edges, if desired. For a more rounded, finished look, sand the beveled edges using 150-grit sandpaper.
It will differ by project, but generally you’ll want to bevel both the front and back side of a single piece of leather, and just the front side if two more layers of leather are bonded or stitched together.