
Slim Wallet
This lithe, back pocket billfold carries just the necessities. The design features two basic card slots, with optional instructions for a third quick-access slot. The unobtrusive size and minimalist design will also prevent that thick wallet fade line from appearing on your best jeans pockets.
Finished size
4×2¾ inches (10.25×7cm)
Materials
1 piece 2–3 ounce (0.8–1.2mm) vegetable-tanned leather, 8×5½ inches (20.5×14cm)
Cardstock
Waxed nylon thread, black
Cement
Template
Slim Wallet (idiotsguides.com/leather)
Tools
Mechanical pencil
Cutting mat
Precision knife
Straightedge
Hole punch, #2 (optional)
Mallet
Stitching groover
Pricking iron
2 harness needles, #00
Techniques Used
Working with Templates
Cutting: Using a Straightedge
Cutting: Using a Precision Knife Freehand
Punching: Using Hole Punches
Cementing
Hand Stitching: Using a Stitching Groover
Hand Stitching: Using a Pricking Iron
Hand Stitching: Using an Awl
Hand Stitching: Saddle Stitch

1 Prepare the template. Tape the paper template pattern to the cardstock and position your work on a cutting mat. Using a precision knife, follow the lines on the pattern to cut out the cardstock template.

2 Trace the template. Place each template piece on the leather and trace around them with a pencil.

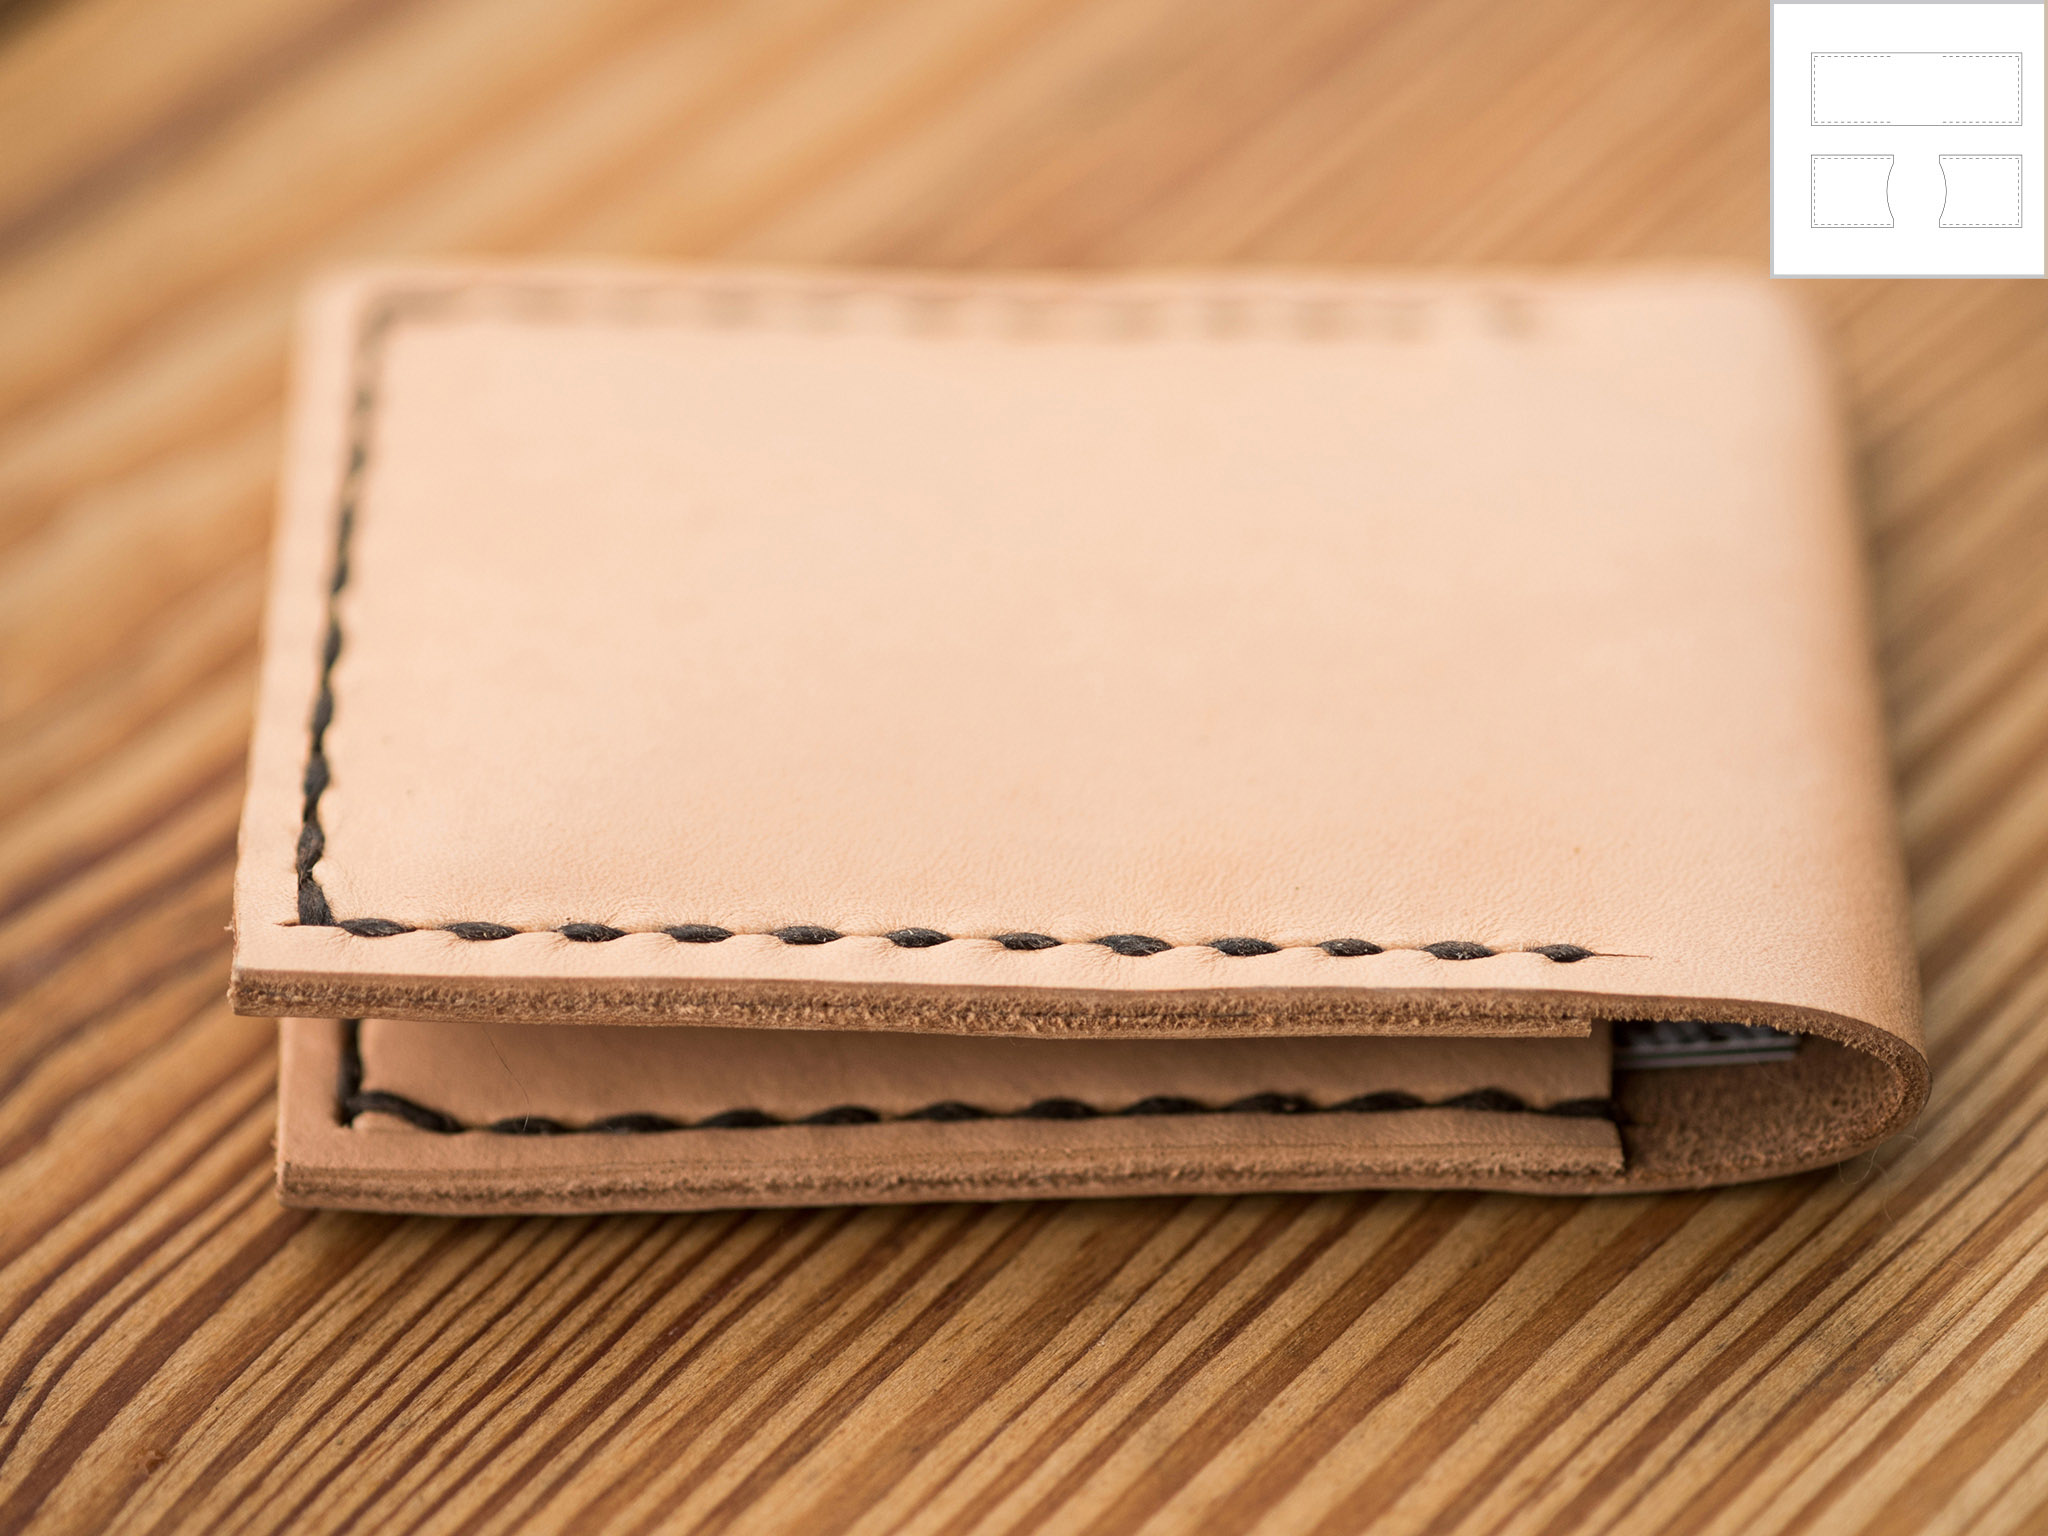
3 Cut out the leather. Cut out the three pieces of leather, using a straightedge and precision knife for straight sections and a precision knife freehand for curved sections.
4 Cut optional card slot. If desired, mark the ends of the optional card slot line using a mechanical pencil. Punch a hole at each end of the line using the #2 hole punch. Cut the line using a precision knife and straightedge.

5 Position the parts for assembly. Position both card slot parts on the edges of the exterior piece of the wallet with rough sides facing each other. Allow the card slot parts to overlap evenly over the exterior on both sides (you’ll trim it down later so it has a clean edge).
You may want to finish the edges by edging, dyeing, waxing, and burnishing. Treat the curved edges of the card slot before gluing together in Step 6, and treat the remaining straight edges after trimming the card slots in Step 11.

6 Glue the pieces together. Brush a thin layer of cement, approximately ⅛ inch (30mm) wide, on just the inside edges of all three pieces, as shown on the template. Do not allow any cement outside the lines.

7 Let cement dry. Press the glued pieces together and let dry for 5 to 10 minutes before proceeding to the next step.

8 Set a stitch groove. Using the stitching groover, create a stitching groove for hand stitching, as shown on the template.

9 Punch the stitch holes. Using the pricking iron, punch stitch holes along the stitch groove.
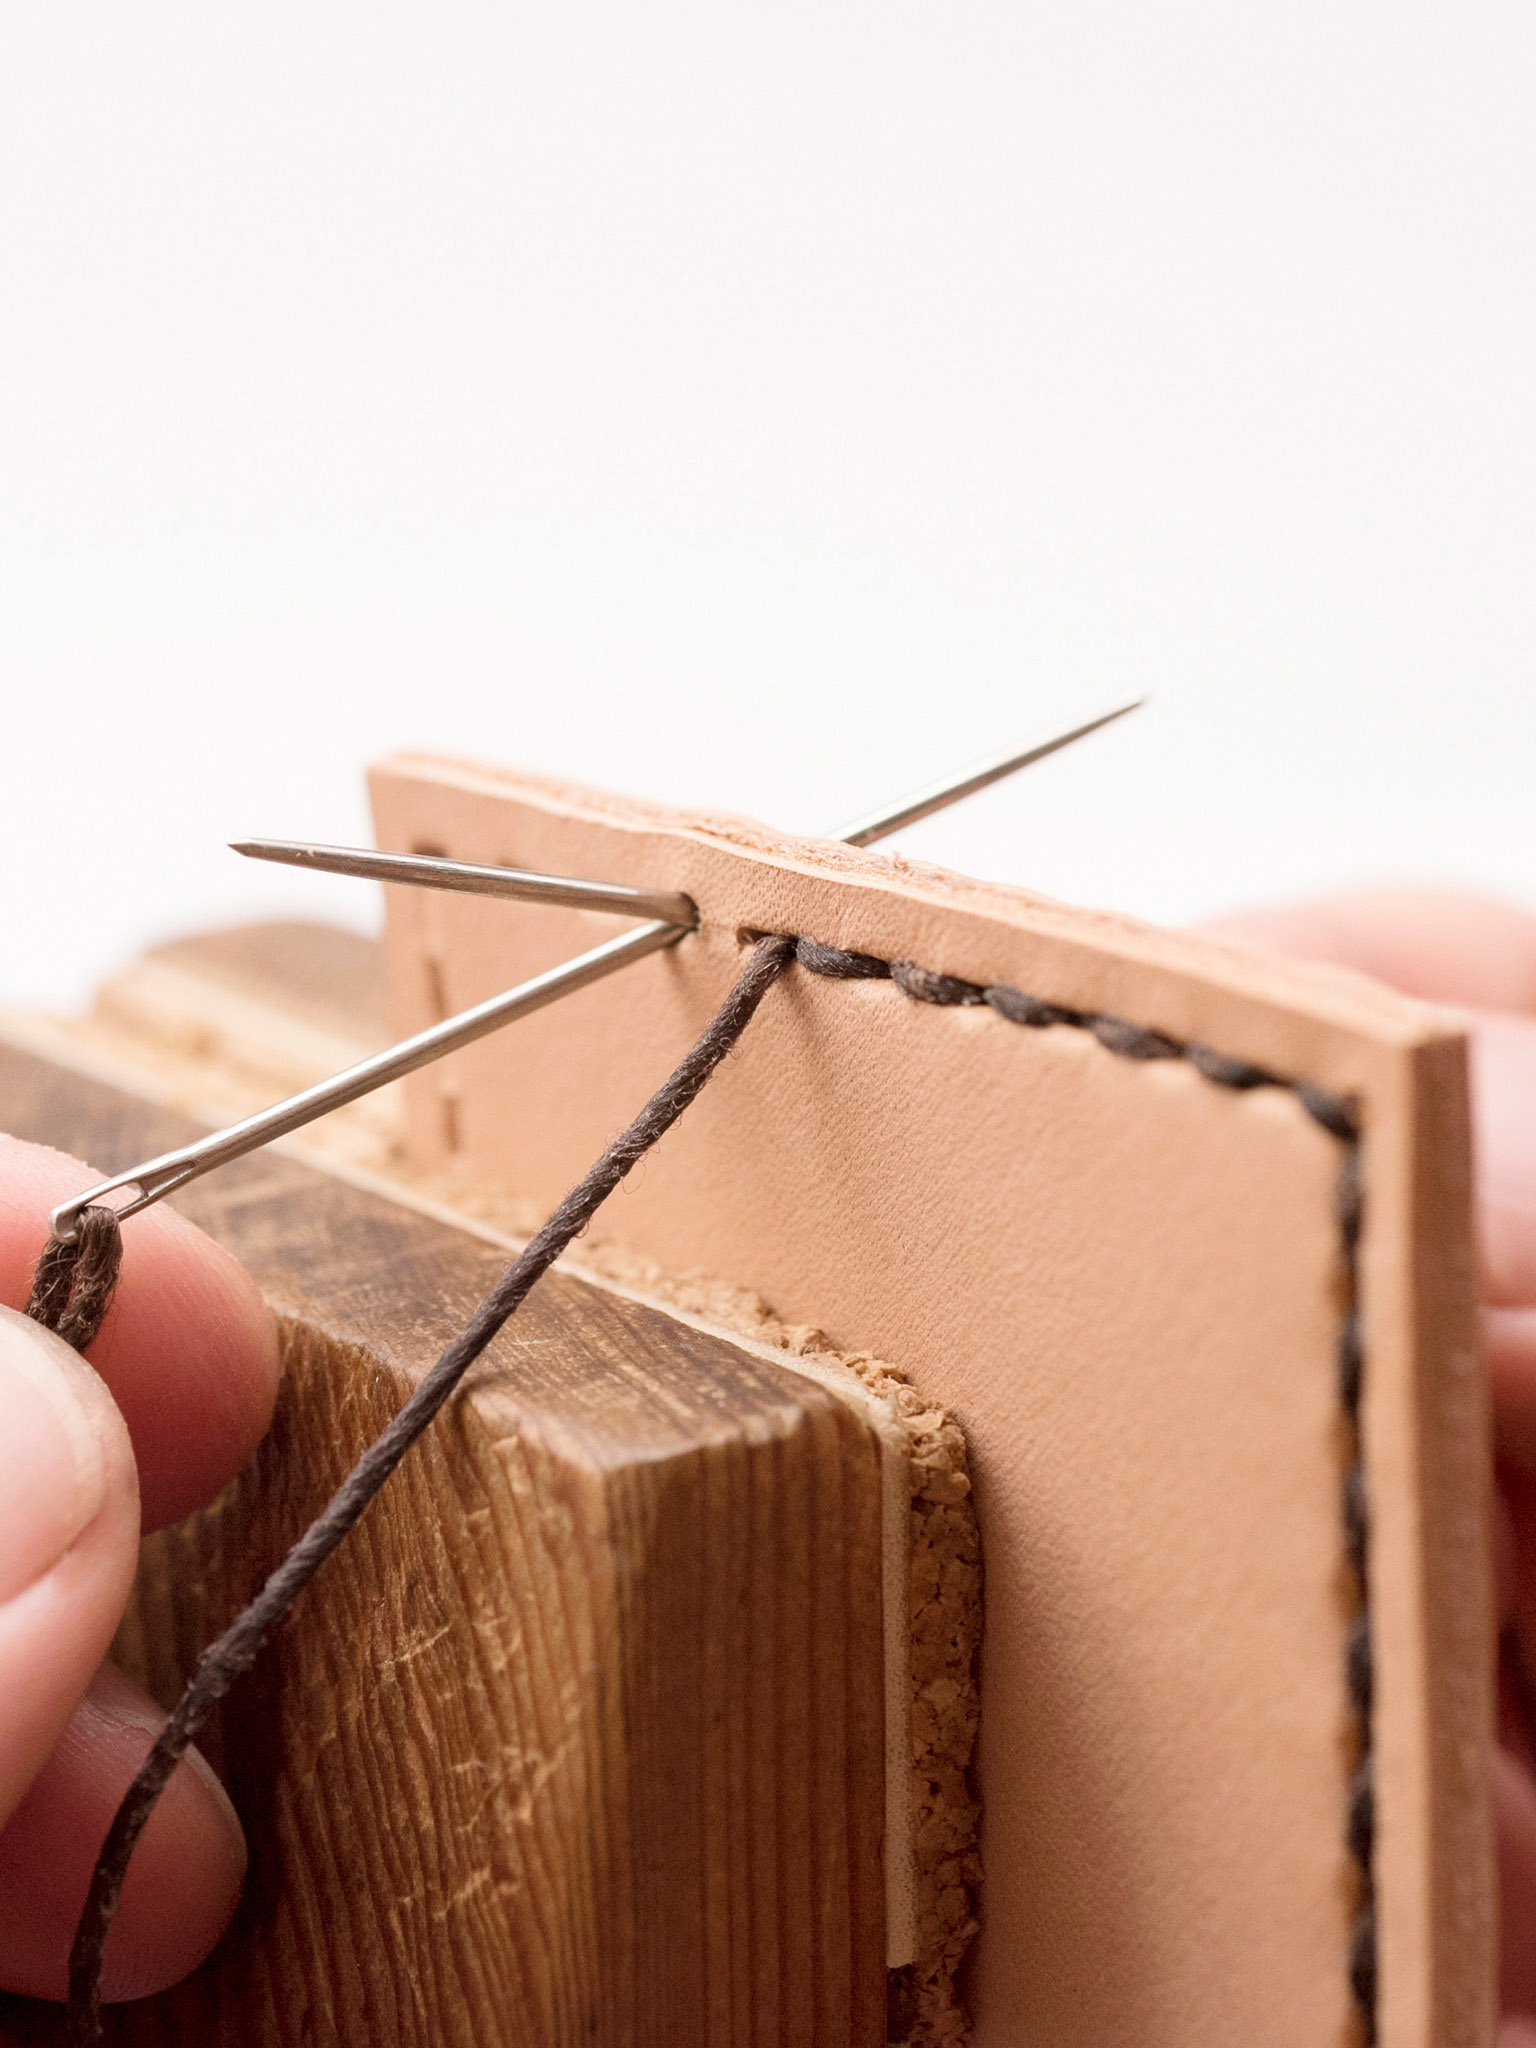
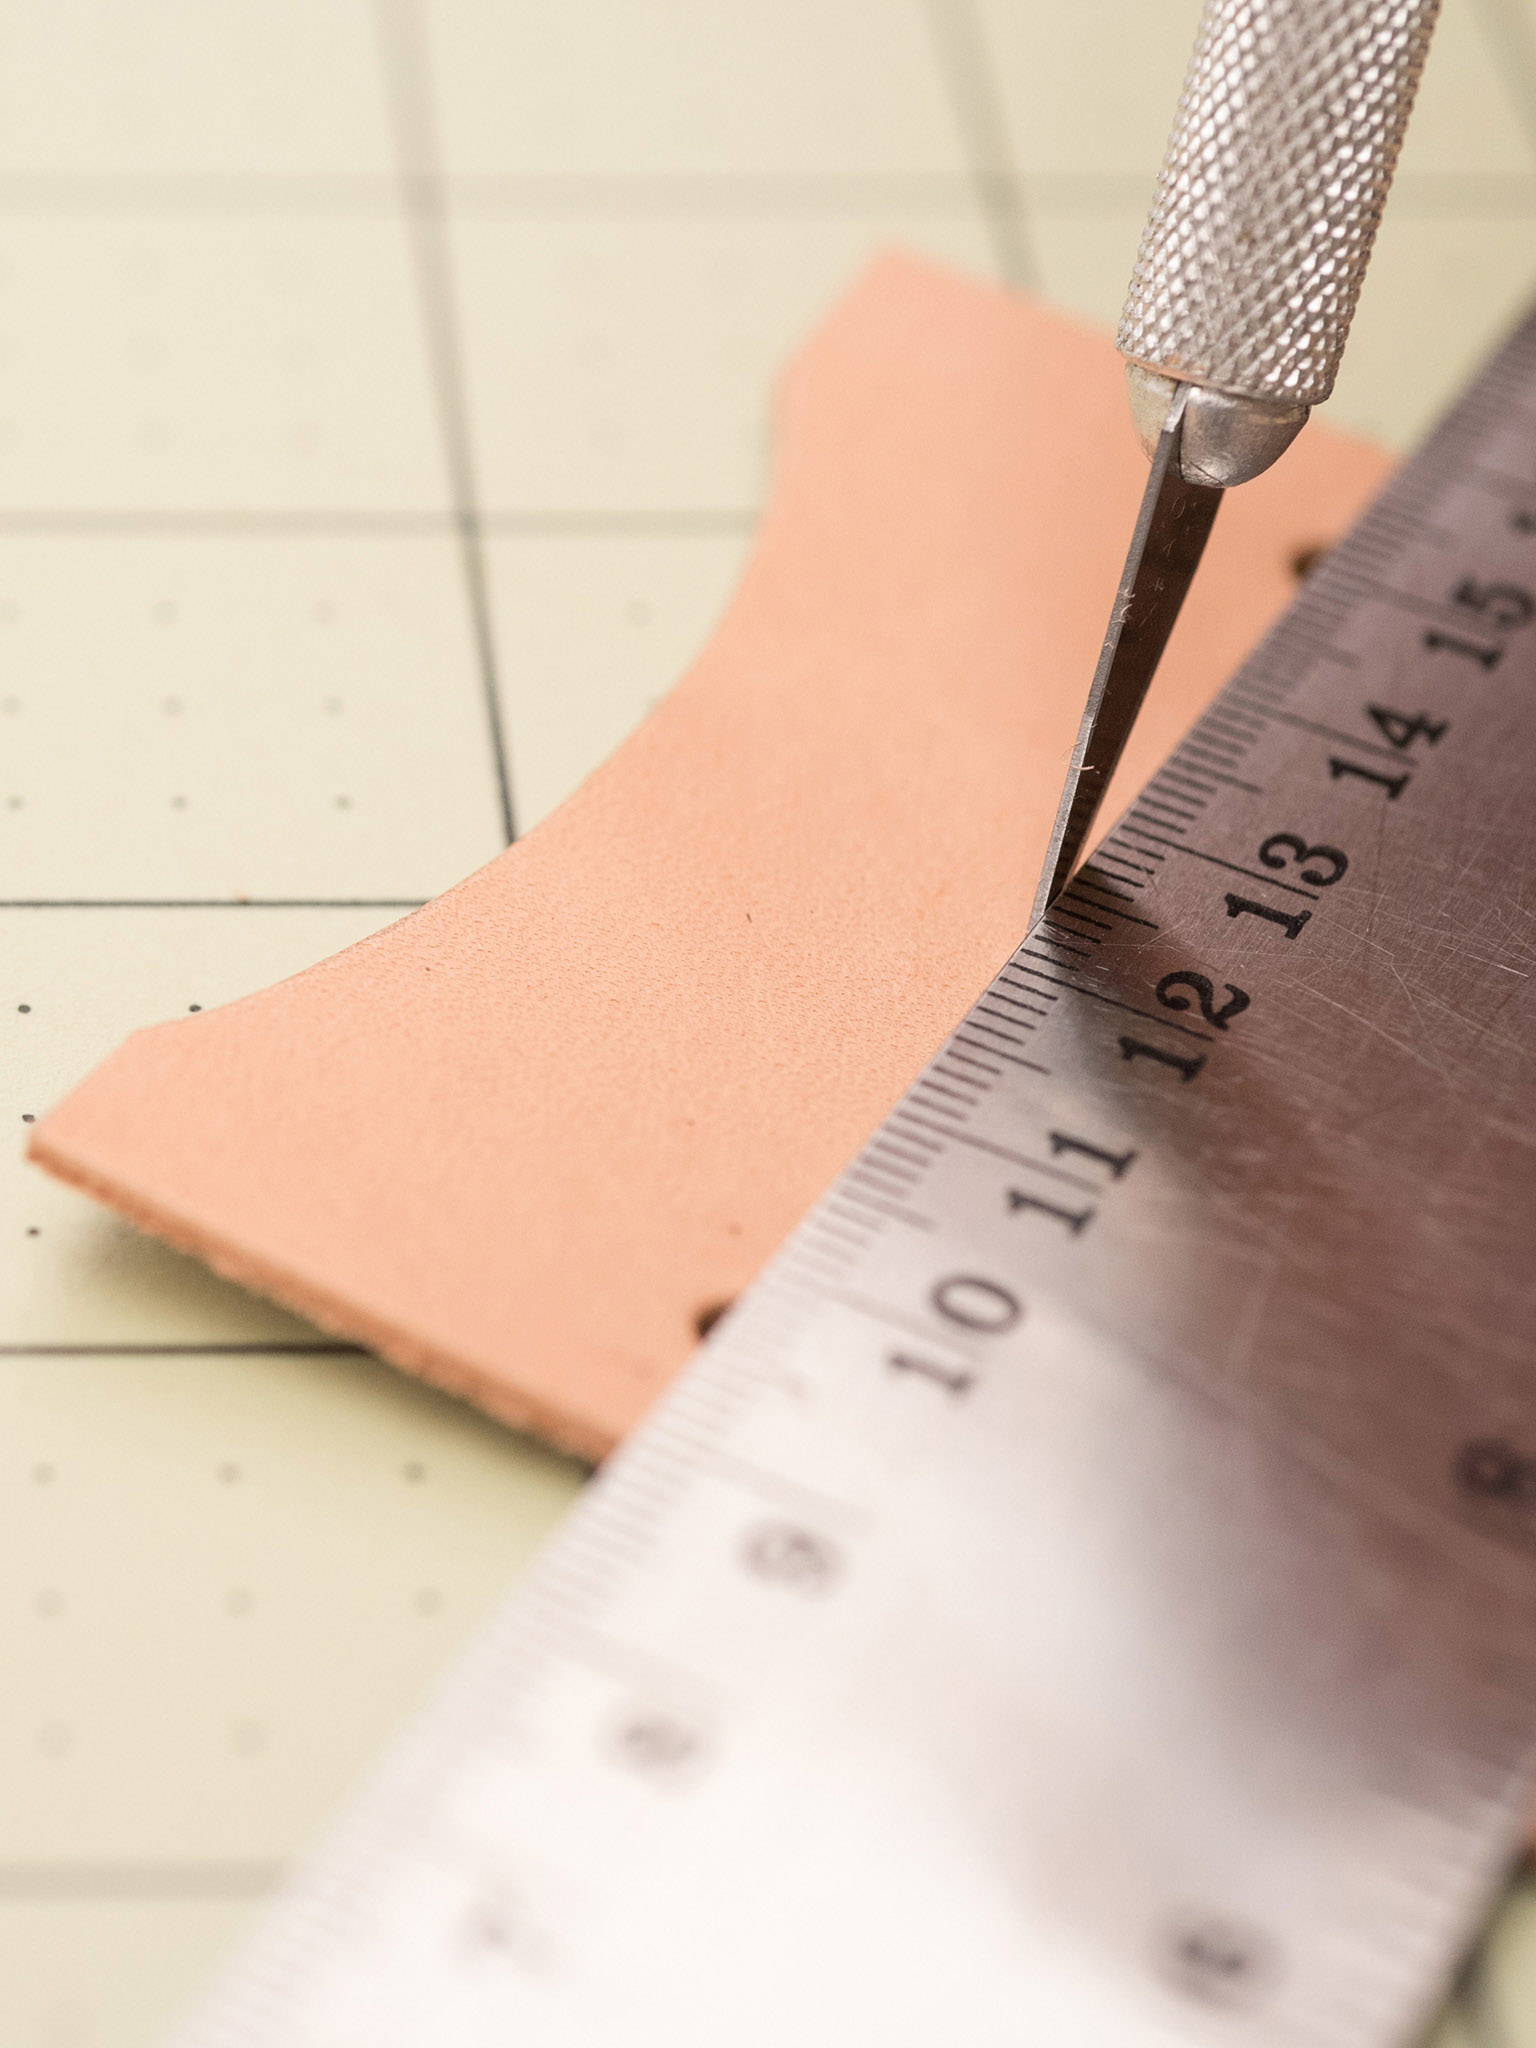
10 Stitch the pieces together. Place the project in a stitching horse and stitch the card slots to the exterior of the wallet using a saddle stich, one side at a time.

11 Trim leather edges. Lay the wallet flat and, using a precision knife and straightedge, trim the overlapped edges to make a clean, finished cut on all sides.
