
Edge Finishing: Edge Dyeing
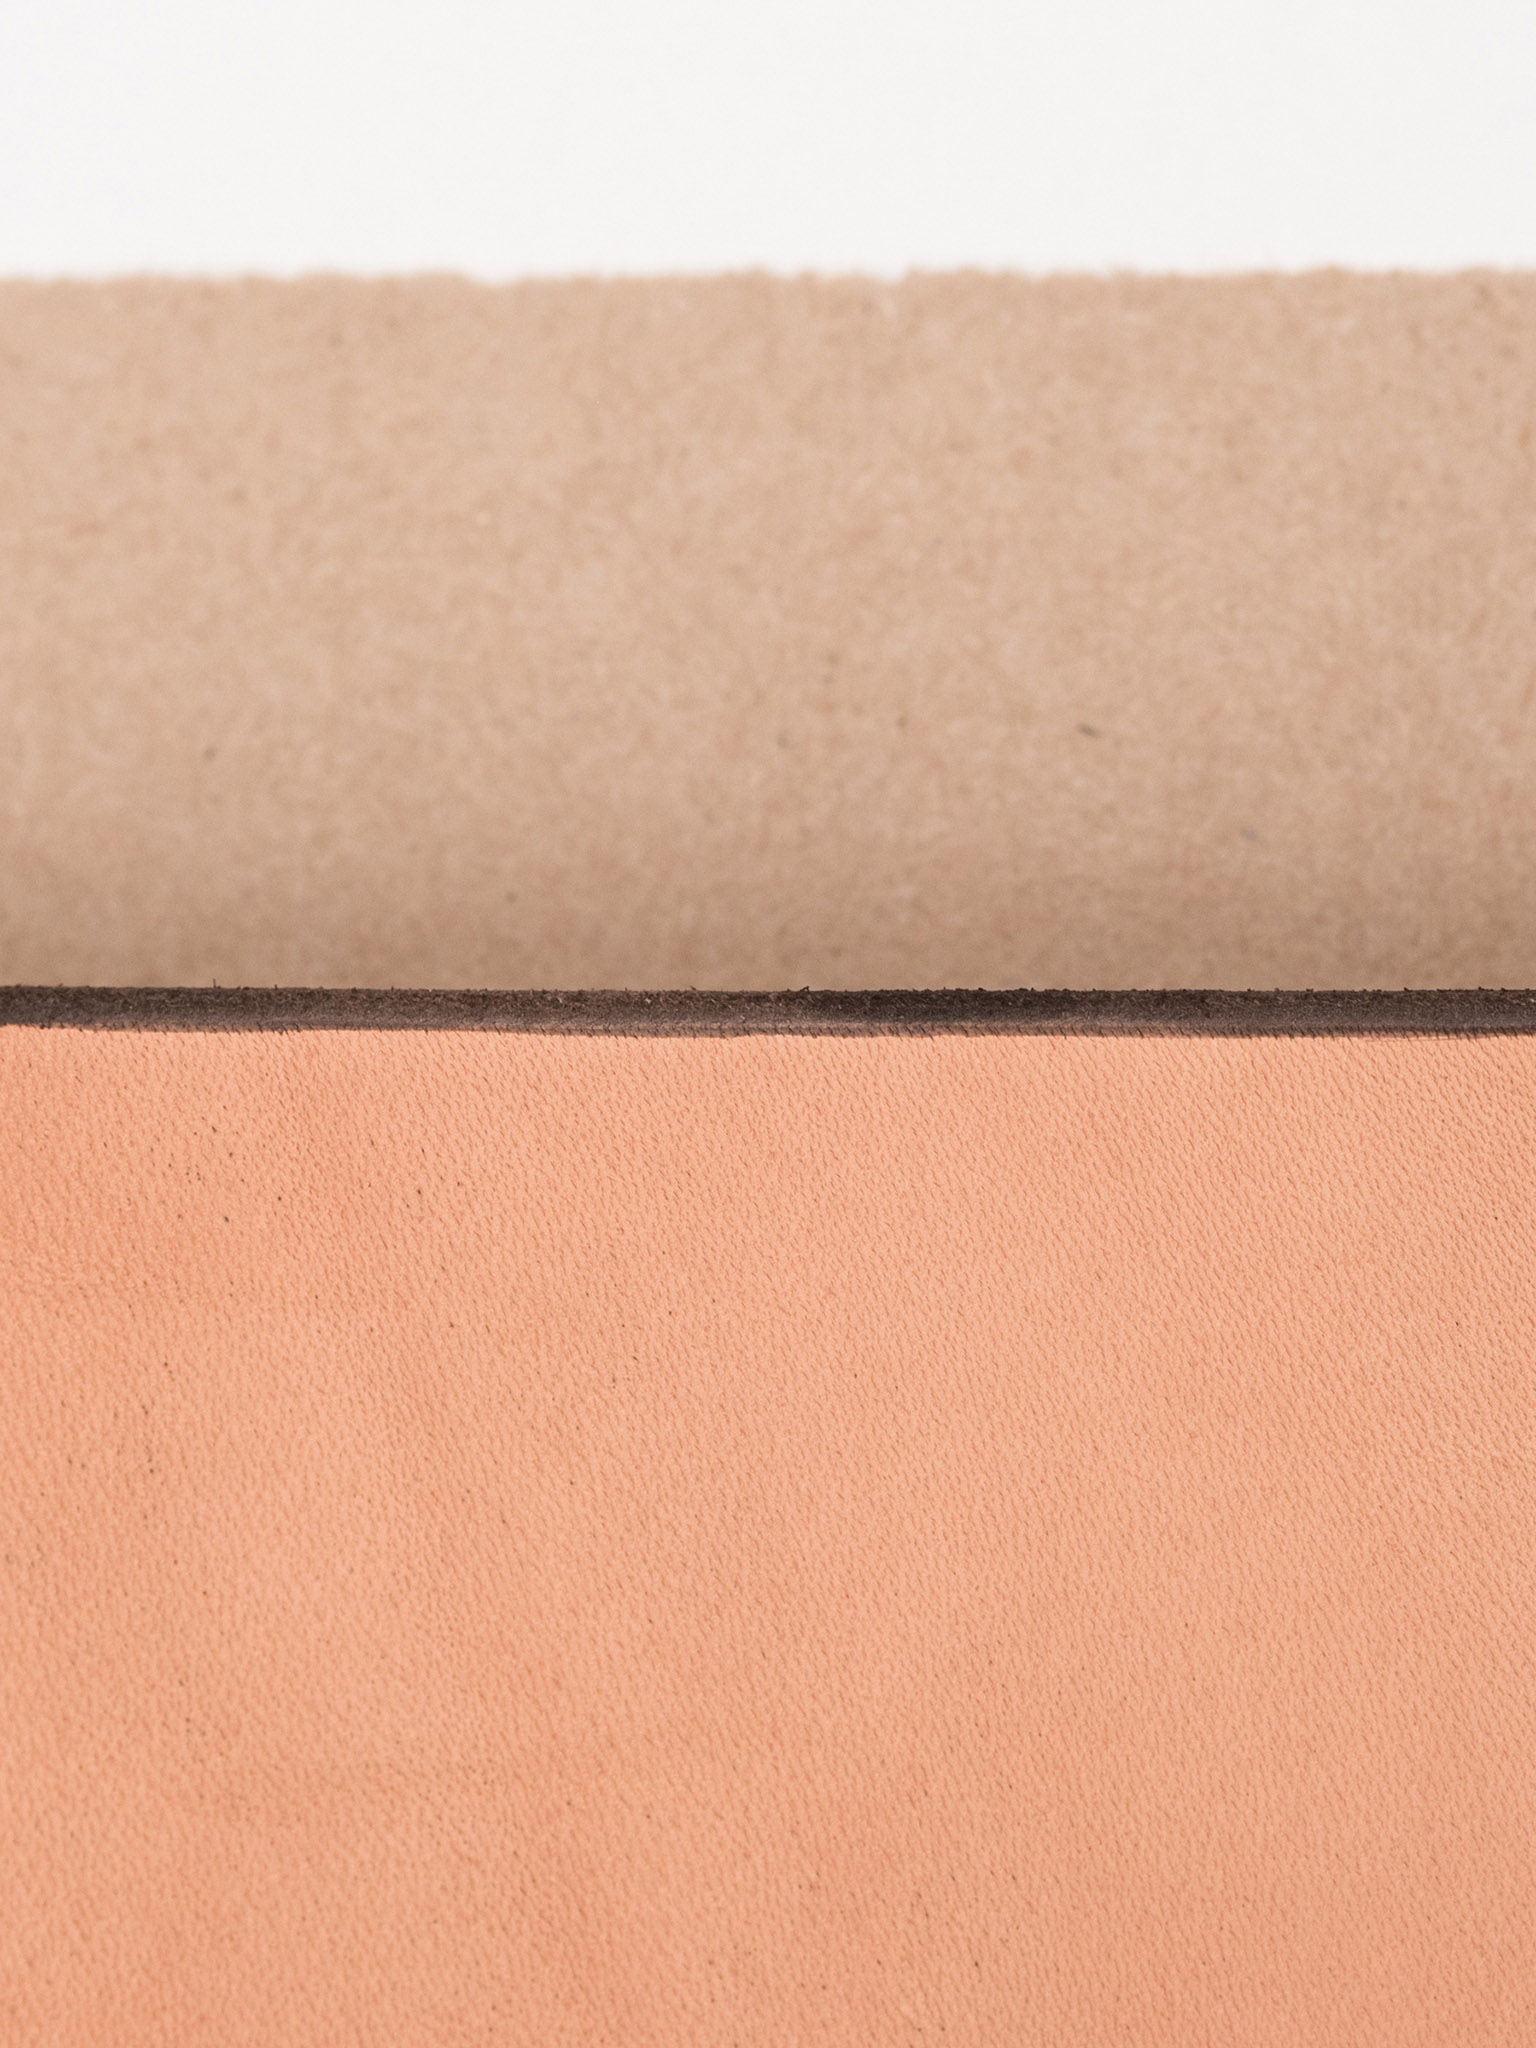
Finishing exposed, raw cut edges with dye is particularly important in projects where the surface is a different color than the edge. It creates a cohesive, complete look, and is a clear sign that no steps were skipped in the leather work.
Materials
Leather
Oil dye
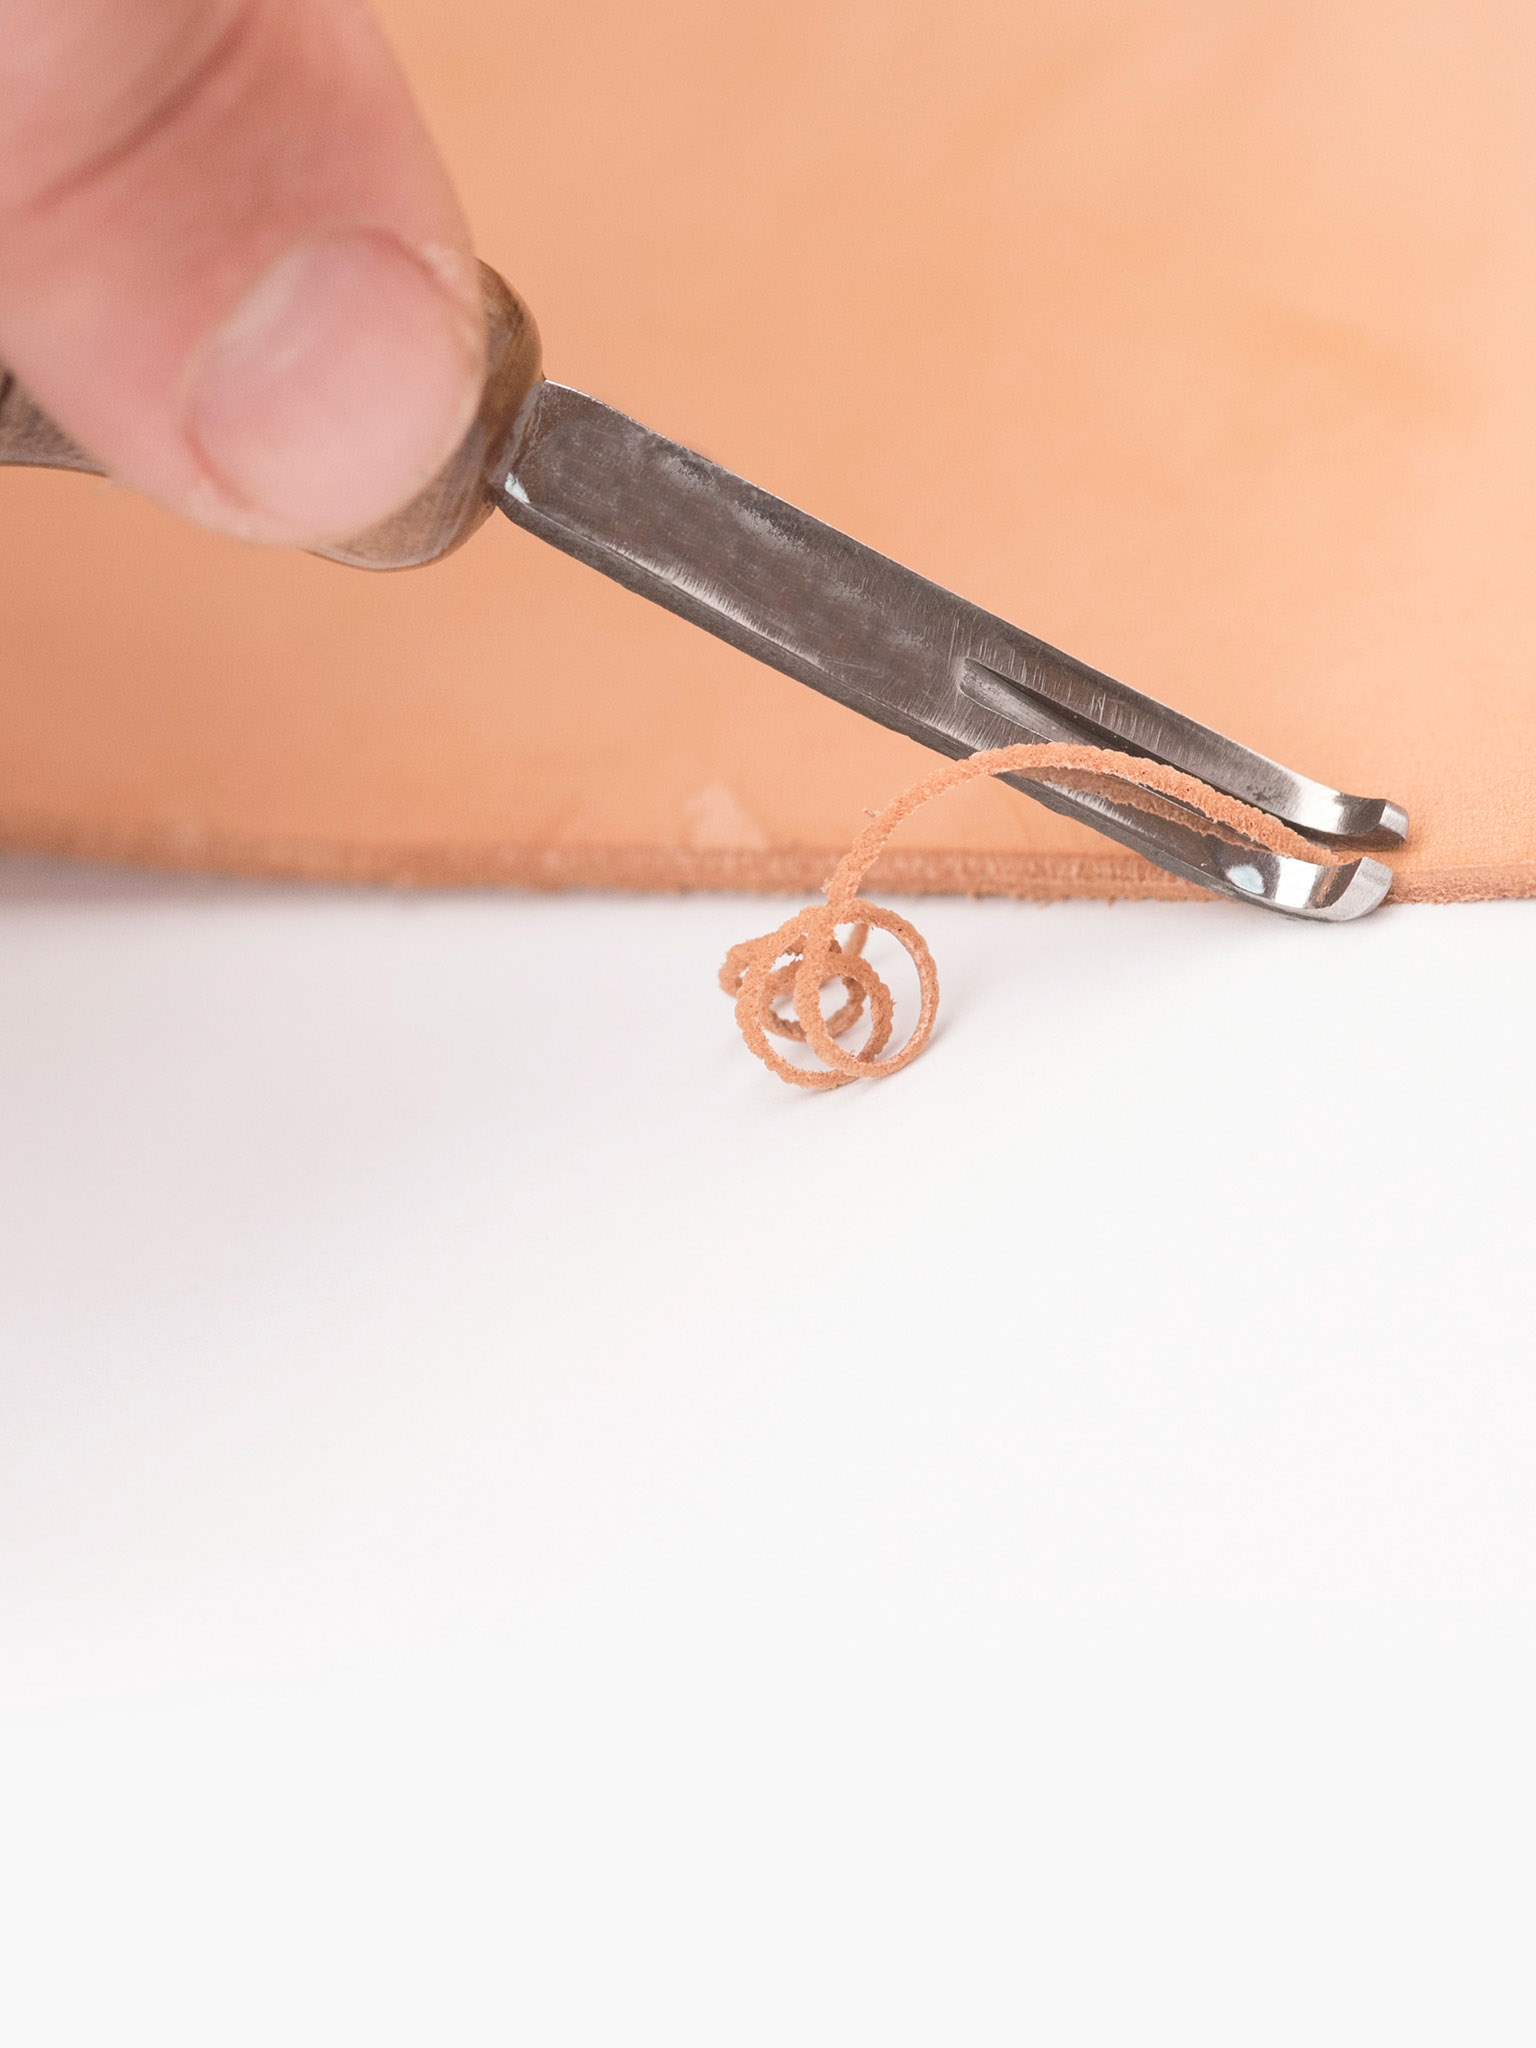
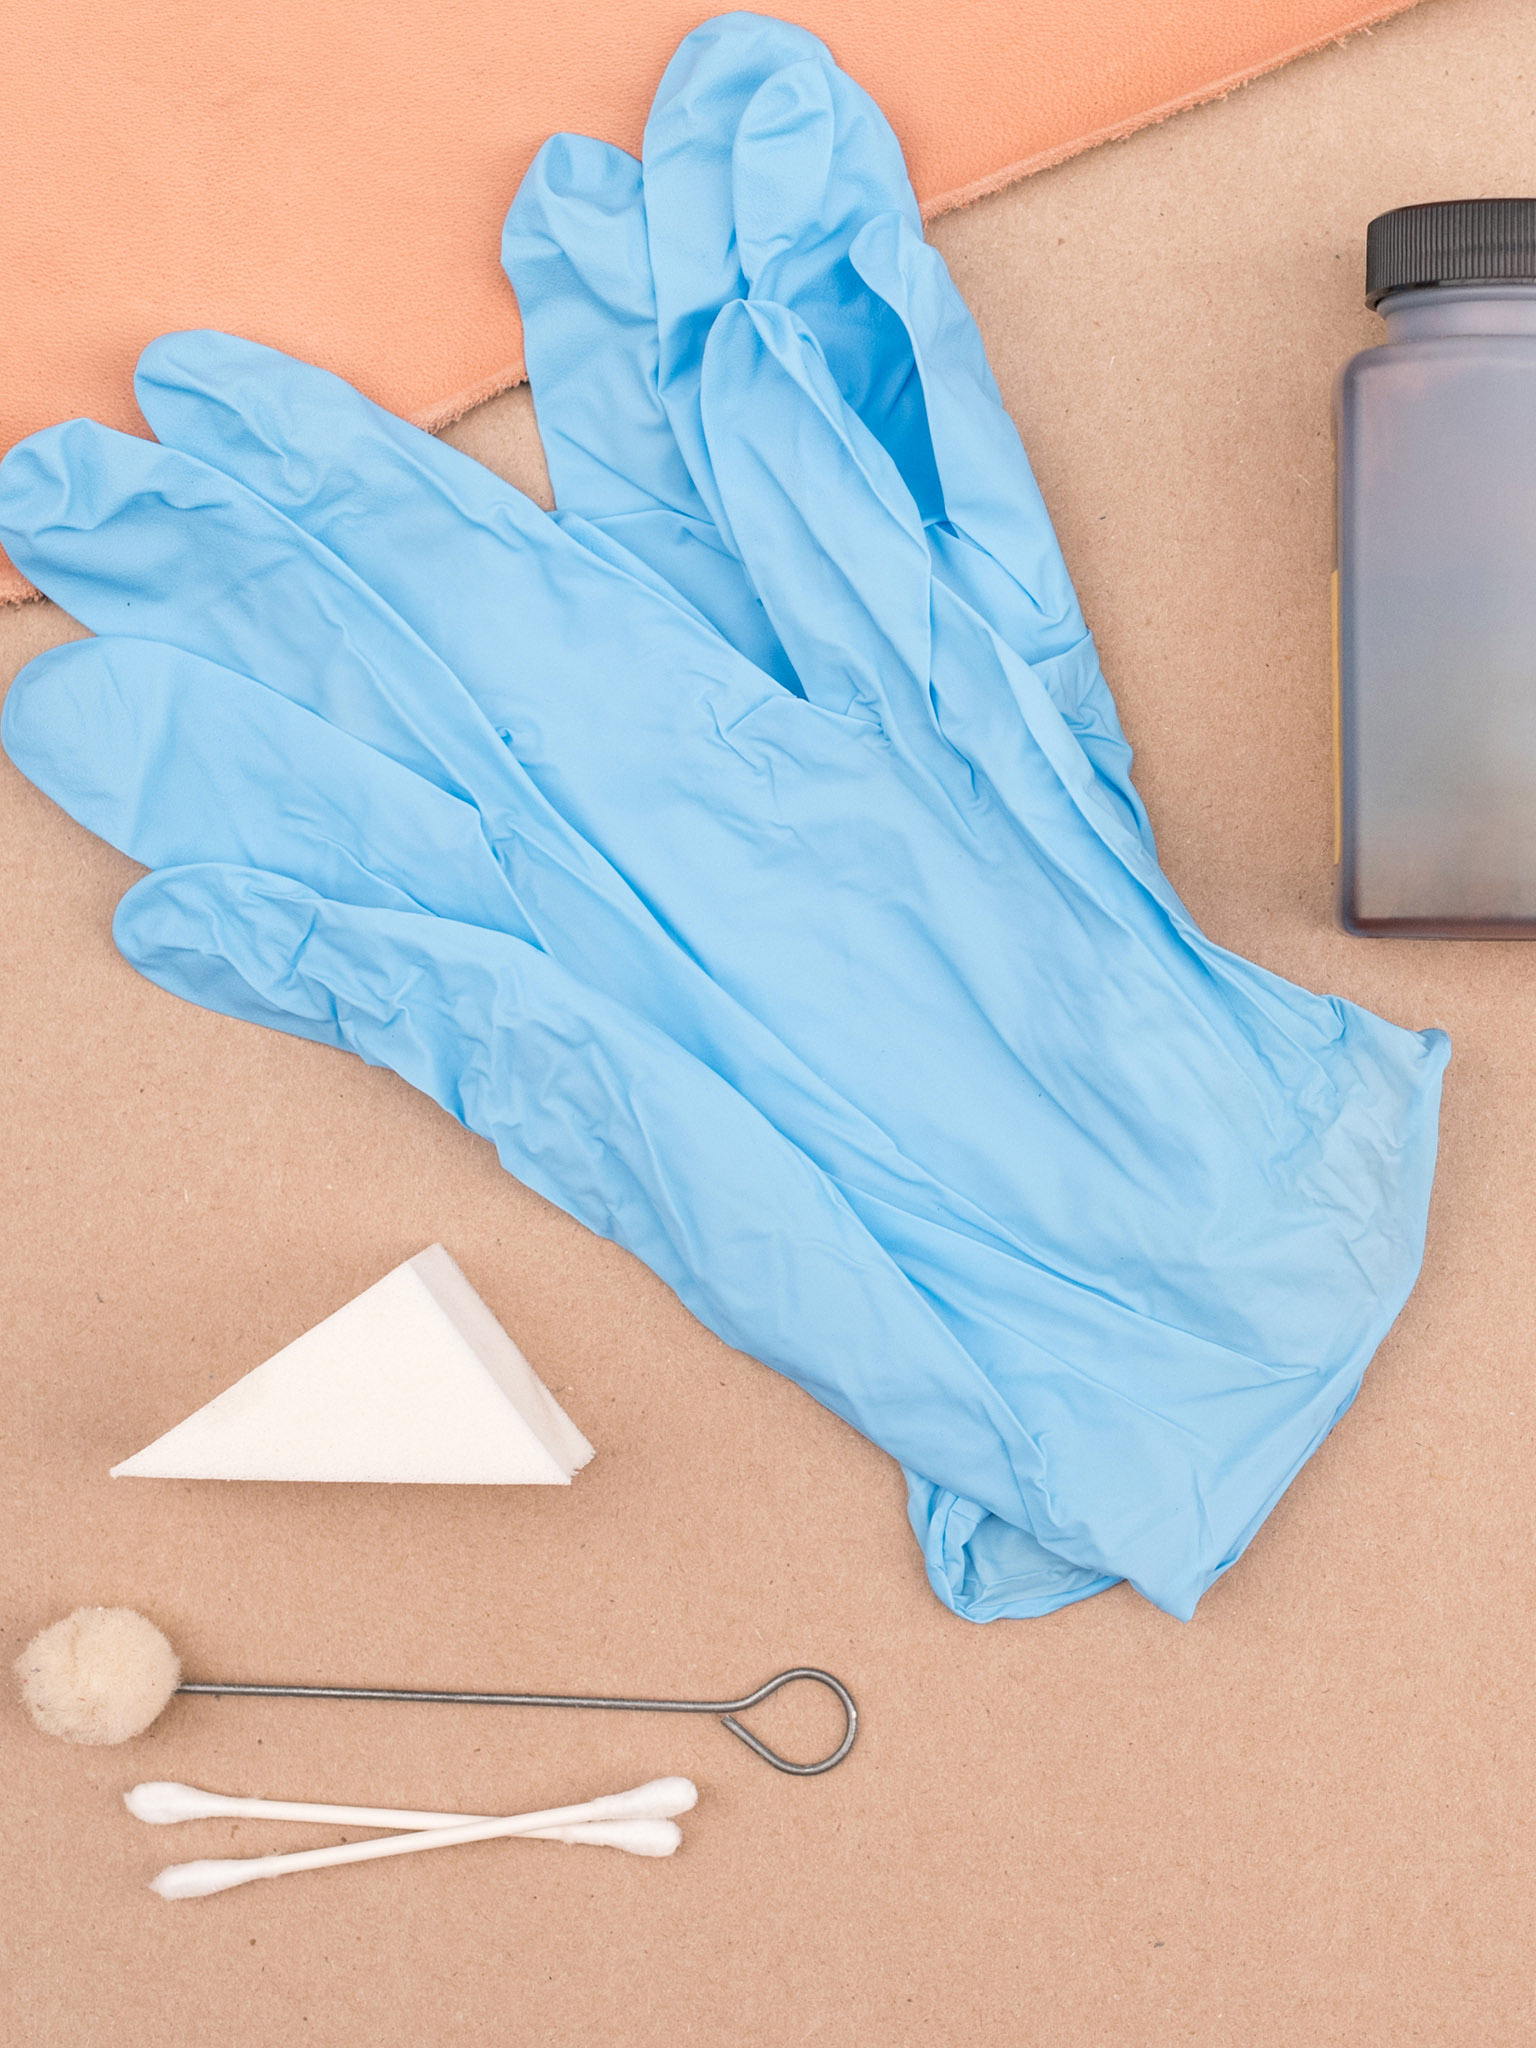
Tools
Edge beveler (optional)
Cutting mat (optional)
Latex gloves
Makeup sponge, cotton swab, or dauber
Scrap piece of vegetable-tanned leather
Newspaper or butcher paper (optional)
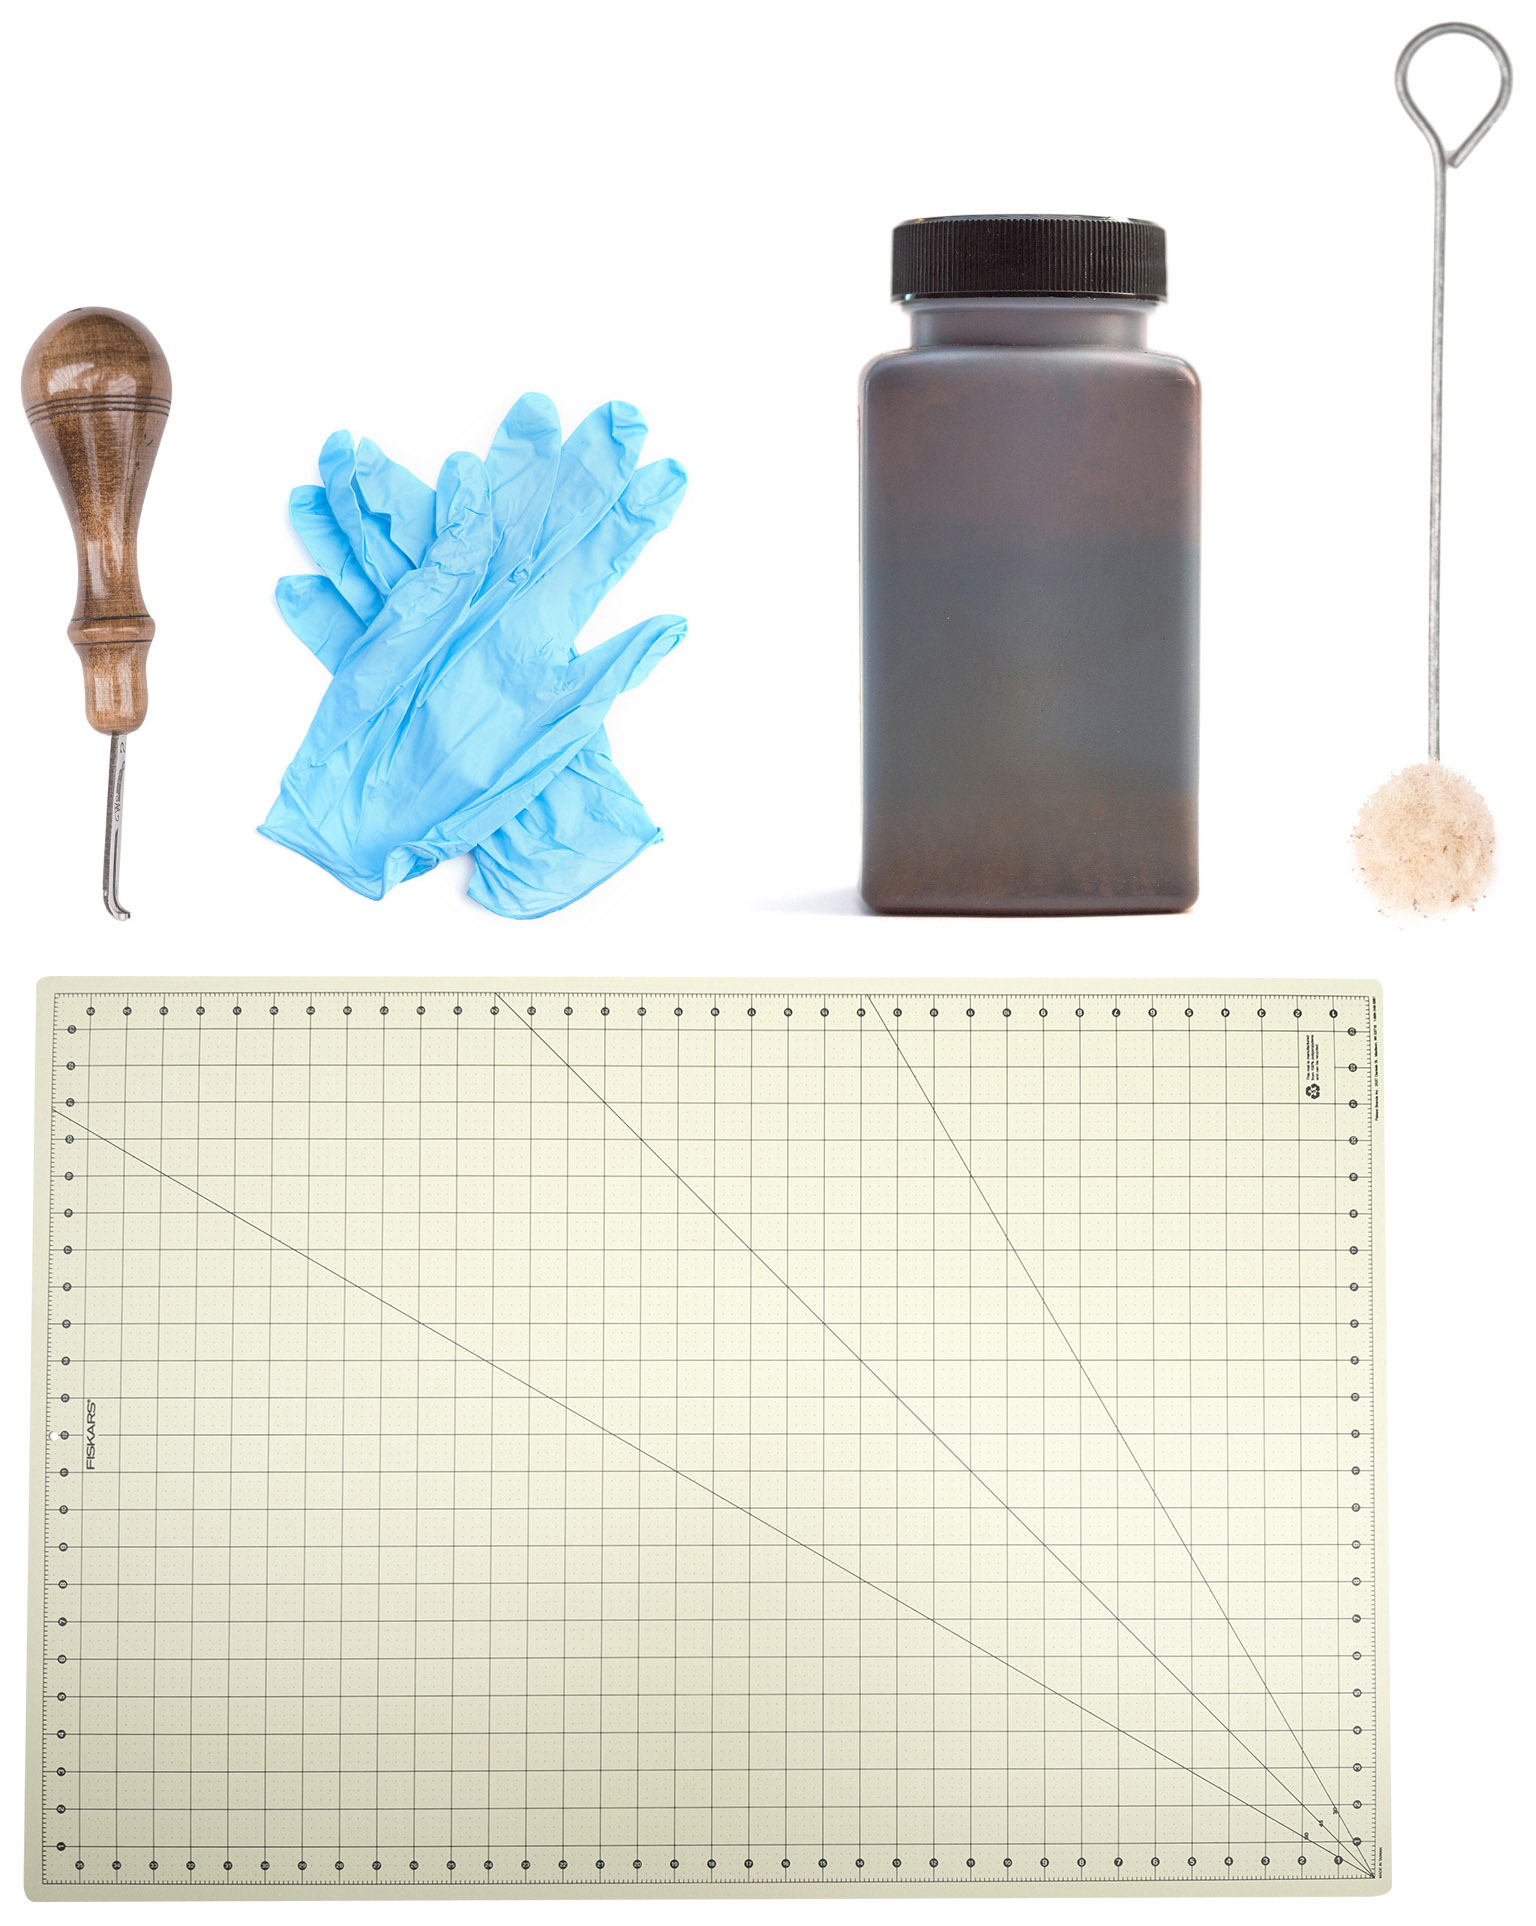
1 Bevel the edges. Beveling is not necessarily required for edge dyeing, but it does complete the edges and smooths the edge surface for even dyeing. If desired, bevel the edges to be dyed using an edge beveler.
2 Set up the work surface. If you need to keep your work surface clean, lay down a double layer of newspaper or a sheet of thick butcher paper. Assemble all the materials and tools so they are within reach.

3 Put on gloves. Put on latex work gloves. Oil-based dyes are difficult to remove from the skin and any oil from your hands that touches the surface of the leather will resist soaking up dye.
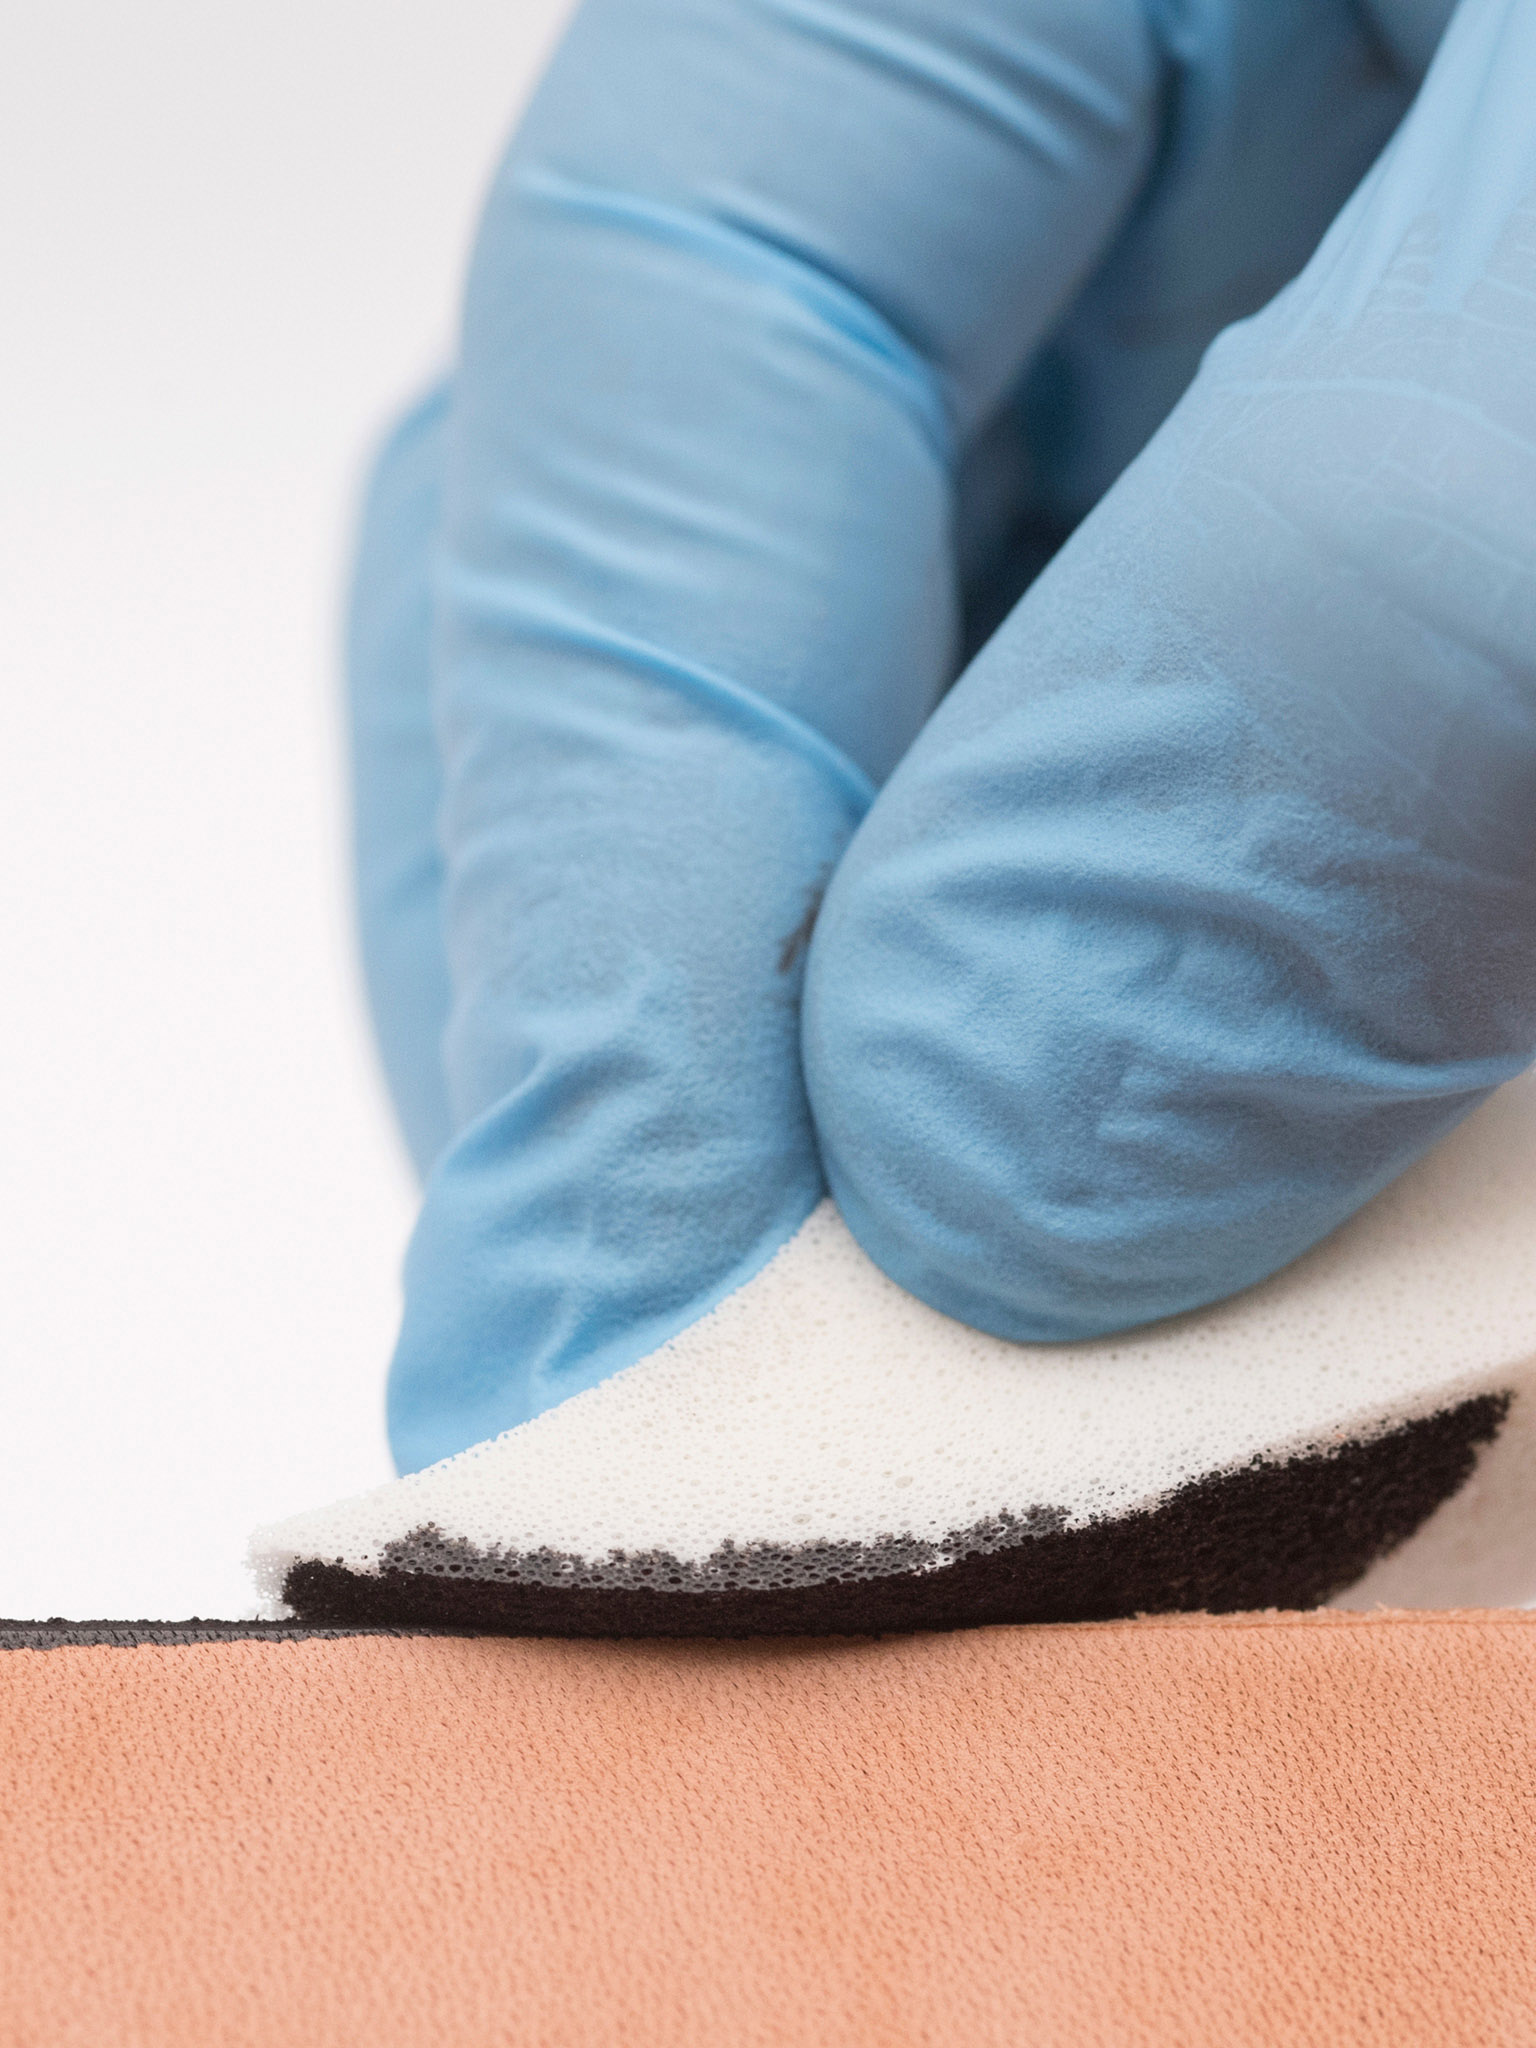
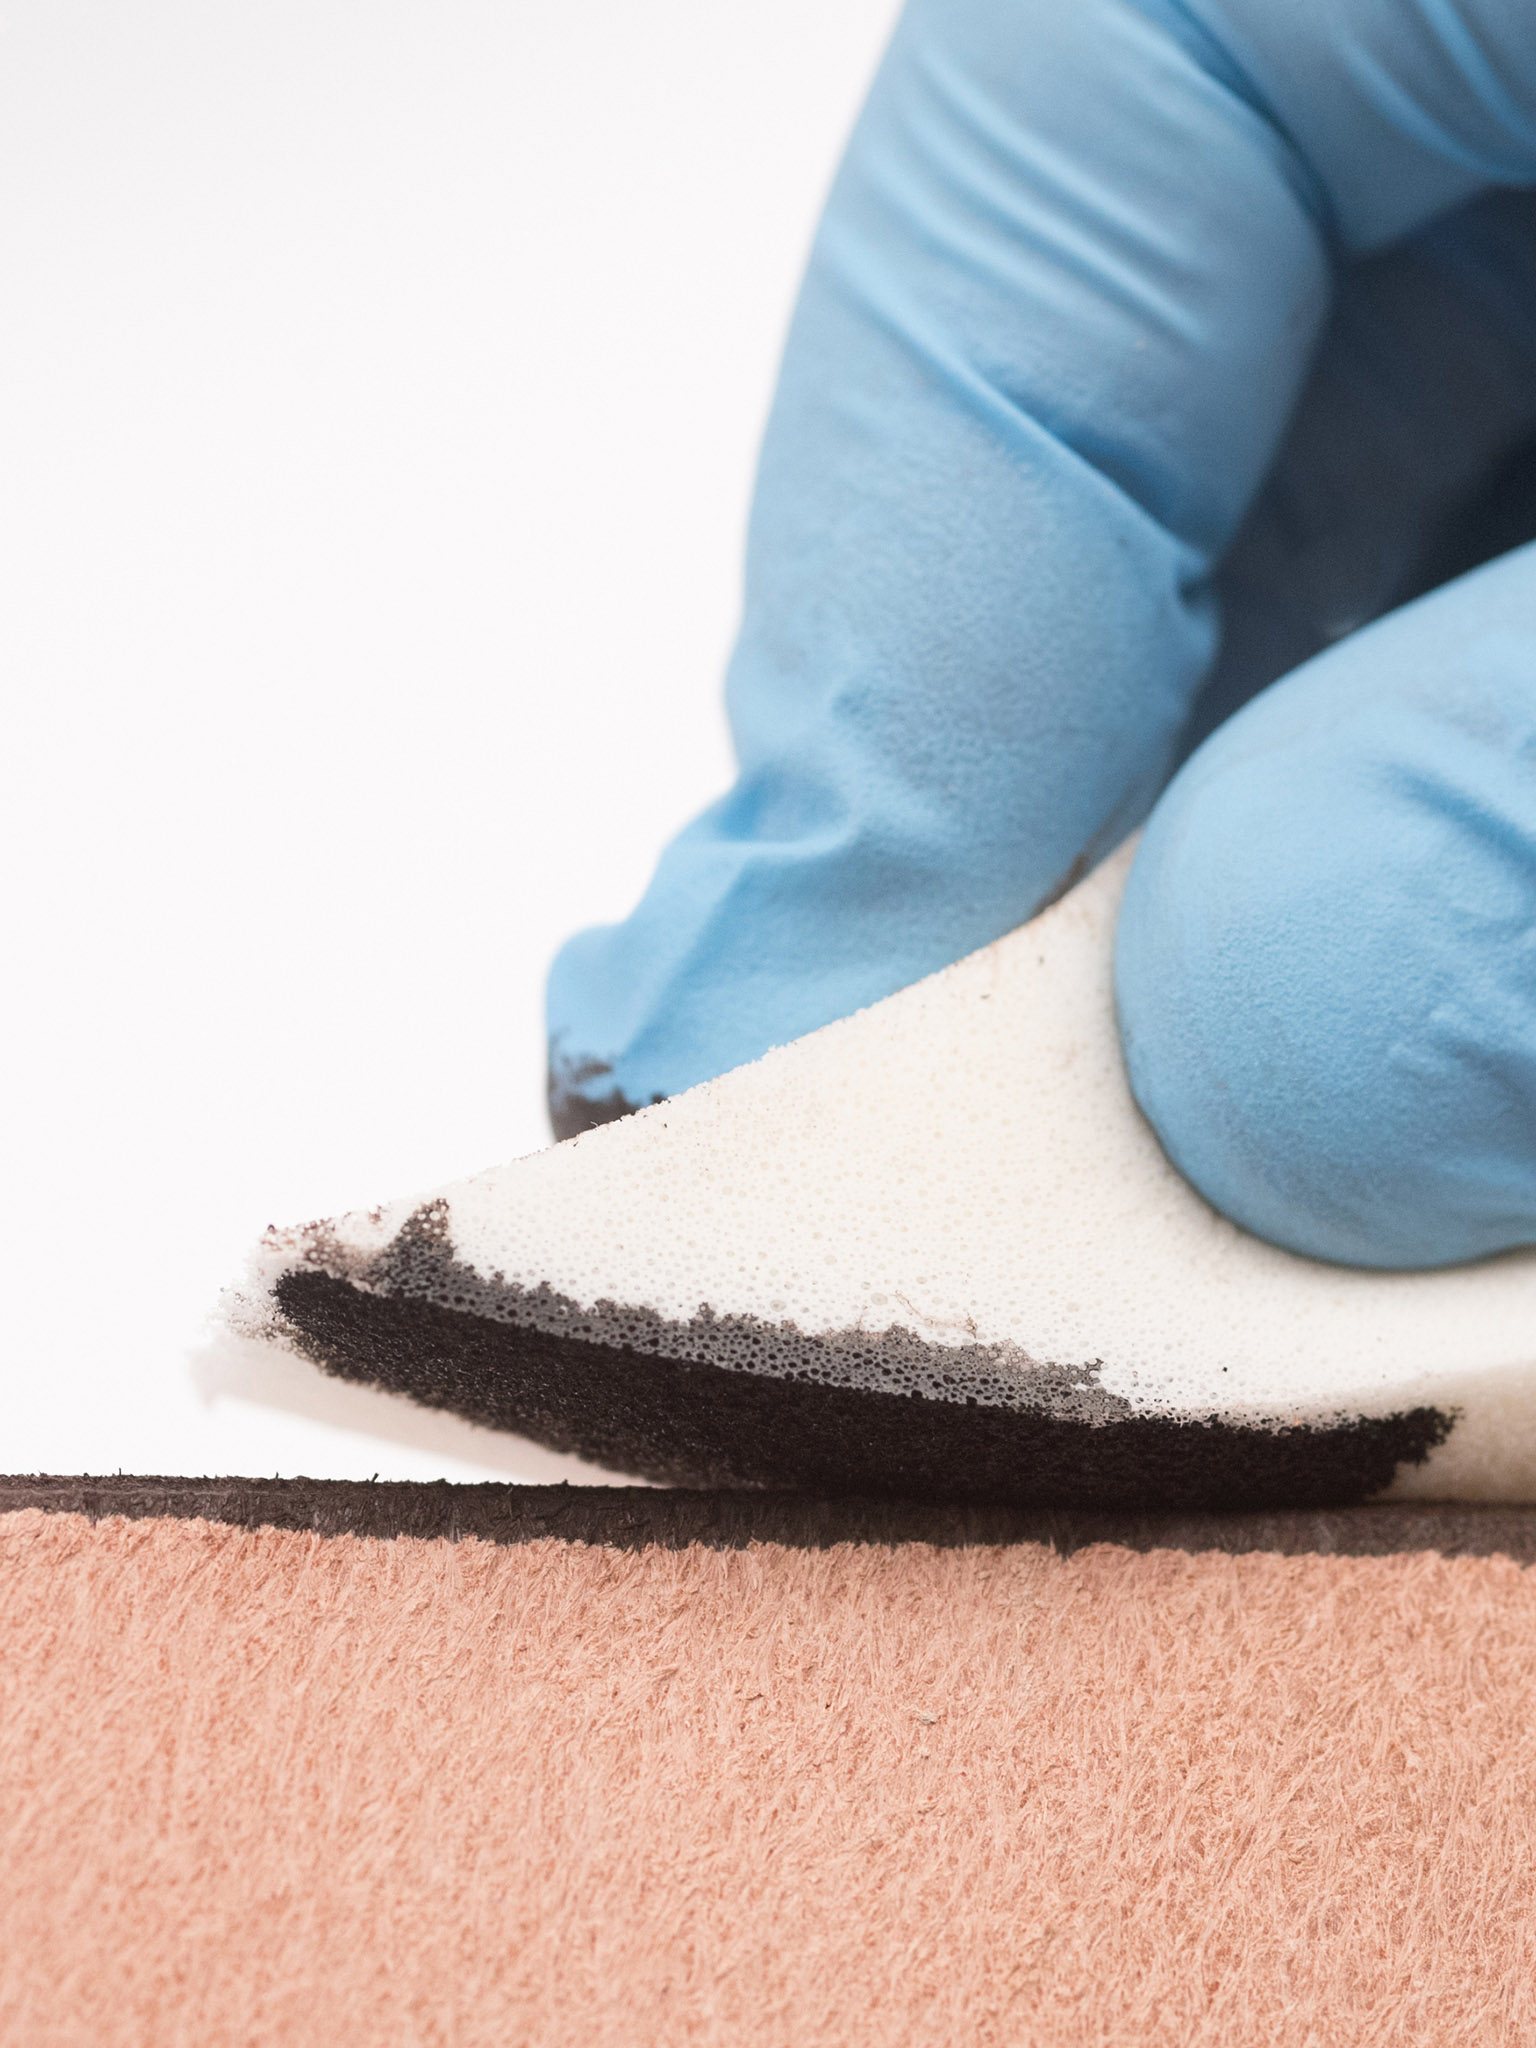
4 Dye the front edge. Tip a small amount of dye onto the makeup sponge, or dip a cotton swab or dauber into the dye, and set up your arms and hands in a comfortable position. Run the dye along the beveled edge in a smooth, light, even motion. Add more dye to the sponge as needed.
5 Dye the opposite edge if needed. If both the front and back sides are beveled, flip the project over and repeat Step 4 on the second beveled edge.
6 Allow to dry. Let the edge dye dry for at least 15 to 30 minutes before moving on to the next step of your project.
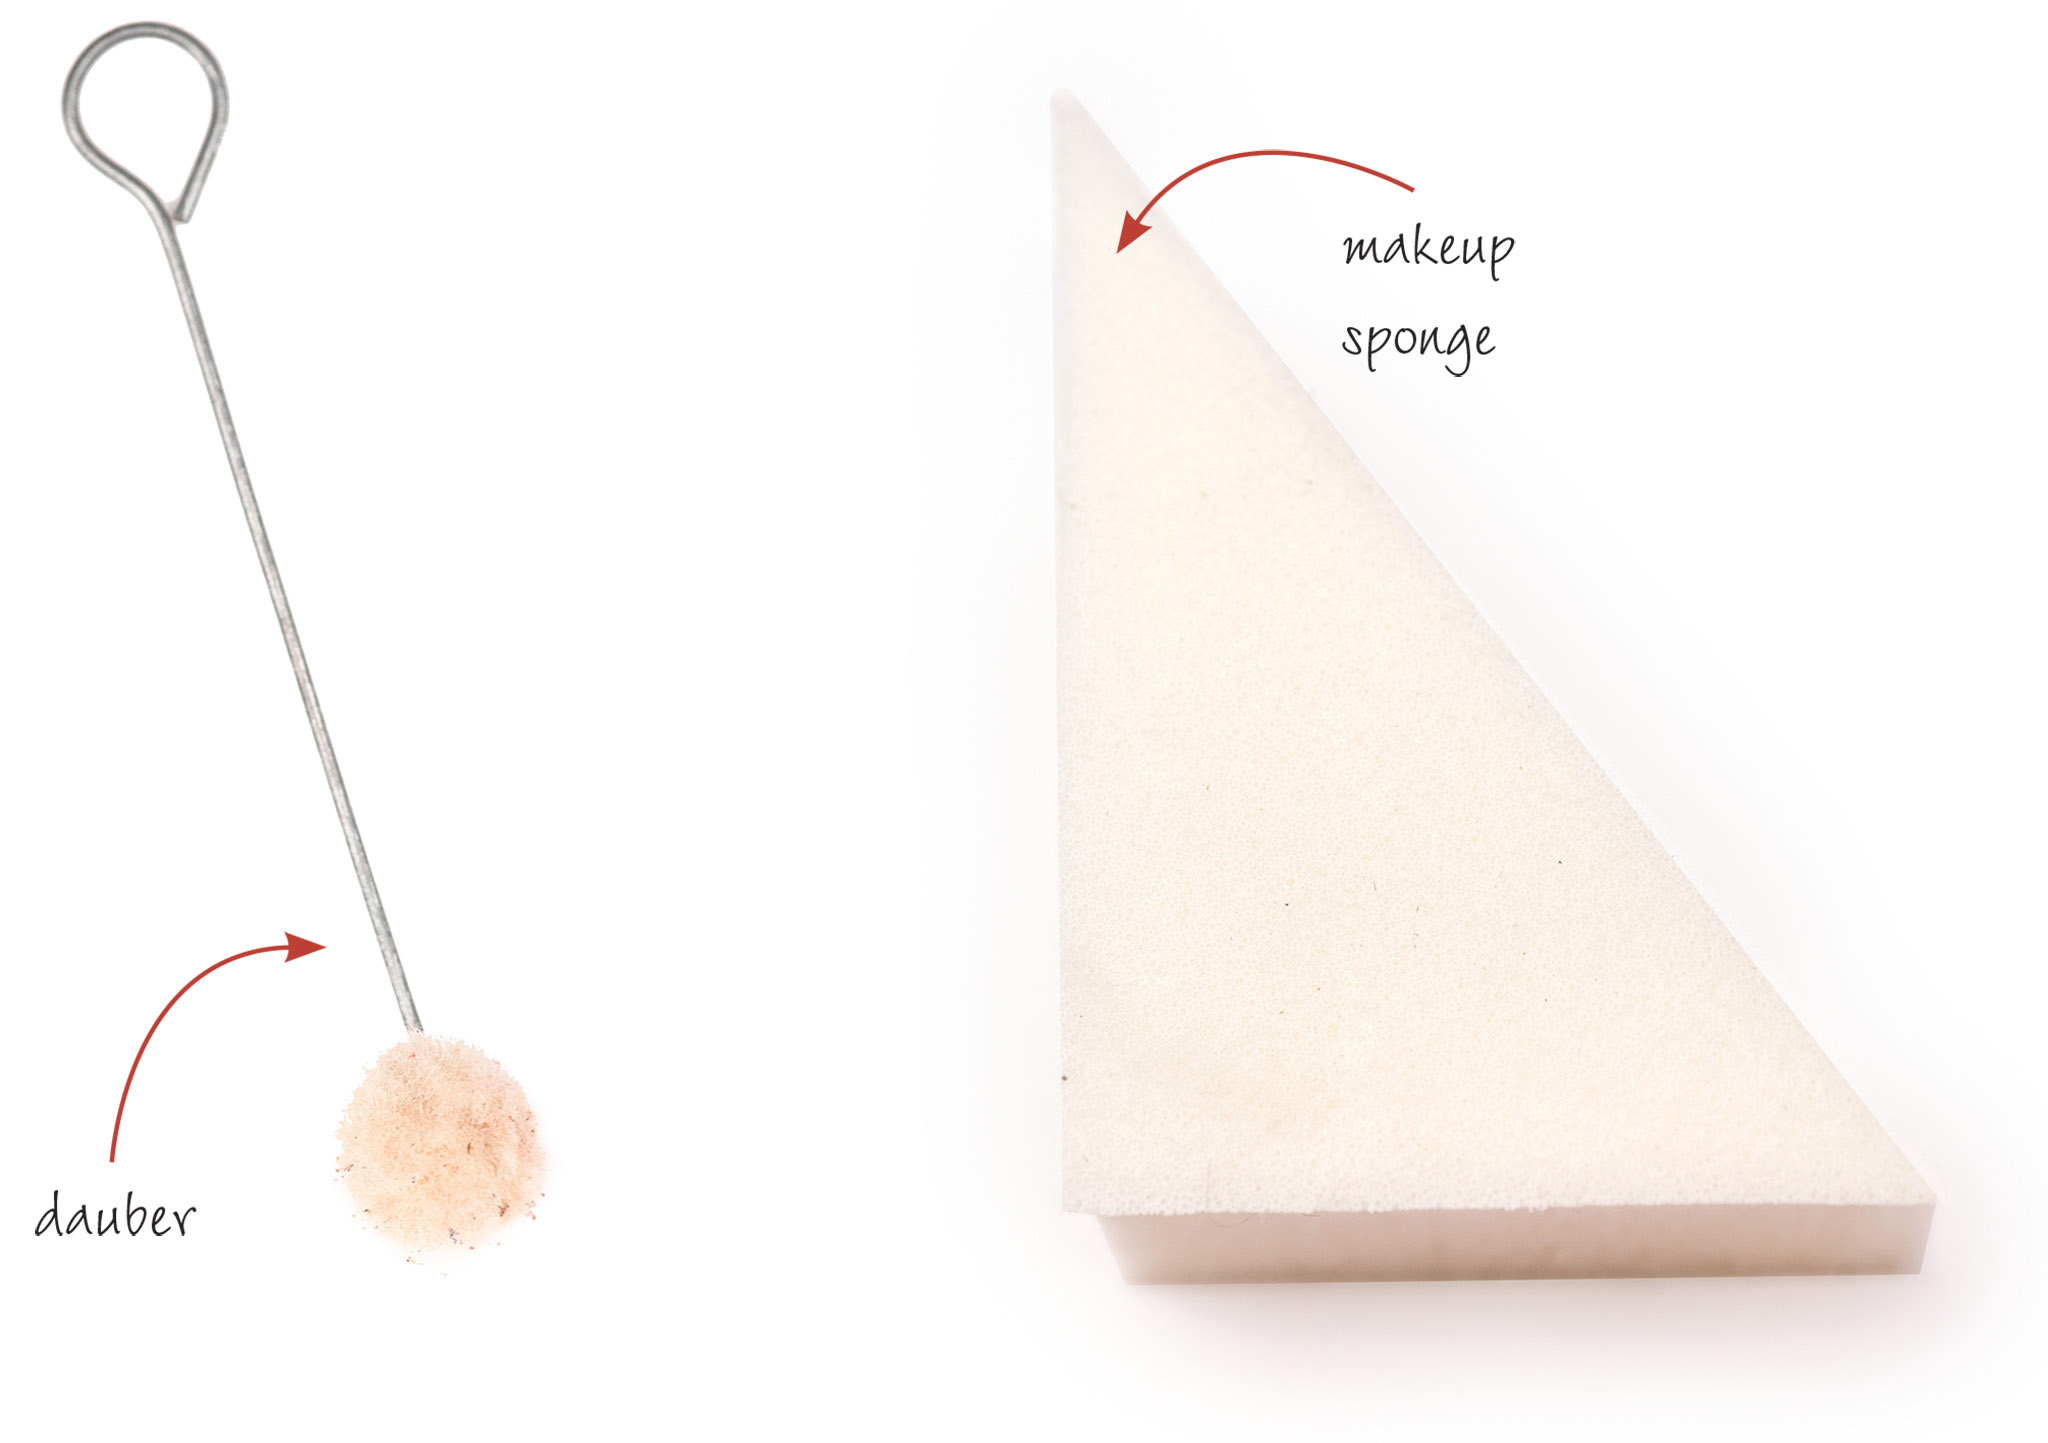
Traditionally the dauber, a small wool puff, is used for applying edge dye, but an ordinary drugstore makeup sponge is less expensive and applies much more cleanly. Cotton swabs are also good for very tight corners or inside punched holes. Experiment and use the tool you like the best.