
This method allows you to import multiple users in a single pass by querying your Active Directory.
To import users, you will need to log in to AX as a system administrator and your Windows user account must have the permission to query the Active Directory.
Navigate to System administration | Common | Users | Users.
Users can be imported from the Active Directory through the following steps:
- On the Users list page, click on Import. This will open the Active Directory Import Wizard.
- Click on Next, which will display the following page:
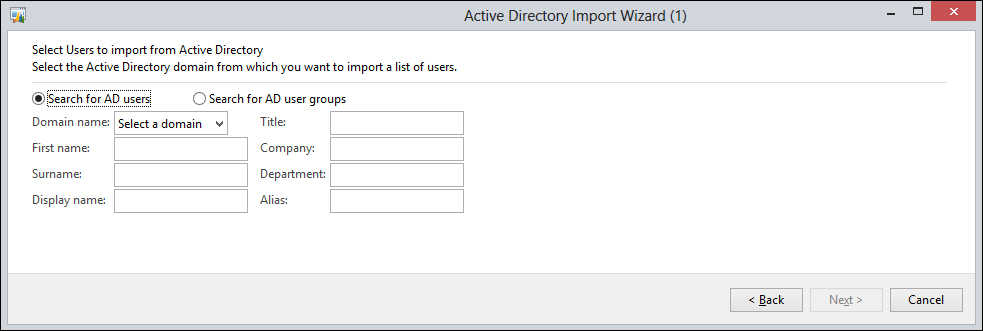
- Complete the page as detailed as follows:
The only mandatory field is the Domain name field. The other fields are the criteria to reduce the resulting list of users on the next page. This highlights the need to organize your Active Directory in line with roles that will have access to Dynamics AX. The following are the fields:
The Search for fields
The wizard lets you search for users based on user account details or user group membership.
The wizard can't be used for adding user groups.
If you select Search for AD User Groups, only Display name and Alias will be available. The result would be a list of users who are members of the groups matching the preceding criteria.
If you select Search for AD Users, all fields will be available. The result would be a list of users whose account details match the preceding criteria.
The criteria fields
All other fields are criteria fields that filter according to the Active Directory account details based on the selected domain.
If you leave a field blank, it will not be used as part of the criteria.
If you specify a value, it is used as an exact (case-insensitive) match.
If you specify a value with an asterisk (for example,
Chris*), it will perform a wildcard search.The following is an example that will locate all users within the Design department:
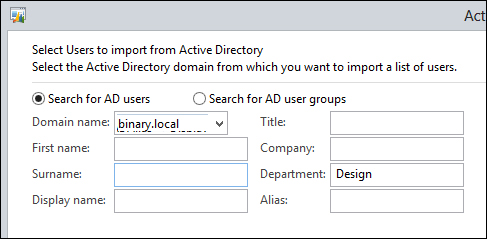
If the department is
Design Dept, the user will not be found unlessDesign*is specified. - Clicking on Next will show the results of the query.
- For each employee you wish to import, check Import and when all required users are selected for import. Click on Next or go back to amend the criteria.
- On clicking Next, AX will produce a list of users that will be imported:
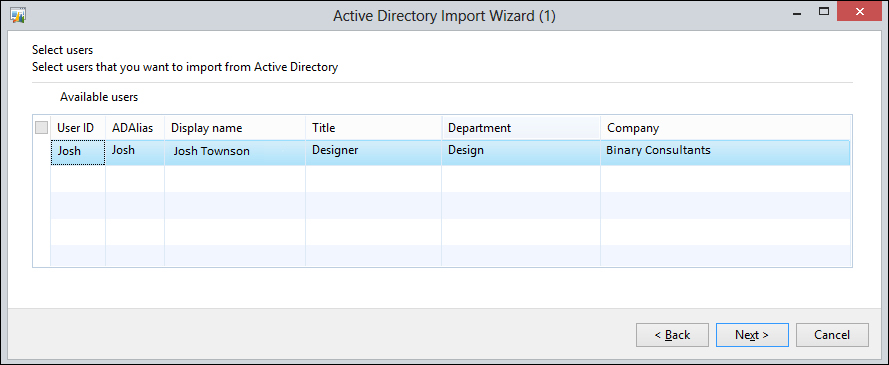
- Click on Next to continue to user role selection, or go back to adjust the selections made:
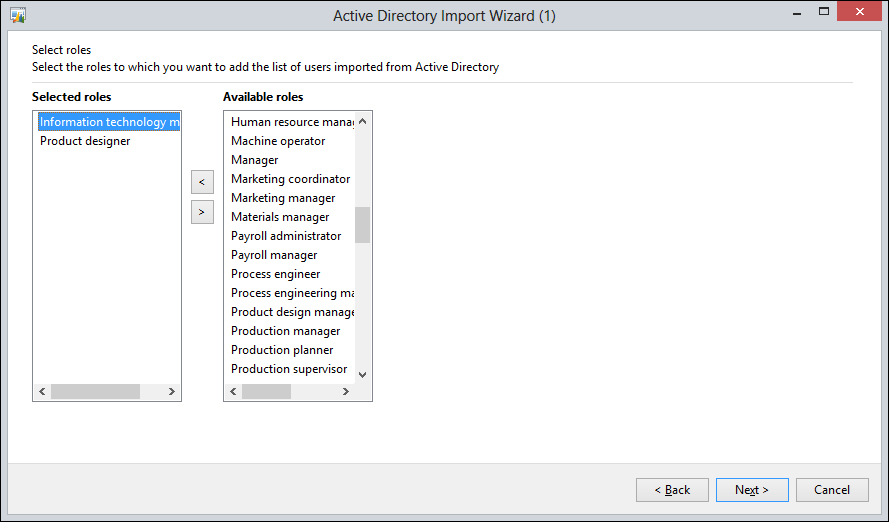
We now have the option to add the users to roles. As stated earlier, it will save time to add users in sets, by their role. This step can be skipped, especially if our process is to allocate the roles dynamically.
Let's say we are adding the finance department to AX. We can add all the finance users in one batch, assigning the Accountant role to all. Once complete, we can move the managers in to the Accounting manager role.
In the preceding example, Josh is a Product designer, but also in charge of IT.
- Once complete, click on Next and select the profiles that the users should be a part of, as shown in the following screenshot:
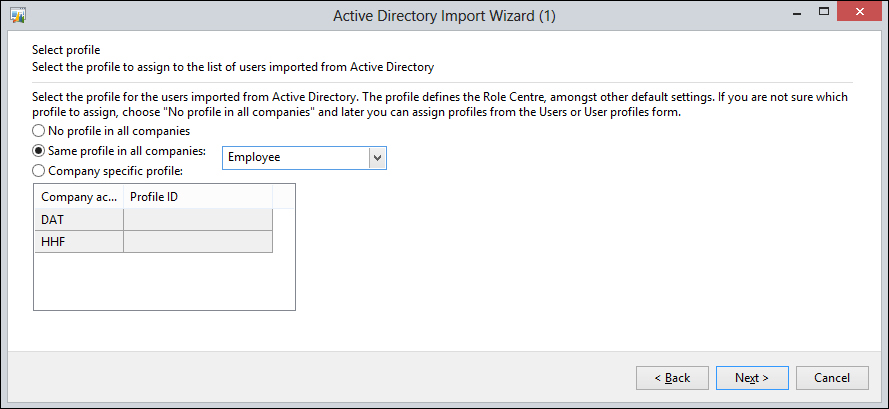
- Choose from the following options, remembering that we are setting the profiles for all users imported in this batch:
No profile in all companies
The role center will not be displayed on the home page of AX or the home page of the Enterprise portal. Choose this option if role centers are not configured or not in use within your organization.
Same profile in all companies
This along with the first option is the most common. The user gets the same profile in all companies.
Company specific profile
You can choose to have a different profile in each company; in this case, you can specify the role the user has in each company.
The profile determines the role center for the user that is displayed on the home page when you start the AX client or open the Enterprise portal.
This displays (among others) cues, tasks, metrics, and KPIs. Each profile provides a different set and layout to this page. The profiles in use by your organization should already be decided upon at this stage. If not, you can assign No profile in all companies.
- Once complete, click on Next.
- On this final step, clicking on Finish will import the users with the settings you have specified. Clicking on Cancel will close the wizard without importing the users.
The users will now appear in the Users list page; you can double-click on a record to view the details and make any adjustments.
The system automatically adds the System user role. This is required for basic system functionality. The system will let you remove the System user role, but this is not recommended (as AX will warn if you try). If you intend to disable a user, uncheck the Enabled checkbox instead.