
Like ClickDimensions, CoreMotives is another very popular Microsoft Dynamics CRM marketplace tool that provides e-mail marketing, lead scoring, web tracking, and nurture marketing features from within Microsoft Dynamics CRM 2013.
Once you have installed and configured CoreMotives on Microsoft Dynamics CRM 2013, the features are then available under a dedicated COREMOTIVES menu in the top navigation pane. This is shown in the following screenshot:

Let's now explore some of the key features exposed by CoreMotives.
Like ClickDimensions, CoreMotives also provides a rich set of tools for e-mail marketing. The embedded e-mail marketing feature consists of the following four key elements:
These features are available under the COREMOTIVES top navigation menu as shown in the following screenshot:

E-mail marketing key elements provided by CoreMotives
Since e-mail marketing is a passive form of marketing, you must very carefully draft and configure your mailings and avoid CAN-SPAM disputes. Before you create the mailings, you should configure mailing subscriptions that create a filter on your marketing lists allowing customers to subscribe or unsubscribe to specific mailings, without having to globally opt out. Use the MAILING SUBSCRIPTIONS menu item from the COREMOTIVES top navigation pane to create a new Mailing Subscription. You can create three types of subscriptions as shown in the following screenshot:

The subscription options are explained as follows:
Based on the subscriptions, CoreMotives creates the Opt-In/Opt-Out records for each contact or lead and the mailings are filtered accordingly.
To create a reusable content for your mailing, you can create a mailing template first before creating your mailings. This is typically useful if you have long running campaigns, such as sending weekly/monthly newsletters of your product information. It is also useful for creating autoresponders. You can use the MAILING TEMPLATES menu option under COREMOTIVES to create robust e-mail templates with a WYSIWYG HTML editor, similar to what you have seen in ClickDimensions. CoreMotives, however, has an additional feature that allows you to insert predefined templates by selecting one from the CoreMotives library. To do that, you will see an Insert Templates option in the HTML editor toolbar as shown in the following screenshot:

Insert a predefined template from CoreMotives
Click on the Insert Template button, and choose a template from the list of predefined templates in the library provided by CoreMotives. This is shown in the following screenshot:
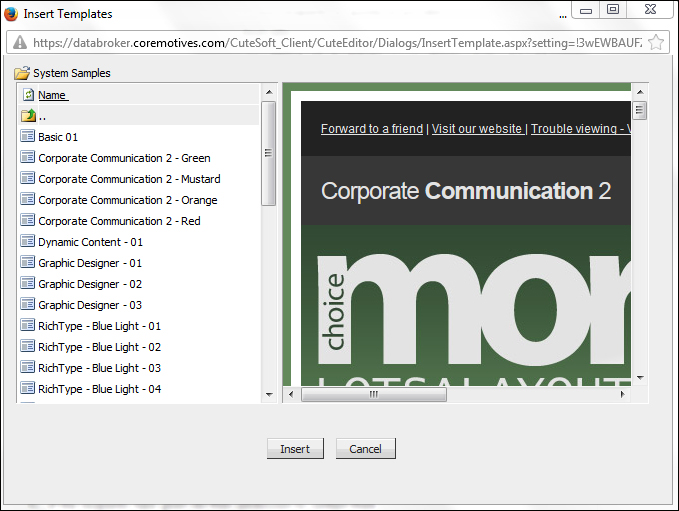
CoreMotives corporate communications e-mail marketing template
You can also create a preconfigured reusable definition for e-mail marketing using the MAILING DEFINITIONS option that can store information such as price list and product details. MAILING DEFINITIONS are similar to MAILINGS, the difference being that you don't have to specify the marketing list and subscription information, thereby making it reusable.
Using a mailing definition, you can very quickly create a mailing. In order to do that, you can navigate to the MAILINGS menu under the COREMOTIVES navigation pane and click on it. In All Mailings View, click on the Quick Mailing button at the top command bar. The new Quick Mailing dialog box will be displayed as shown in the following screenshot:
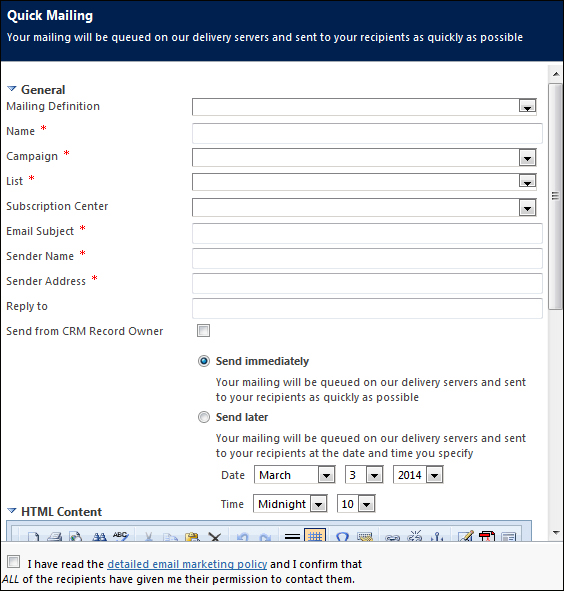
Create a quick mailing
In the Quick Mailing dialog box, you need to specify a name, the campaign on which the mailing should be created, the marketing list (containing the leads/contacts), the subject of the e-mail, and the sender's name and e-mail address. You can also optionally provide a reply to the address (by default, it uses the sender).
In addition, you can tell CoreMotives to autopopulate the sender's name and e-mail address from CRM by checking the Send from CRM Record Owner option.
There are a few additional advanced options such as Delay List Synchronization, which enables you to specify if the marketing list synchronization will be immediate or delayed until the schedule.
If you have administrative rights on your Microsoft Dynamics CRM 2013 instance, you can configure the e-mail marketing settings that include the ability to specify whether you want a campaign response record to be created for link clicks, unsubscribes, and bounced e-mails. You will also be able to specify if you want closed e-mail activities to be created and linked to recipients of e-mail, and whether you would like Web Intelligence to be integrated with e-mail marketing. These options are available in the Email Marketing Settings option under SETTINGS | ADMINISTRATION.
CoreMotives provides a very useful option to send repetitive marketing e-mails generated from Microsoft Outlook. This is particularly useful if you are uncomfortable building a template using the HTML editor. You can use the MailGun option available under the MARKETING LIST command bar to generate an e-mail address on the fly, where the marketing e-mails can be sent week after week from Microsoft Outlook.
Like ClickDimensions, CoreMotives also allows you to track your website visitors and analyze the performance with the help of a simple embedded tracking script. It lets you track the digital footprint of a visitor, how he arrived at your site, and which pages he visited. It will also tell you which keywords let the visitor to your website. If the user chooses to provide his details, then CoreMotives can let you automatically capture that visitor as a contact and then track his usage on your websites and pages. There are four main components of Web Intelligence directly available under the main COREMOTIVES navigation toolbar in your instance of Microsoft Dynamics CRM 2013 software, as shown in the following screenshot:
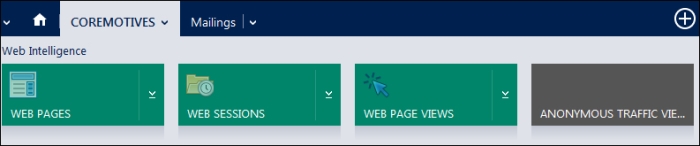
Navigating to Web Intelligence components
The following are the four components of Web Intelligence:
- WEB PAGES: The Active Web Pages screen allows you to track the pages where the web tracking script is active. It also gives you the view count information. You can assign a category to the Active Web Pages records stating if they belonged to marketing or sales.
- WEB SESSIONS: Active web sessions let you track user activity on web pages, by grouping them to show how long a user was on your site. It enables you to identify if the user visiting your site was anonymous or a known contact. Information such as the IP organization, country, and browser details are captured as shown in the following screenshot:

Creating a web session
- WEB PAGE VIEWS: This is similar to WEB SESSIONS, but lets you drill down to each page-level activity to figure out who visited the page. It also captures information such as the referrer URL, the keywords that sent the user to the page, and the source of the traffic.
- ANONYMOUS TRAFFIC VIEWER: This lets you track anonymous visits to your website that have the tracking script embedded in them.
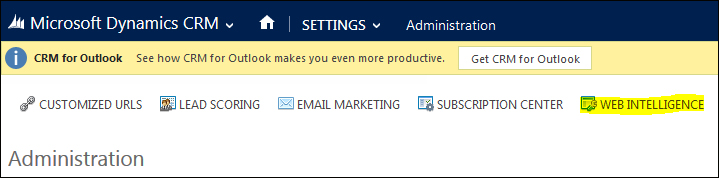
Before you can start using the Web Intelligence features, you must configure Web Intelligence settings in CoreMotives. You can do that by navigating to SETTINGS | ADMINISTRATION | WEB INTELLIGENCE as shown in the following screenshot:
Click on the WEB INTELLIGENCE tab in the COREMOTIVES command bar on top of the settings page, and it will redirect your CoreMotives Web Intelligence configuration page to where you can specify Traffic filtering options, such as setting up your corporate IP range to be ignored for tracking. This is shown in the following screenshot:
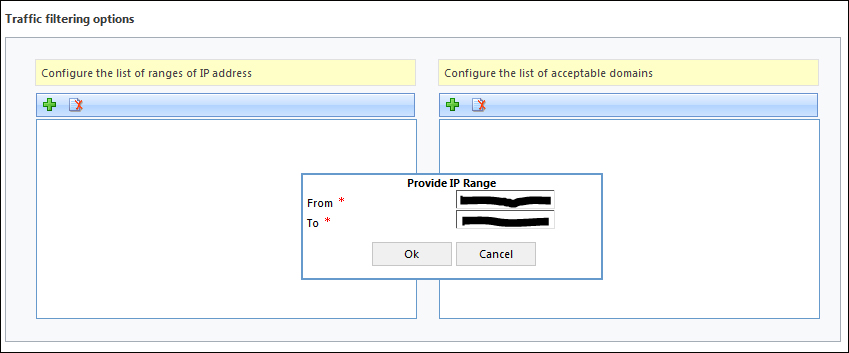
Web Intelligence configuration in CoreMotives to set the IP filters
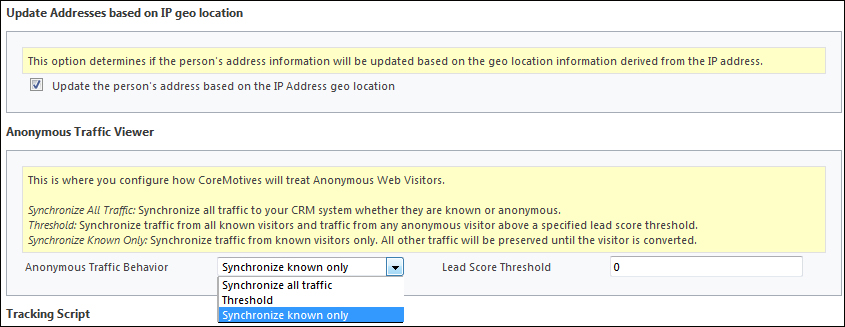
There are additional settings that you can specify such as choosing to detect the person's address from the IP location and the anonymous traffic behavior. You will also find the tracking script on this screen, which you can just copy and embed in your websites and web pages. The following screenshot shows these additional settings:
There is one important element to note from the web tracking perspective in CoreMotives. If you want link clicks to be tracked, then you need to call the tracking JavaScript functions in the onclick event of your HTML hyperlinks in your pages as shown in the following line of code:
<a href="http://[URL to be redirected]" onclick="coreMotives.trackPageView('[http://URL to be redirected]')," > Click</a>CoreMotives also provides a nurture program builder for drip marketing. You can create a nurture program definition workflow with actions and then associate it with a nurture marketing plan. An example of this is shown in the following screenshot:
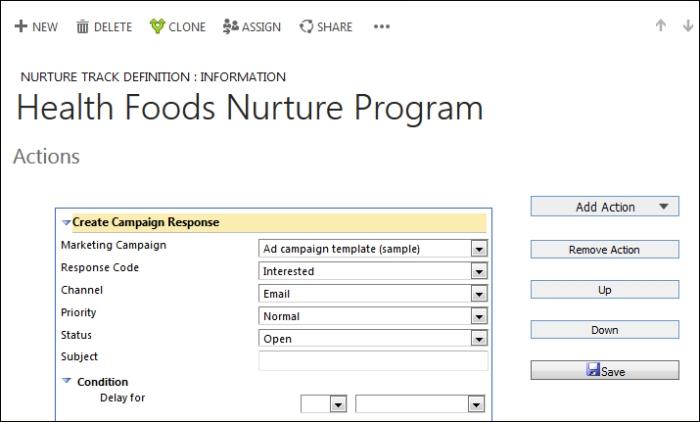
Nurture builder inside a new nurture definition page
These task activities are different from the ones available in the ClickDimensions program builder.
CoreMotives lets you post your campaign updates to social channels such as Facebook. Using the Facebook post feature, you can define a social communication strategy and tell CoreMotives to schedule the posts. In the Create Facebook Post screen, you can select a campaign, provide URLs for the image and content links that will be posted on Facebook, provide a status message, and provide summary information. The Facebook posts option is available under the COREMOTIVES top navigation menu.