
Web parts are small applications that add functionality to a SharePoint page. SharePoint comes with dozens of web parts you can simply select from libraries and add to your pages.
Typical web parts allow you to expose SharePoint lists and libraries on a page. There are list web parts to display calendars, links, or tasks for example. Business data web parts can display views of data from other sources, such as accounting or inventory systems, and media and content web parts will display the contents of picture or video libraries.
There are additional categories of web parts for exposing Office applications, search results, and social collaboration elements such as tags. In addition to the web parts that are included with SharePoint, by default developers can create customized web parts to deliver additional functionality.
The web part in the following image is a list web part:
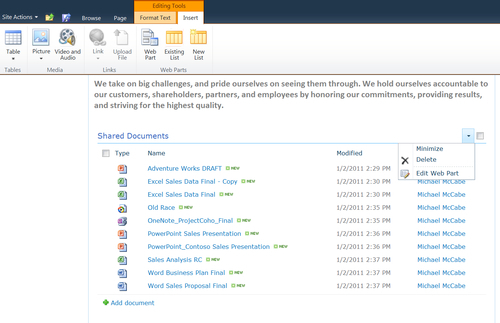
This web part shows a view from the Shared Documents list. The title of the web part appears towards the left. In the upper-right a drop-down menu allows you to Minimize, Delete, or Edit Web Part.
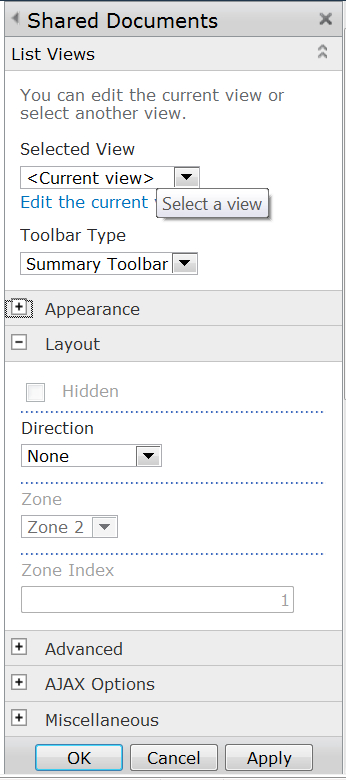
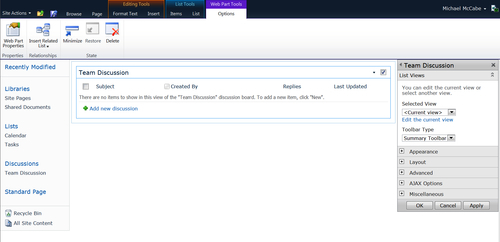
Clicking Edit Web Part opens a panel where you can modify the characteristics of the web part as illustrated as follows:
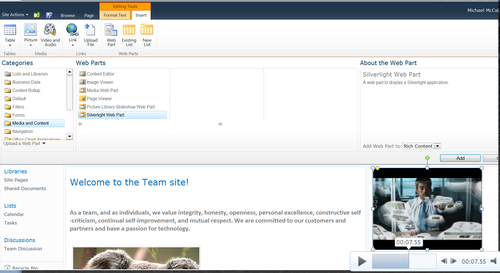
An example of another useful web part is the Silverlight Web Part that can be added from the Media and Content category to include video on your web page:
Next, we will show how to add a web part to a page, and how to edit or delete a web part.
Web parts are grouped into categories. Examples of categories include Navigation, Lists & Libraries, Media & Content, and Business Data.
When you add a web part they are listed by categories.

To add a web part to a SharePoint page, follow these steps:
- Make sure the page is in edit mode and click the Insert tab under Editing Tools.
- Click the Web Part icon.
- Select one of the Categories.
- Select the Web Part.
- Click Add.
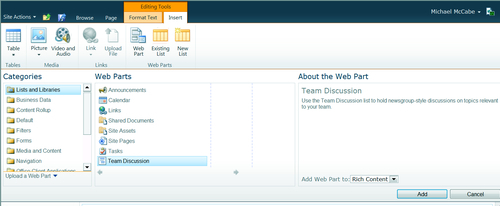
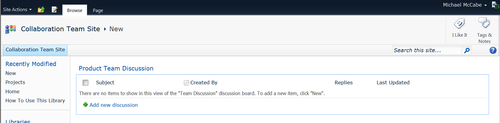
In the following example, we are selecting the Team Discussion web part from the Lists and Libraries category.
The web part is added to the page:

To modify or configure a web part, follow these steps:
When you save, the web part appears like this:
To delete a web part, follow these steps:
- Point to the web part while the page is in edit mode.
- Click on the Delete icon in the Web Part Tools | Options.
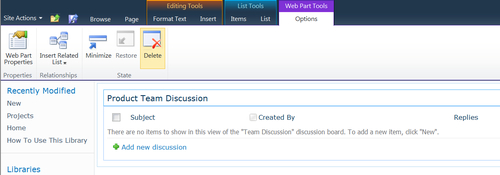
- Confirm the deletion by clicking OK.