Perform the following steps:
- Open the Nessus Web Client.
- Log in to the Nessus client with the user that you created during installation.
- Click on Create a new scan.
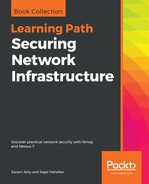
- Select the Basic Network Scan template and fill in the required details for the scan, such as Name, Description, remote host for scanning, and leave the credentials blank for a noncredential scan:
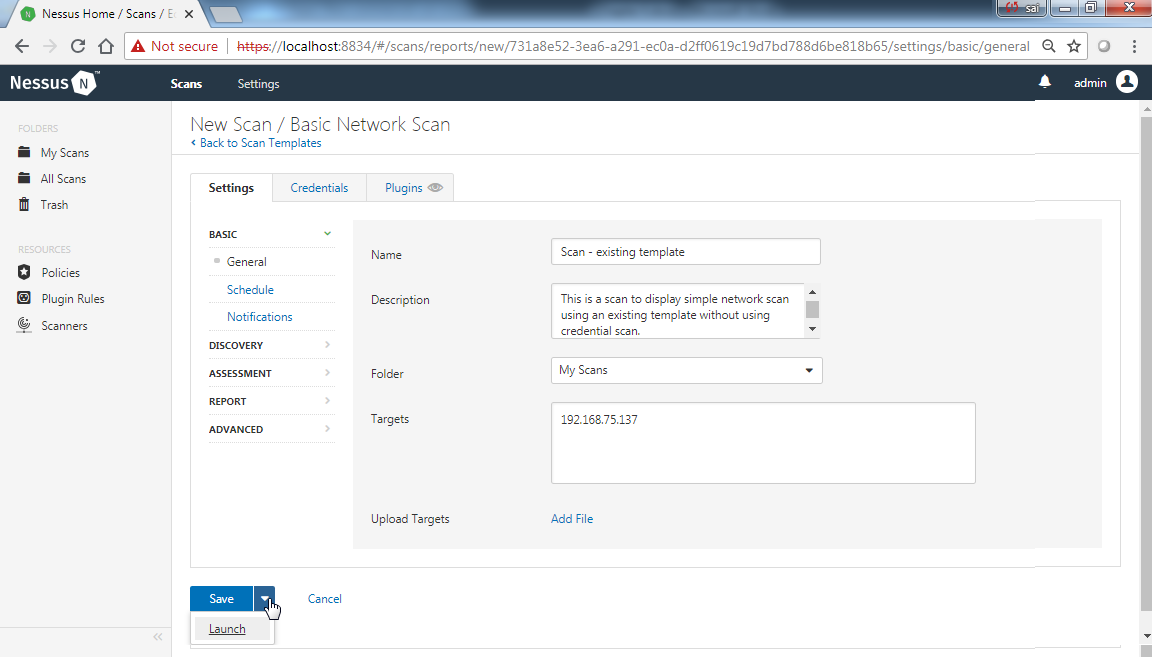
You can enter the hosts to be scanned in newline or separated by commas. You can also upload a list of the hosts to be scanned:
You can also schedule the scan for a future time and date by enabling the configuration options in the Schedule menu:

- Launch the scan:

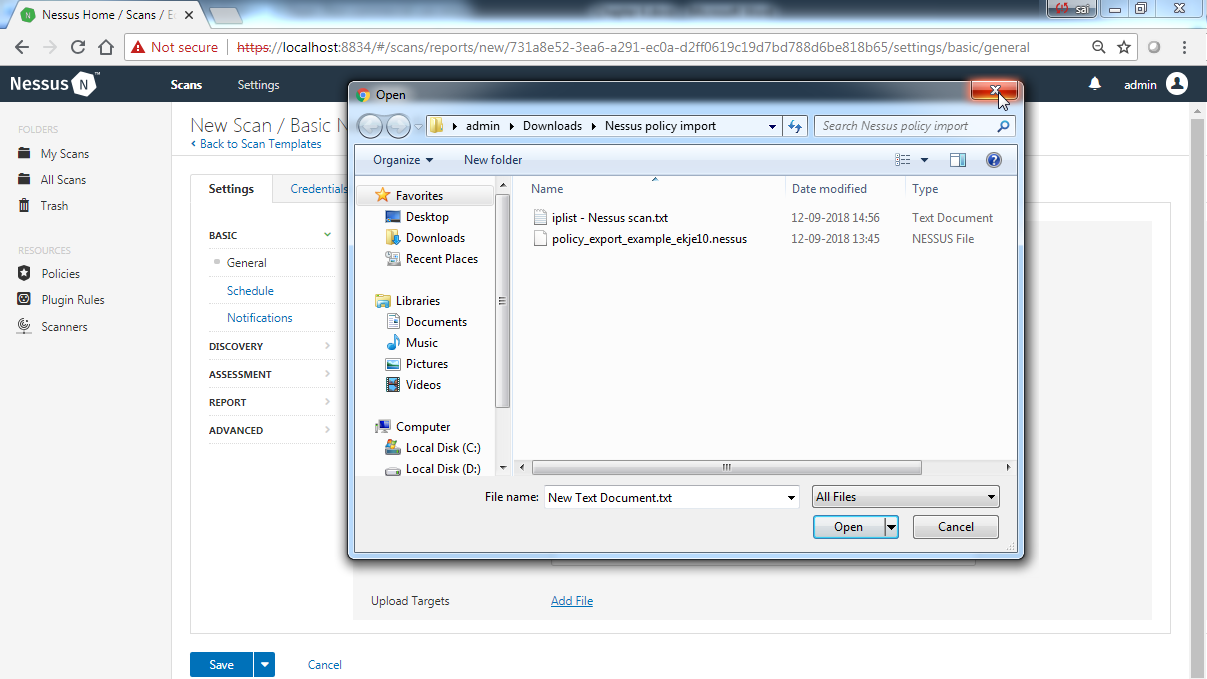
- Open the scan to see the results once the scan has completed:

Furthermore, to see the name of the vulnerabilities, you can click on the bar or the Vulnerabilities tab:
- Select the Basic Network Scan template and fill in the required details for the scan such as Name, Description, remote host for scanning, along with the credentials for a credential scan:

We will enter the credentials for password-based SSH authentication, as the host is a Linux platform. Nessus also supports Windows-based authentication:

- Launch the scan:

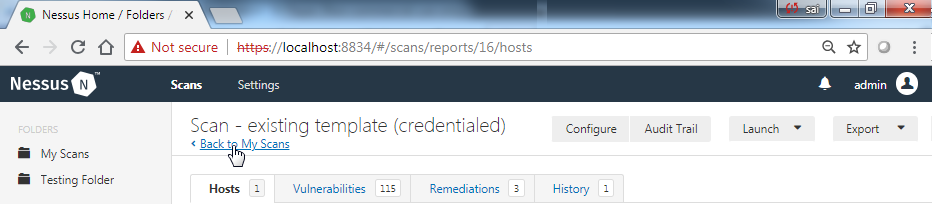
- Open the scan to see the results once the scan has completed:

Furthermore, to see the name of the vulnerabilities, you can click on the bar or the Vulnerabilities tab:

Nessus also provides separate tabs for specific remediations that should be mentioned by Nessus. You can also look at the scan history:
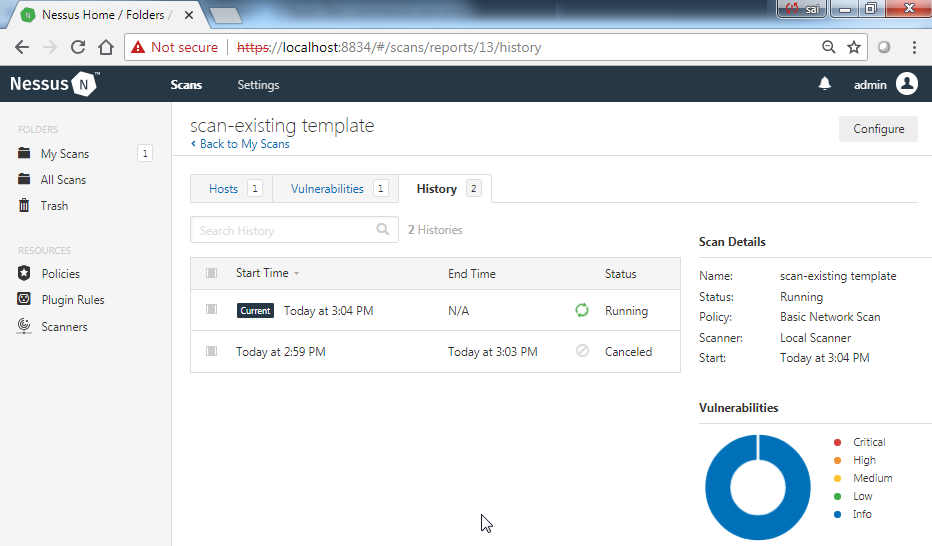
- If the scan was not performed as per your requirements, you don't perform the whole scan again. Instead, you can use the Configure option on the top right of the scan result page to reconfigure the scan settings and launch a fresh scan:

- This will create a history of scans being performed using the same template. You can click on the respective scan for which you want to see the results from the history, and thus obtain the scan results:
Similarly, you can perform a scan using user-defined policies by selecting the User Defined template on the new scan screen:

You can export the report for the scan that has been performed into different formats that are available in Nessus by selecting the respective format from the drop-down. We will look at reporting further in the chapters that follow.