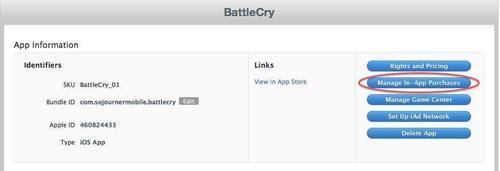
- The first step in defining In-App purchases is to add the purchase types to the application in iTunes Connect. On the application profile page, select the Manage In-App Purchases link in the portal:
- On the In-App Purchases screen select Create New to start the process:

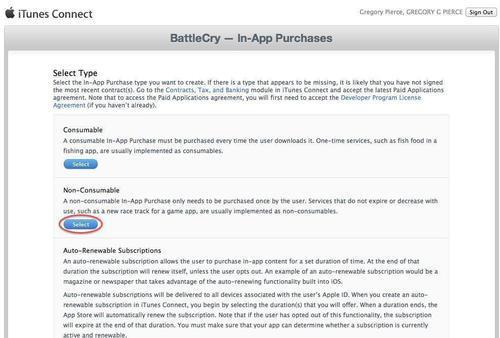
- Next we want to set up an In-App purchase that represents a new gun type for the user, so select Non-Consumable:
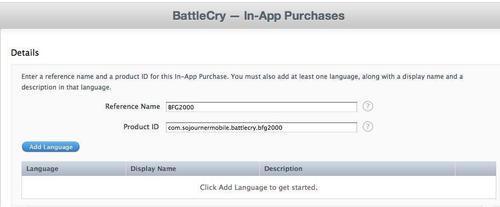
- In the details area provide a Reference Name and a Product ID for the product. The Product ID is what you will use to refer to the product in the Store Kit APIs later. You can call your product ID whatever you want, it is for your own internal purposes. You should follow the naming convention you used for your product to ensure that you will not have any name collisions between products, versions, and so on:
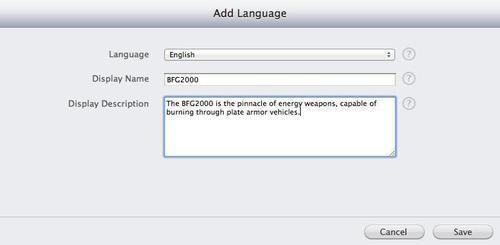
- As iOS applications and iTunes support localization you need to set the language for how your product will be displayed in the store. Select Add Language and enter the store details for the product.
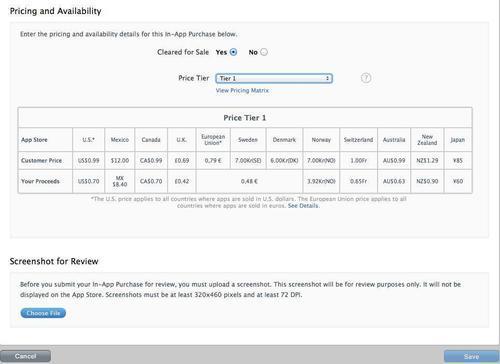
- Next set the pricing for the product. The tiers for In-App Purchases are similar to those of regular iTunes App Store purchases:
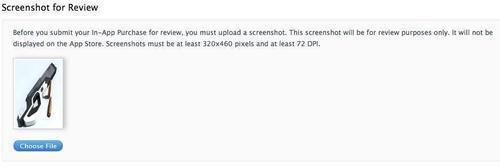
- Next we need to add a screenshot for the App Store review team. It's not entirely clear how this screenshot is used, but you will not be able to submit your In-App purchase without this 320x240 image:
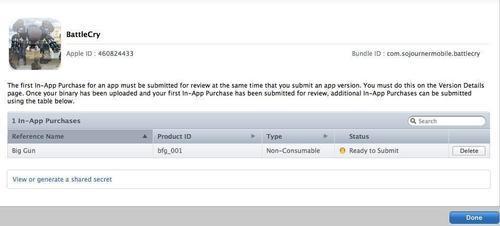
- With this update completed, review the In-App purchase list to ensure that the details entered match what is submitted for your game:
With this completed we can write the plugin code necessary to access this In-App purchase within our Unity game.
- Drag the StoreKitManager prefab from the Prime31 Plugin into the scene. The StoreKitManager is responsible for communicating with the native Objective-C libraries on the iOS device to handle integration with the Apple StoreKit API.
- Drag the StoreKitEventListener prefab into the scene. As StoreKit events happen on the iOS device, the StoreKitEventListener will receive notifications about them from the operating system.
- To keep things simple we will create a simple GUI Button that when clicked will cause the user to purchase the BFG weapon.
- Create a new script called InAppPurchases:
using UnityEngine;
using System.Collections.Generic;

public class InAppPurchases : MonoBehaviour
{
#if UNITY_IPHONE
  void OnGUI()
  {
    if( GUI.Button( new Rect( 0, 0, 50, 40 ), "Purchase BFG" ) )
    {
      bool canMakePayments = StoreKitBinding.canMakePayments();

      if ( canMakePayments )
      {
        StoreKitBinding.purchaseProduct( "bfg_001", 1 );

      }
    }
#endif
}
..................Content has been hidden....................
You can't read the all page of ebook, please click here login for view all page.
