
- The first thing we need to do is delete our Main Camera and the Dual Joysticks from the previous scene. Don't be concerned that we've deleted the Main Camera as we will be adding a new camera to the scene.
- Perform a search for the Camera Relative Controls in the Project window:

- Drag the Camera Relative Controls prefab into the Hierarchy view. When you drag this prefab into your Hierarchy view you will find that it consists of both the Dual Joysticks that we were using earlier, as well as something called Camera Relative Controls. Beneath the Camera Relative Controls you will find the camera pivot and the player objects.
The camera pivot as the name suggests is the point in space around which the camera will pivot. When you move the right joystick to rotate the camera in 3D space, its actions are relative to this point.
The other object is the Player which hosts our Character Controller object and has an aptly named child "
ReplaceWithRealCharacter". When we have our real character we will insert it here: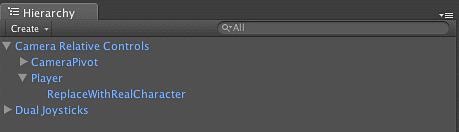
- Switch to the Game view and we will see what this scene represents at runtime:
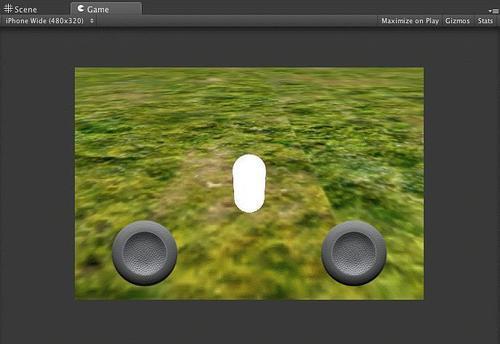
As you can see, the joysticks are in place and the white capsule represents the Character Controller and Player Game Objects. If you deploy this project to your iOS device now you will see that you will be able to move around the scene with the Joysticks, the left moving you around the scene and the right one rotating the camera.
- Next let's import our player's character. Open the Asset Store and perform a search for the Solder Character Pack:
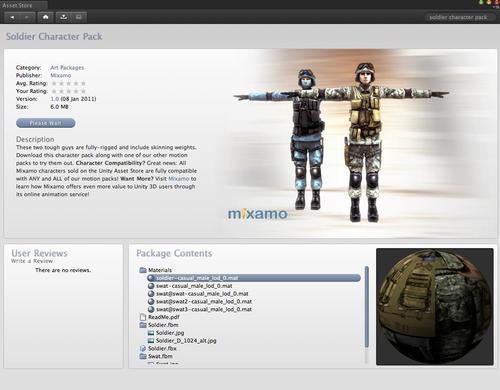
This pack contains a fully rigged character that we can use with our game.
- After importing the character pack, drag the Solider prefab over to the Camera Relative Controls, Player node as a child. This will break the prefab link, but this is not a problem as we need to sever that link to add our own geometry to the game.
- Now delete the
ReplaceWithReachCharacterchild of the Player node and you will have a soldier in your game ready to be used. This soldier isn't the most efficient model we could use for our application, but it is freely available on the asset store and will work just fine for our purposes: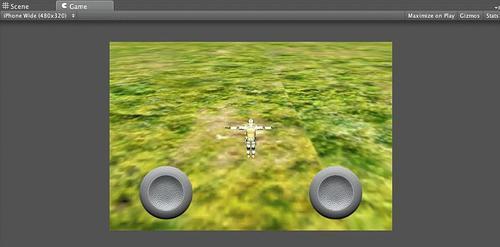
- Deploy this application to your iOS device and use the joysticks and you will find, that for your limited effort, you have a character in the world that will navigate the world with the left joystick and that you are able to manipulate the camera with the right joystick. We're starting to get something that looks more like a game, except that the player doesn't animate. We need a way to put some animations on this character and have the person walk around, move through the attack animations, take damage, and die if we're going to have a real game.