
- Download code'n'web TexturePackerPro essentials by visiting the website:
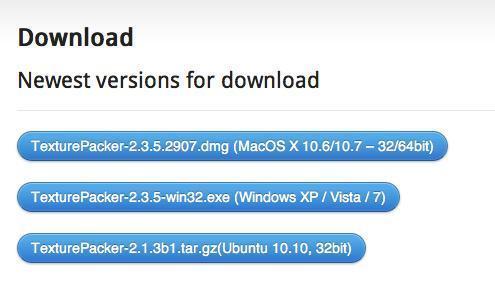
- Select the latest available version of TexturePacker from the download list and install TexturePacker:
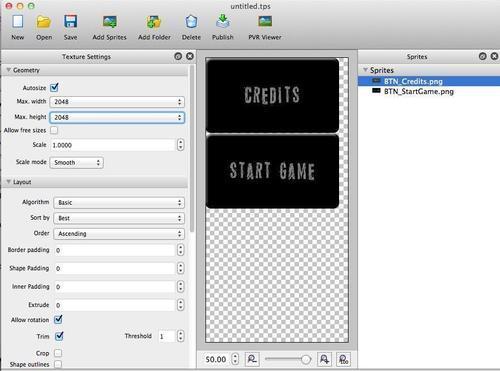
- Next, drag the UI buttons for the credits menu and the start game menu into the interface. You can do this by dragging the images into the Sprites menu on the right-hand side of the interface:
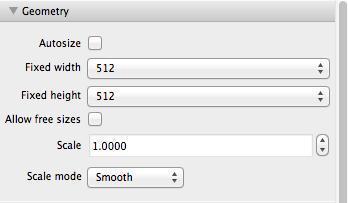
- We want to use the minimum amount of texture memory possible so set the Max. width and Max. height to the smallest power of 2 possible. Your texture will still need to be square so you're looking for the smallest number that box width and height can be set to simultaneously. In our case it is 512. If TexturePacker cannot find a way to fit your textures into that size it will turn the text red.
One benefit that you may not have noticed at this point is that before we were creating textures as large power of 2 textures so that Unity would accept them. Here TexturePacker is identifying the empty space in the textures and optimizing the amount of space each texture takes. In this case we actually have additional space where we could pack more textures if we needed to.
- In the Output settings (scroll the left pane to the bottom) set the Data format to JSON (Javascript Object Notation) and set the directory to your project's
Assetsfolder. Set the name of the file asguiand change the extension of the.jsonfile to.txt, as Unity expects text assets to end with a.txtextension.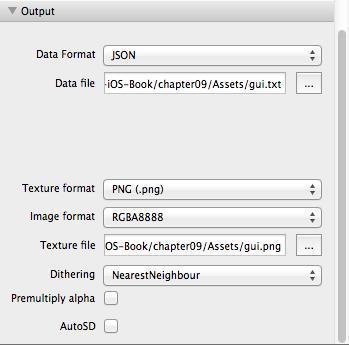
- Press the Publish button in the toolbar and the appropriate files will be created in your
Assetsfolder.
We are now done with everything we need from TexturePacker.
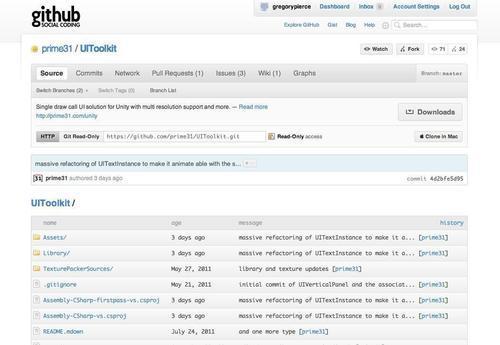
- Download the UIToolkit library from Prime31's github repository by visiting the website at https://github.com/prime31/UIToolkit:
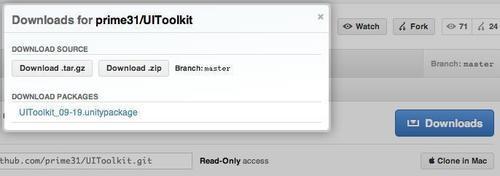
- Select download and choose the .unitypackage option:
- After it downloads, install the Unity package, importing all of the items in it:

- So that we can examine the 2 different approaches to render GUIs separately, create a new scene for this approach, and name it UIToolkit.
- To make sure that our UI components are segregated from the rest of our scene, we want to put them on a particular layer in Unity. Layers are collections of components that can be accessed or manipulated as a collection. If you are familiar with Photoshop, the concept is similar.
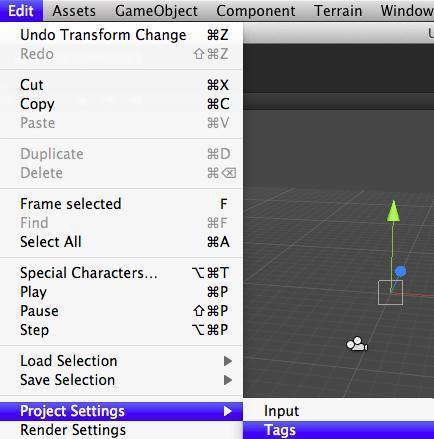
- In Unity, create a new Layer for our GUI to be drawn on by accessing the Layers through Edit | Project Settings | Tags:
- Select User Layer 8 and set the Layer name to UI Layer:

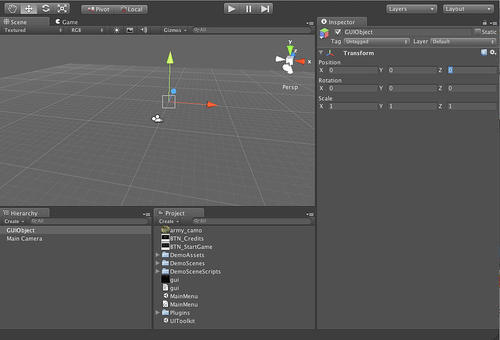
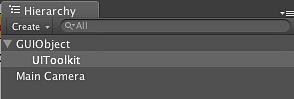
- Create an empty game object, name it GUIObject and set its position to 0,0,0:
- Expand the
Pluginsfolder in the Project view and you will find the UIToolkit library. Expand UIToolkit and drag the UI script onto the GUIObject: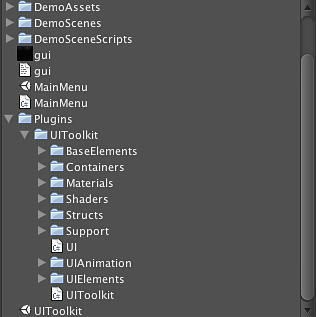
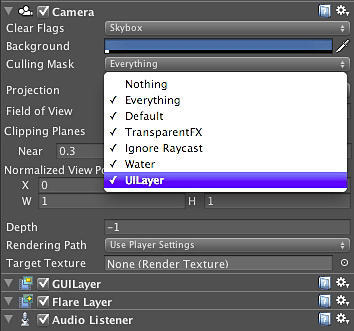
- Select the MainCamera object in the Hierarchy view and remove the UILayer from the Culling Mask to ensure that the UI does not get drawn more than once:
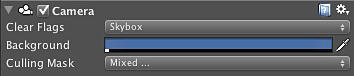
- Once you select the UILayer the Culling Mask should be displayed as Mixed as shown in the following screenshot:
- Create a new empty game object called UIToolkit and make it a child of the GUIObject we created earlier that contains the UI script:
- Drag the UIToolkit script from the
UIToolkit pluginsfolder onto the UIToolkit game object in the Hierarchy view: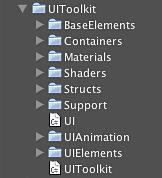
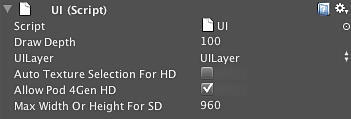
- Select the GUIObject node in the Hierarchy view to bring up its inspector. Tell it we want the UI to be drawn on the UILayer by selecting the drop-down next to the UILayer entry and selecting the layer that the UI is to be drawn on – which we have also called UILayer:
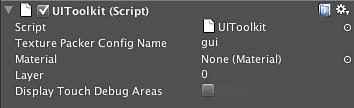
- To wrap up our configuration we need to tell UIToolkit which TexturePacker config we're using. Select the UIToolkit node in the Hierarchy view to bring up its inspector. In the Texture Packer Config Name enter the name of the config that we saved, in this case gui:
Now we're ready to create our GUI using the textures we used in Texture Packer.
- Create a Script called
UIToolkitGUIand let's add a button to the screen using this new approach:using UnityEngine; using System.Collections; public class UIToolkitGUI : MonoBehaviour { // Use this for initialization void Start () { var mainMenuButton = UIButton.create("BTN_StartGame.png", "BTN_StartGame.png", 0 , 0 ); } }Note that the UIToolkit button class takes a normal button state and a pressed button state. As we didn't have both we just used the same texture for both. The last two arguments are the position on the screen where we want this button to show up.
- Press play and our button will show up on the screen.
We just created our GUI using the open source and free library UIToolkit from Prime31. We have accomplished the same thing as our original menu, but with a single draw call. While we could have accomplished similar with UnityGUI, the performance would have gotten progressively worse the more complex the user interface became, as each control added and each GUIStyle rendered results in another draw call.
In addition, we've come up with a more optimal way to get textures into the UI. Unity, by default, will not allow you to use a non-power of 2 texture for rendering which will result in lots of wasted texture memory at each texture. With this approach we can pack a large number of textures into a single larger texture, which is in itself more efficient, and render textures of wildly different shapes without sacrificing much in texture memory efficiency.