
Uploading the App
Our first step to upload the app is to do a release build. So far, Xcode has been giving us debug builds, telling the compiler to insert symbols into the executable code that makes it easier to debug. That’s what lets us stop on breakpoints and figure out what’s going on. But at this point, our code should be fully debugged, so we can eliminate the cost and size of these debugging aids, and instead tell Xcode to build the fastest-running file it can. In practice, a release build will often run 10% or more faster than an equivalent debug build.
Archiving
It’s possible to use the scheme selector to create a release build for the device—and this is a good practice for a final round of pre-submission testingemdash;but let’s cut to the chase. Select a connected iOS device or the Generic iOS Device from the scheme selector, then choose File > Archive. The Archive command does two things for us: performs a release build, and packages it in a format that’s suited for distribution.
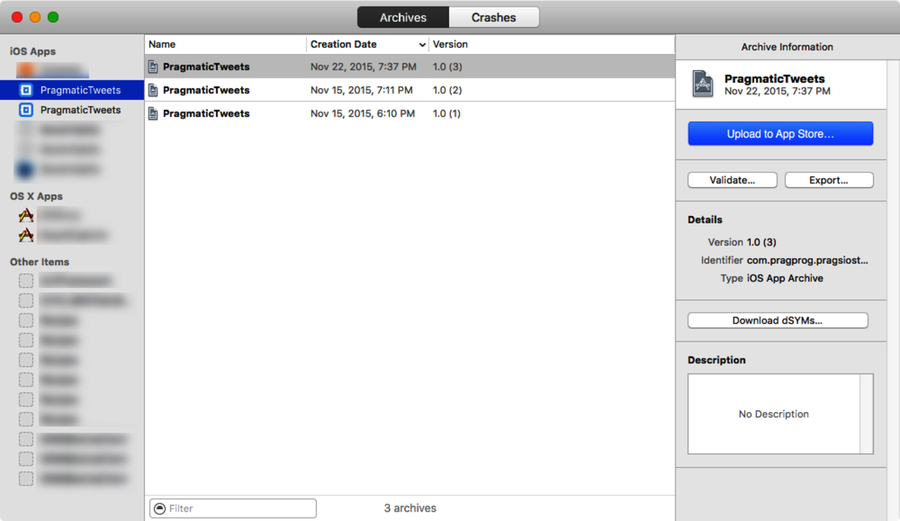
When the Archive operation completes, a new Organizer window opens. It has two tabs: Archives and Crashes, with the Archives tab showing a list of apps on the left, and for each of them, every build of that app that’s ever been created on this machine.
Each archive is listed by its build and version number. These are set in the build target’s General info pane, and have different uses. The version number is meant for the users and expresses the recency of the app and its features. The build is for internal use, and tracks different revisions of a given version. In other words, a given version may have many builds. We need to update the build every time we want to make a new archive, and update the version when we want to do a new release to users.

With an archive selected, click the Validate button on the right. This does an up-front validation of the code and our signing credentials prior to uploading to Apple. It reports which signing identity will be used to identify the binary to Apple, and which distribution profile is associated with the submission (which it gets by matching the App ID to the app’s bundle identifier).
Extensions Are Like Separate Apps | |
|---|---|
|
|
If you try these steps yourself, you will get hung up on the keyboard extension we wrote back in App Extensions. That’s because the extension has a different bundle identifier (com.pragprog.yourhandle.PragmaticTweets.PragmaticTweetsKeyboard), and therefore requires its own App ID and distribution profile to match it. It’s straightforward to create those assets on the Member Center, but in writing this chapter, we also discovered that keyboard extensions have another requirement imposed by iTunes Connect: because of the privacy implications of our code seeing everything the user types, keyboard extensions require a URL for a publicly visible privacy policy. In the interests of simplicity, we’ve removed the keyboard extension from our App Store submission screenshots. |
Uploading
Now we’re ready to upload our app to the App Store. For this to work, we need to have at least a minimal record entered into iTunes Connect that matches our app’s bundle identifier, something we did back in Creating an App Store Entry.

Click the Upload to App Store button to begin the transfer. It will take a while to get started, but eventually you’ll see the progress bar as the upload begins.
Eventually, the upload finishes and, well, we’re not on the App Store yet, but we’ve made a big step forward by getting the app off of our own machine. That’s critical, because there’s one big thing we should do before we release: make sure our app actually works.