Enter a name into the Zone name edit box and a brief description into the Zone description edit box.
When done, click on the Save and Continue button.
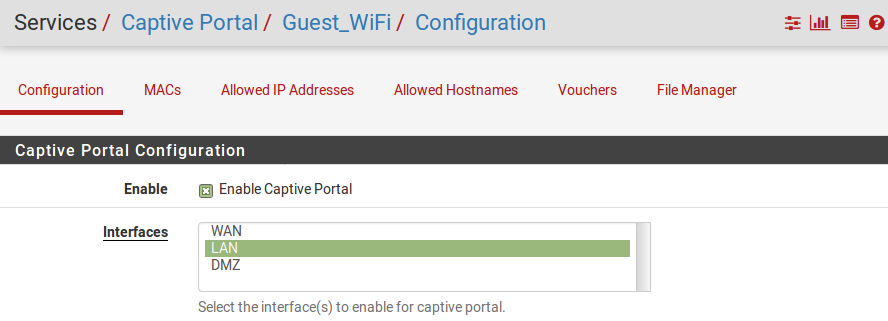
When the page loads, it should default to the Configuration tab. Check the Enable Captive Portal checkbox to display other captive portal configuration options.
In the Interfaces list box, select the interface(s) on which the captive portal will be enabled. If you do not have a separate interface for captive portal traffic and you have added a DMZ, you can select DMZ, as shown in the following screenshot:
In the Idle timeout edit box, enter a reasonable value for the idle timeout (for example, 10 minutes).
In the Hard timeout edit box, enter a reasonable value for the hard timeout (for example, 60 minutes), or leave this field blank if you do not want a hard timeout (the point at which clients will be logged out, whether they are idle or not).
Check the Enable logout popup window checkbox so that users can explicitly logout before the idle timeout period expires, as shown in the following screenshot:
In the After authentication Redirection URL edit box, enter a redirection URL (for example, www.google.com).
Scroll down to the Authentication section, and make sure No Authentication is selected as the authentication method, as shown in the following screenshot:
For the moment, we will leave the Portal page, Authentication error page, and Logout pages undefined; we can use the default pfSense pages.
When you are done making changes, click on the Save button.