
- Navigate to VPN | IPsec.
- On the default Tunnels tab, click on the Add P1 button:

- In the General Information section of the Edit Phase 1 page, change the Key Exchange version to IKEv2:

- Set Remote Gateway to the IP address of the second pfSense firewall.
- Enter a brief description in the Description text field.
- Enter a key in the Pre Shared Key text field:

- Change the Hash Algorithm to SHA256. All other values can be kept at their default values.
- When the page reloads, click on the Show Phase 2 Entries button. This should make the Add P2 button visible.
- Click on the Add P2 button.
- In the General Information section of the page, keep Local Network set to LAN subnet.
- Set Remote Network to the LAN subnet and CIDR of the remote network’s LAN.
- Enter a brief description in the Description text field.
- In the Phase 2 Configuration (SA/Key Exchange) section, AES256-GCM is selected as an Encryption Algorithm.
- Select SHA256 as the Hash Algorithm.
- When you are done making changes, click on the Save button.
- When the page reloads, click on Apply Changes.
- Now we need to add a firewall rule to allow VPN tunnel traffic to pass:
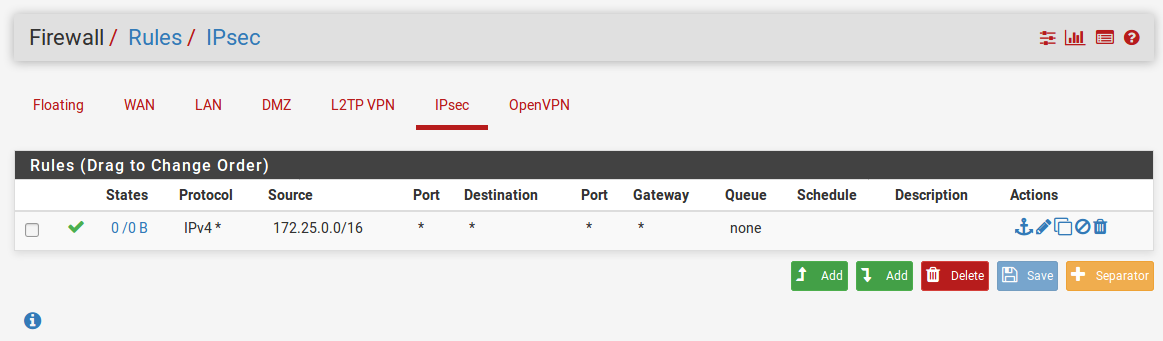
- Navigate to Firewall | Rules and click on the IPsec tab (Firewall | Rules | IPsec).
- Click on one of the Add buttons at the bottom of the page to add a rule.
- On the Edit page for this rule, select Network in the Source drop-down menu. Enter the subnet and CIDR of the remote network. This should be the same information entered for Remote Network in the Phase 2 IPsec configuration.
- Click on the Save button.
- Click on Apply Changes to reload the firewall rules:
- The configuration of the first firewall is now complete. We need to repeat the process for the second firewall:
- On the second firewall, navigate to VPN | IPsec.
- On the Tunnels tab, click on the Add P1 button.
- Repeat the process followed for phase 1 configuration of the first firewall, but set Remote Gateway to the IP address of the first firewall.
- Create the phase 2 entry on the second firewall. Again, the process should be identical to the process followed for the first firewall, the exception being that Remote Network should be set to the LAN network behind the first firewall.
- Navigate to Firewall | Rules | IPsec, and create a firewall rule that is identical to the rule created on the first firewall.
- Now that phase 1, phase 2 and the firewall configuration are complete on both ends of the tunnel, navigate to Status | IPsec on either firewall. There should be a table of currently configured IPsec connections.
- Click on the Connect VPN button for the newly configured connection. In the table, the IPsec tunnel status should change from Disconnected to ESTABLISHED. The Status column will also indicate how long the tunnel has been up. The IPsec tunnel should remain up until you click on the Disconnect button on either firewall (or otherwise terminate the IPsec service on either end):

Now that the IPsec tunnel has been established and access to the LAN network has been granted to IPsec clients on either end of the tunnel, a user on one network who wishes to use resources on the remote LAN network (for example, an FTP server) should be able to do so.