Make sure you have a valid CA. If not, create one by following step 1 in the Connecting to the OpenVPN service recipe.
Make sure you have a valid server certificate. If not, create one by following step 1 in the Connecting to the OpenVPN service recipe.
Add an OpenVPN client with the User Manager:
Navigate to System | User Manager.
Click on the Group tab.
Click on the Add button to add a new group.
Enter a name in the Group name text field (for example, Remote VPN Users).
Enter a brief description in the Descriptiontext field.
When you are done making changes, click on Save.
Click on the Users tab.
Click on Add to add a VPN client.
Enter a Username and Password in the appropriate text field.
Enter the user’s full name in the Full nametext field, if desired. In the Group membership section, add the user to the newly created user group.
Check the Click to create a user certificate checkbox.
Click on the Save button.
Repeat the process for as many VPN clients as you wish to add.
Next, we need to install the the OpenVPN Client Export Utility:
Navigate to System | Package Manager.
Click on the Available Packages tab.
Find openvpn-client-export in the list, and click on the Install button for this package.
Clicking on the Install button will take you to the Package Installer tab; click on the Confirm button on this tab.
Wait for openvpn-client-export to install.
Now we can configure the OpenVPN server:
Navigate to VPN | OpenVPN.
Click on the Wizards tab. This will take you through the OpenVPN server setup.
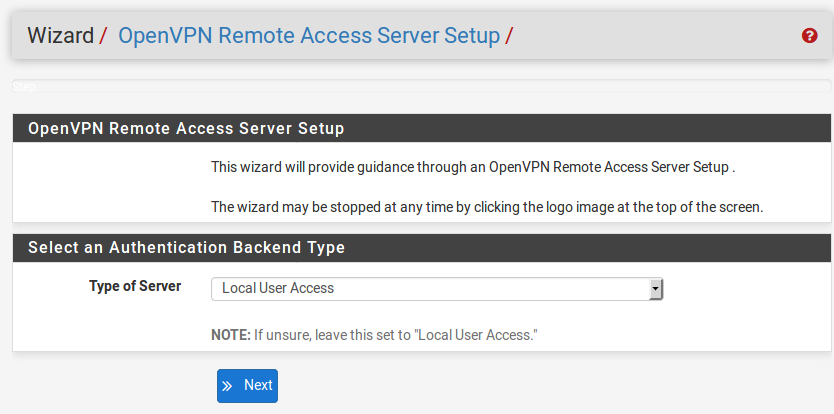
Leave Type of Server set to Local User Access. Click on the Next button:
In the Certificate Authority drop-down menu, select the CA created in step 1 (or earlier if you followed the Connecting to the OpenVPN service recipe). You may also click on the Add new CA button to generate a new CA; otherwise, click on the Next button.
In the Certificate drop-down menu, select the server certificate created in step 1 (or earlier if you followed the Connecting to the OpenVPN service recipe). You may also click on the Add new certificate button to generate a new server certificate; otherwise, click on the Next button.
On the Server Setup page, scroll down to Tunnel Settings. In the Tunnel Networktext field, enter a virtual network for private communications between the client and server. You can make this network as big or as small as you wish. For example, if you know you will never have more than a dozen clients connecting and 192.168.1.0 is not being used by any of the subnets on your network, you can set it to 192.168.1.0/28.
In the Local Network text field, enter the local network that will be accessible from the remote endpoint (usually the LAN network).
Scroll down to Client Settings. In DNS Default Domain, enter the default domain name for clients, if there is one.
You may also enter up to four DNS servers in the DNS Server text field.
You may enter up to two NTP servers in the NTP Server edit boxes.
When you are done making changes, click on the Next button.
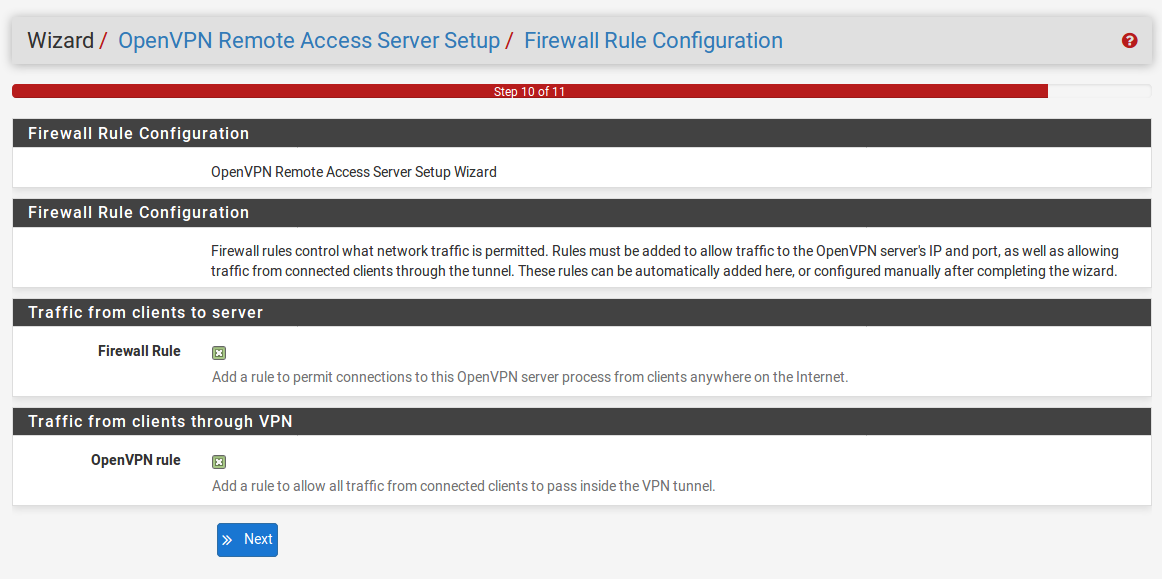
On the Firewall Rule Configuration page, make sure both Firewall rule and OpenVPN Rule are checked. Once you confirm this, click on the Next button:
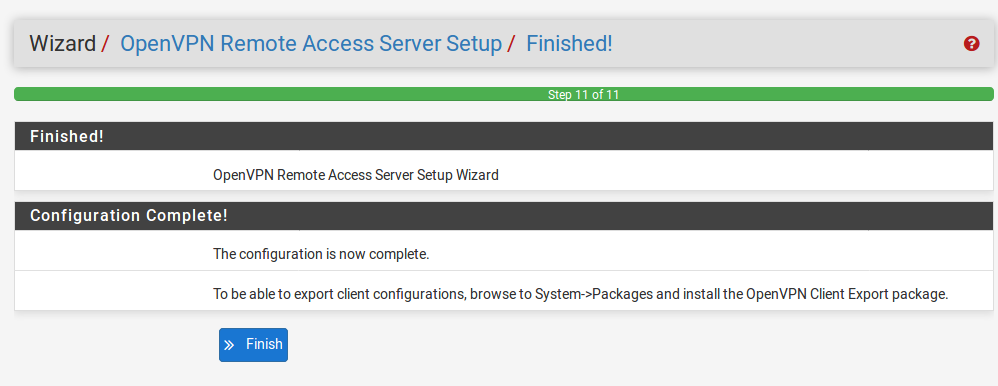
The final page of the wizard should inform you that configuration is complete. Click on the Finish button to complete the wizard:
Confirm that the configured server appears on the Servers tab. Once you do, you can begin using the Client Export Utility:
Click on the Client Export tab.
Make sure the correct server is selected in the Remote Access Server drop-down menu.
Check the Password Protect Certificate checkbox.
Enter a password in the Certificate Password text field (the password must be entered twice).
Scroll down to the OpenVPN Clients section and download the appropriate config file or client for the appropriate user (you should see different options for each user configured earlier) iOS, Android, Windows, and macOS are supported:
Now that we have the OpenVPN client software, we can move over to the remote system and connect to the remote firewall:
Install the downloaded OpenVPN client on the client’s computer.
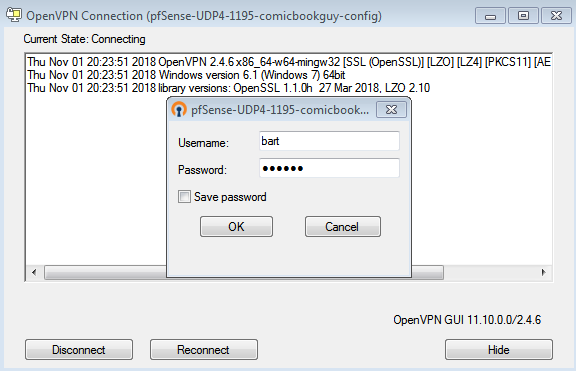
Run the installed client. The client interface will prompt you for the username and password. Enter the username and password entered in the User Manager for the client earlier. When you are done, click on OK.
The client should now be connected to the server via OpenVPN: