
Don’t Mulch
Do you love the texture of cantaloupe or corn husks? The beauty of a dried datura or lily? The shape of red beans or sliced kiwis? By scanning or copying them, they can all be part of your recipe for a wonderful piece of art.
TECHNIQUE ONE: Glue It
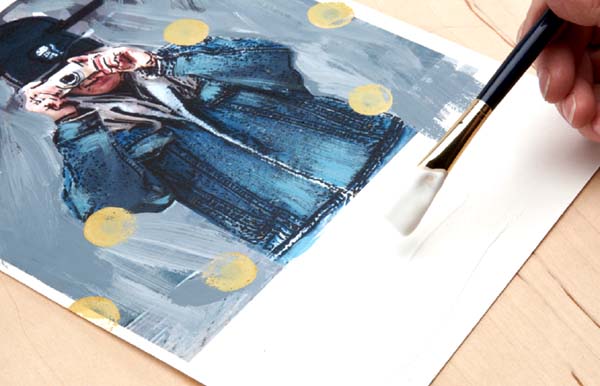
Step 1
Brush your surface with soft gel in the area where you want to place your image. If you will be working with an inkjet image, make sure you spray with a workable fixative first.
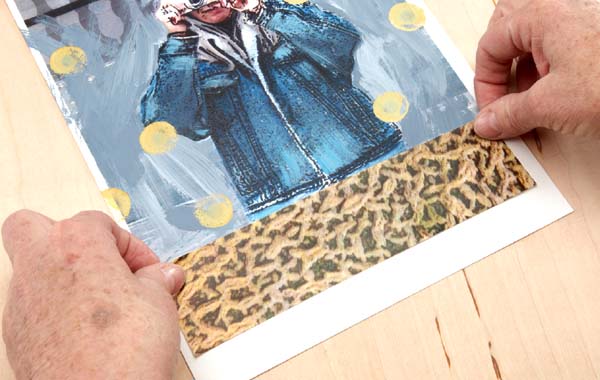
Step 2
Position your image and press to adhere it.
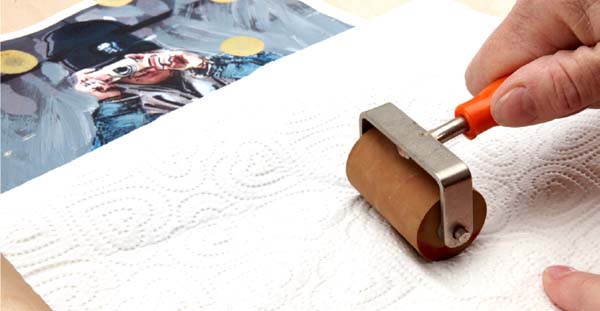
Step 3
Roll over it with a brayer to ensure strong adhesion. Laying a paper towel over your surface will keep soft gel from getting on your brayer.
TECHNIQUE TWO: Grunge It

Step 1
Lay down a thin layer of soft gel on your surface.

Step 2
When the paintbrush starts to drag on it, quickly lay an inkjet image face down onto the gel and burnish. This works best with a smooth paper surface.
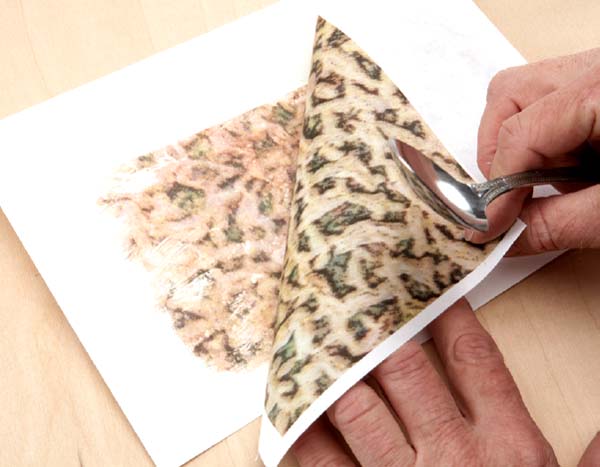
Step 3
Hum the Jeopardy theme song twice and lift the image off the background. You should be left with an image on the surface that is slightly grungy.
TECHNIQUE THREE: Wear It
Can you imagine how cool a kiwi necklace, cantaloupe textured earring or an ornament with star fruit would be? So easy, so much fun and so original.

Step 1
Print your images on multipurpose transparency film and paint the printed side, if desired. Seal with polymer medium and let dry.

Step 2
Cut out images or shapes.

Step 3
To make earrings (or to use your cutouts as beads), punch holes to accommodate jump rings as needed.

Step 4
Insert jump rings into the punched holes.
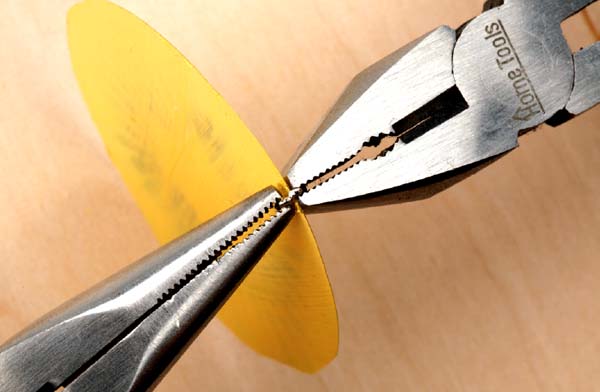
Step 5
Close the jumps rings using jewelry pliers.

Step 6
Attach the jump rings and transparency shapes onto a chain or earring hook.