
Embrace Me
Have you ever tried to paint onto a sphere or a bowl? It can be a little tricky as you try to hold it and paint at the same time. Here are some easy ideas to help you out and wrap your painting around a three-dimensional surface.
Wrap It Up
Use the Crazy Easy Transfer technique to transfer your painting onto a sphere. Instead of a painter’s tarp, use a thinner plastic, such as plastic food wrap, a dry cleaning bag or a plastic produce bag. This is a good way to recycle all those bags.
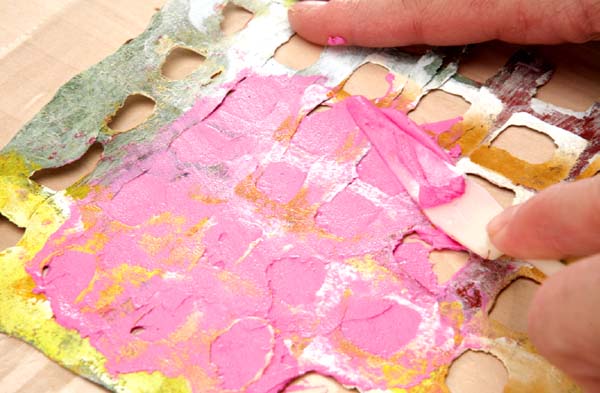
Step 1
Paint, stamp or stencil directly onto the plastic and allow it to dry completely. In this demonstration, I am using Quinacridone Magenta mixed into light molding paste and applied through a stencil.
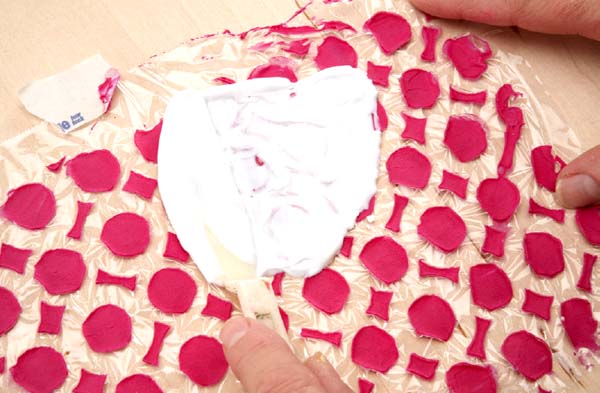
Step 2
Apply soft gel onto the plastic. Make sure you cover the plastic completely with the gel.
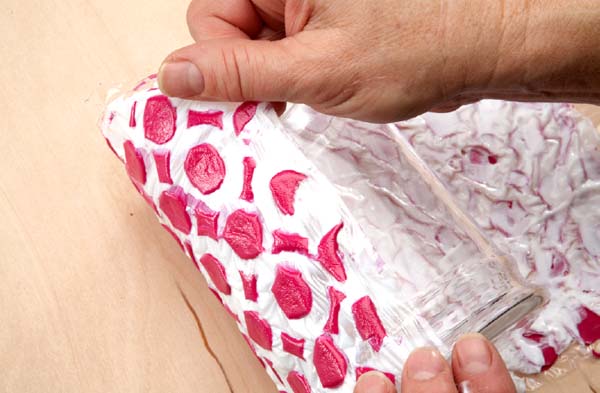
Step 3
Carefully wrap the gel-coated plastic around your object. (Here I’m applying it to a simple glass vase.)
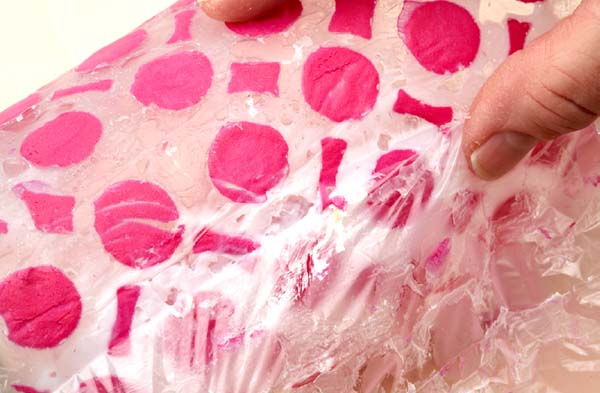
Step 4
Let the medium dry thoroughly (this may take several days) and then carefully pull off the plastic.
TIPS
• A faster way to do this technique is to use waterslide decals—this works especially well with candle holders.
• Use painter’s or masking tape to hold the plastic down while you embellish it. The tape will also serve as a visual cue as to which side the paint is on.
For more information on the Crazy Easy Transfer technique, visit createmixedmedia.com/mixed-media-revolution.
TECHNIQUE TWO: Make Your Own Decals and Stickers
So many of the fun things in the hobby stores are intended for children, but we think we should get to share in the fun! For example, we’ve talked a lot in this book about making and using waterslide decals—but they really are that much fun! If you can’t find materials in your local craft store, Google can help you find manufacturers and retailers. Just follow the instructions on the package or check out one of our bonus tutorials.
Grafix is one company that makes decal paper you can print on via your computer. You then peel off the images to make your own stickers. This works really well, and you can use the stickers to personalize a decorative ornament or other glass object. We’ve used Grafix in this demonstration.
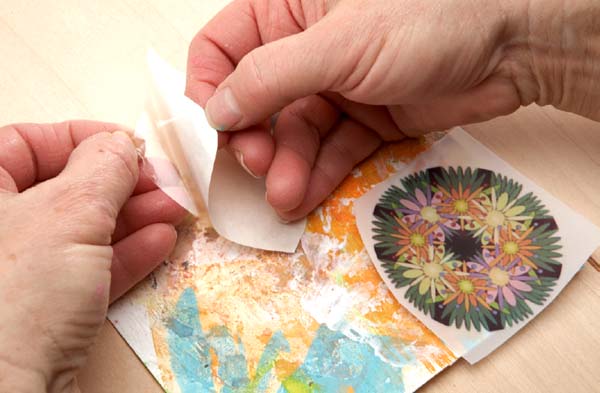
Step 1
After you have printed your image onto the Grafix paper, attach the paper to the adhesive backing. Burnish and then remove the backing paper from the image.
Step 2
Press the image onto your surface.

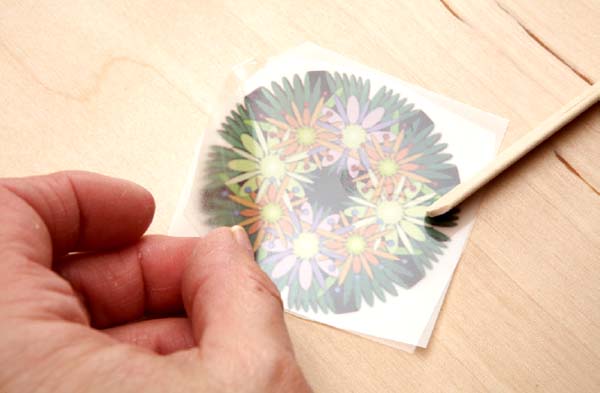
Step 3
Burnish and then peel off the top layer of plastic.
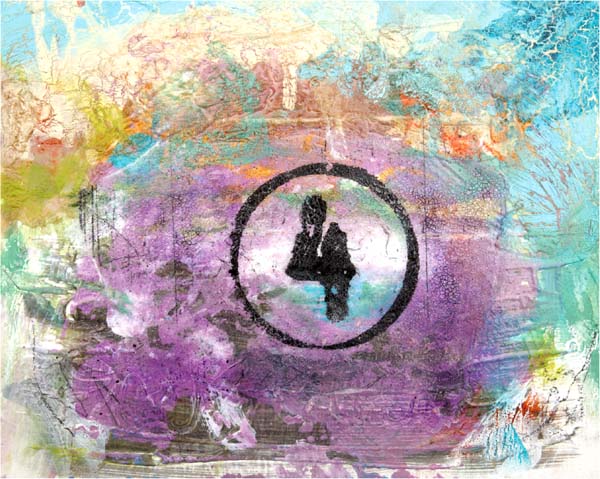
TAKE 4
Sandra Duran Wilson
TIP
Remember, the steps in this process may differ depending on which manufacturer’s product you use. Be sure to follow the instructions for your particular product.
For more information on making and using waterslide decals visit createmixedmedia.com/mixed-media-revolution.