
Group Fun
There is something magical about looking through layers. Picture in your mind what happens when you look into a shop window on a sunny day: You see not only what is in the window display but also your reflection and objects that are beyond the display. It’s possible to create a similar layered look with your images without having to use a digital photo program.
TECHNIQUE ONE: Just Do It
Transfer your inkjet transparency image on top of an old watercolor painting, book or journal page or decorative paper. As long as the paper is absorbent you will be able to transfer your inkjet transparency image. To ensure that a watercolor painting or other paper you are transferring onto won’t run, spray first with a workable fixative.
In demonstrating this technique, we have used multipurpose transparency transfers. One side of the transparency is intended for inkjet printing and the other is intended for laser printing. But you can print on either side with an inkjet printer (see step 3).

Step 1
If you are using commercial paper that is coated (it will appear shiny), you need to lightly sand it to give it added tooth. Super glossy paper is not recommended for this technique.

Step 2
Mist the sanded paper with water and rub the water into the paper. You want the paper to be saturated but you don’t want the water to pool.
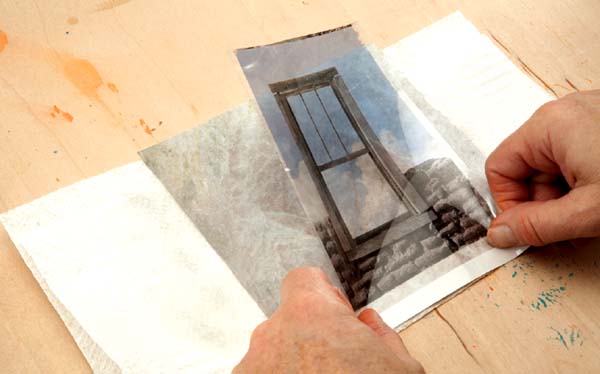
Step 3
Smudge each side of your transparency to determine which side your image has been printed on. (If the rough side of the transparency is the side that has been printed on, you’ll get a ghost transfer; if it is the glossy side, you’ll get a total transfer.) Place your transparency printed side down on the paper.
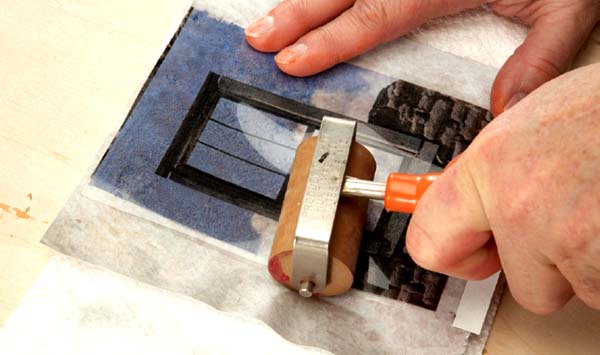
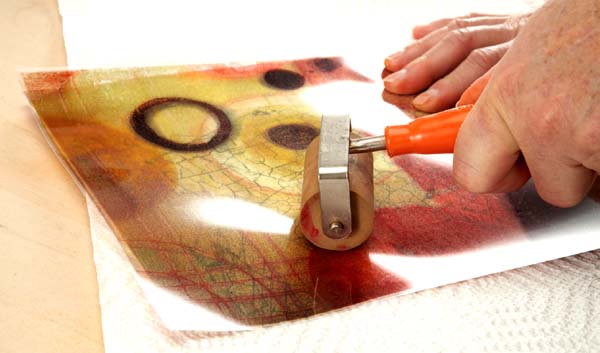
Step 4
Brayer the image from the transparency onto the paper. Use as much pressure as you can to transfer as much of the ink as you can, but if you see the transfer ink smearing, stop and wait a few moments for more water to be absorbed into the paper. Build up to strong pressure to fully transfer as much of the image as possible.
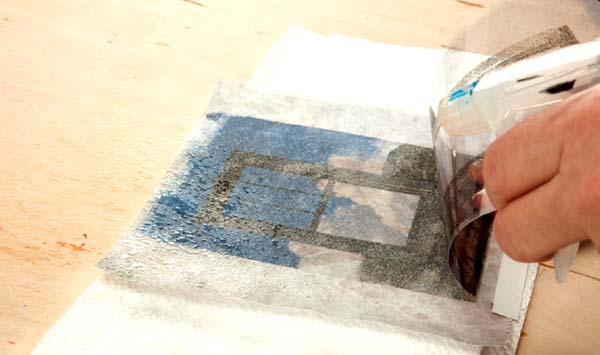
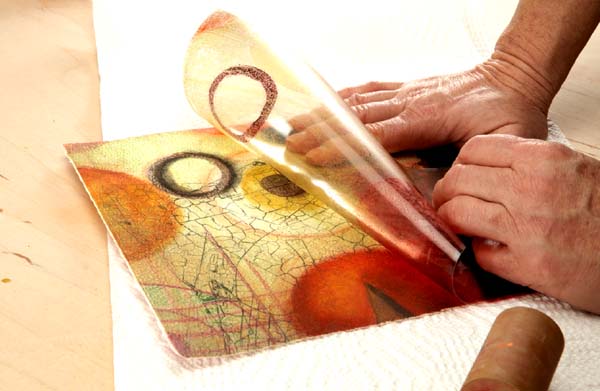
Step 5
If you want more ink to transfer, lift the transparency and mist the paper with more water. If you are using a thin paper, like a rice paper, you can mist the back side of the paper without having to lift the transparency.
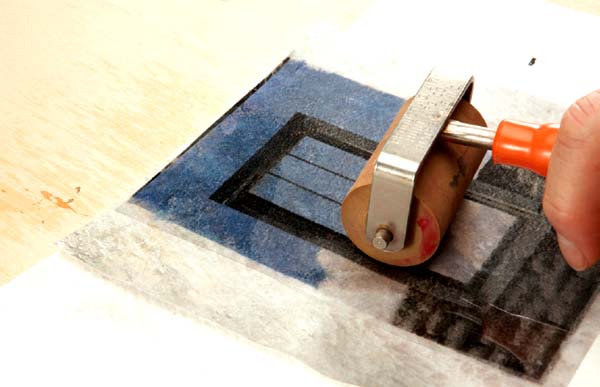
Step 6
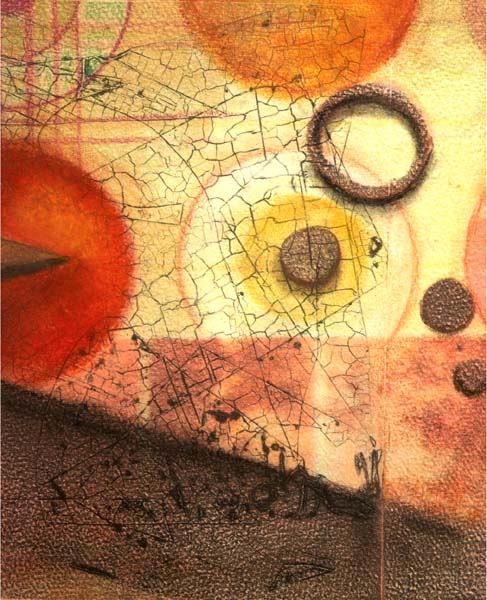
Continue to apply pressure until you are satisfied with the transfer of ink to paper.

The transferred image is on the left and the original transparency, now largely devoid of ink, is on the right.
TECHNIQUE TWO: Use the Leftovers
Step 1
Layer transparencies on the bed of the copier/scanner so they overlap each other.
Step 2
If you are making your copy at a print shop you will need to create a digital file to put in your computer at home so you can print on an inkjet printer.
Step 3
Print your layered image onto another inkjet transparency.
Step 4
At this point you can transfer the image onto absorbent paper.
TECHNIQUE THREE: Clear to Me
Transparency transfers are a fun way to get images onto bound books or journal pages. In this demonstration, we are transferring images to a painting.
Step 1
Use an inkjet printer to print onto transparency film. Mist your paper with water, put your transparency image face down and burnish until the image is transferred.
Step 2
If you have used a transparency film for inkjets, you will have a ghost image left on the film. You can transfer this ghost image, too. (You can find more information on transparency transfers in our first book, Image Transfer Workshop.)
SPACE TIME
Sandra Duran Wilson