A Ceph cluster can be made up of 10 to several thousand physical disks that provide storage capacity to the cluster. As the number of physical disks increases for your Ceph cluster, the frequency of disk failures also increases. Hence, replacing a failed disk drive might become a repetitive task for a Ceph storage administrator. In this recipe, we will learn about the disk replacement process for a Ceph cluster.
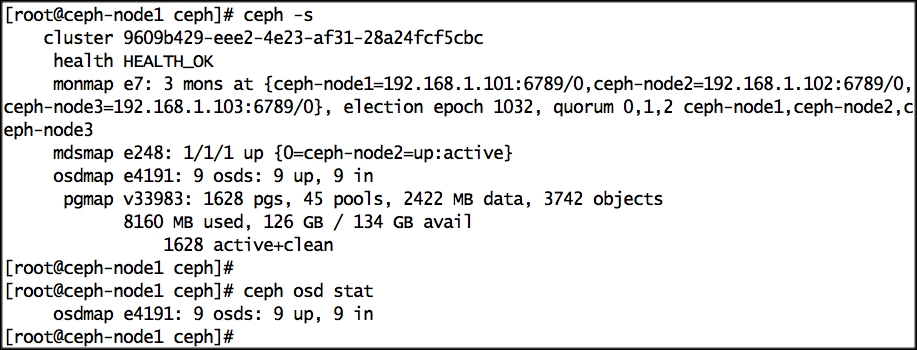
- Let's verify cluster health; since this cluster does not have any failed disk status, it would be
HEALTH_OK:# ceph status
- Since we are demonstrating this exercise on virtual machines, we need to forcefully fail a disk by bringing
ceph-node1down, detaching a disk, and powering up the VM. Execute the following commands from your HOST machine:# VBoxManage controlvm ceph-node1 poweroff # VBoxManage storageattach ceph-node1 --storagectl "SATA" --port 1 --device 0 --type hdd --medium none # VBoxManage startvm ceph-node1
The following screenshot will be your output:

- Now,
ceph-node1contains a failed disk,osd.0, which should be replaced:# ceph osd tree
You will also notice that
osd.0isDOWN, however, it's still marked asIN. As long as its status is markedIN, the Ceph cluster will not trigger data recovery for this drive. By default, the Ceph cluster takes 300 seconds to mark a down disk asOUTand then triggers data recovery. The reason for this timeout is to avoid unnecessary data movements due to short-term outages, for example, Server reboot. One can increase or even decrease this timeout value if they prefer. - You should wait 300 seconds to trigger data recovery, or else you can manually mark the failed OSD as
OUT:# ceph osd out osd.0 - As soon as the OSD is marked
OUT, the Ceph cluster will initiate a recovery operation for the PGs that were hosted on the failed disk. You can watch the recovery operation using the following command:# ceph status - Let's now remove the failed disk OSD from the Ceph CRUSH map:
# ceph osd crush rm osd.0 - Delete the Ceph authentication keys for the OSD:
# ceph auth del osd.0 - Finally, remove the OSD from the Ceph cluster:
# ceph osd rm osd.0
- Since one of your OSDs is unavailable, the cluster health will not be OK, and the cluster will be performing recovery. Nothing to worry about here; this is a normal Ceph operation. Once the recovery operation is complete, your cluster will attain
HEALTH_OK:# ceph -s # ceph osd stat

- At this point, you should physically replace the failed disk with the new disk on your Ceph node. These days, almost all the servers and server OS support disk hot swapping, so you would not require any downtime for disk replacement.
- Since we are simulating this on a virtual machine, we need to power off the VM, add a new disk, and restart the VM. Once the disk is inserted, make a note of its OS device ID:
# VBoxManage controlvm ceph-node1 poweroff
# VBoxManage storageattach ceph-node1 --storagectl "SATA" --port 1 --device 0 --type hdd --medium ceph-node1_disk2.vdi
# VBoxManage startvm ceph-node1
- Now that the new disk has been added to the system, let's list the disk:
# ceph-deploy disk list ceph-node1 - Before adding the disk to the Ceph cluster, perform
disk zap:# ceph-deploy disk zap ceph-node1:sdb - Finally, create an OSD on the disk, and Ceph will add it as
osd.0:# ceph-deploy --overwrite-conf osd create ceph-node1:sdb - Once the OSD is added to the Ceph cluster, Ceph will perform a backfilling operation and will start moving PGs from secondary OSDs to the new OSD. The recovery operation might take a while, but after it, your Ceph cluster will be
HEALTHY_OKagain:# ceph -s # ceph osd stat