
Given that we are working on the screenshot snipping tool, it is vital to be able to select an area of the screen to create a screenshot. Traditionally, such tools offer a transparent and resizable window so that users can imagine the result more clearly.
You can enable window transparency by using the transparent property like so:
function createWindow() {
  win = new BrowserWindow({
    transparent: true,
    frame: false
  });

  win.loadURL(`http://localhost:3000`);

  win.on('closed', () => {
    win = null;
  });
}
However, if you try to run your application right now, it won't be transparent. This is because of the default background color that Create React App generates for the initial application scaffolds. You can easily change that by updating the App.css file and commenting out the background-color style, like so:
.App {
  text-align: center;
}

.App-main {
  /* background-color: #282c34; */
  min-height: 100vh;
  display: flex;
  flex-direction: column;
  align-items: center;
  justify-content: center;
  font-size: calc(10px + 2vmin);
  color: white;
}
This time, as you can see, the application body is genuinely transparent; you can see the content of Visual Studio Code or any other application in the background:

The only non-transparent element that remains is the toolbar. This happens because of our custom background color. This is perfectly fine for our scenario as we intend to use that area to drag the application around.
Let's polish the application's look a bit by setting a distinctive application border style and centering the application icon:
- First, update the App.css file according to the following code:
      .App {
        text-align: center;
        height: 100vh;
      }

      .App-main {
        height: 100%;
        display: flex;
        flex-direction: column;
        align-items: center;
        justify-content: center;
        font-size: calc(10px + 2vmin);
      }
The preceding code does content centering for us.
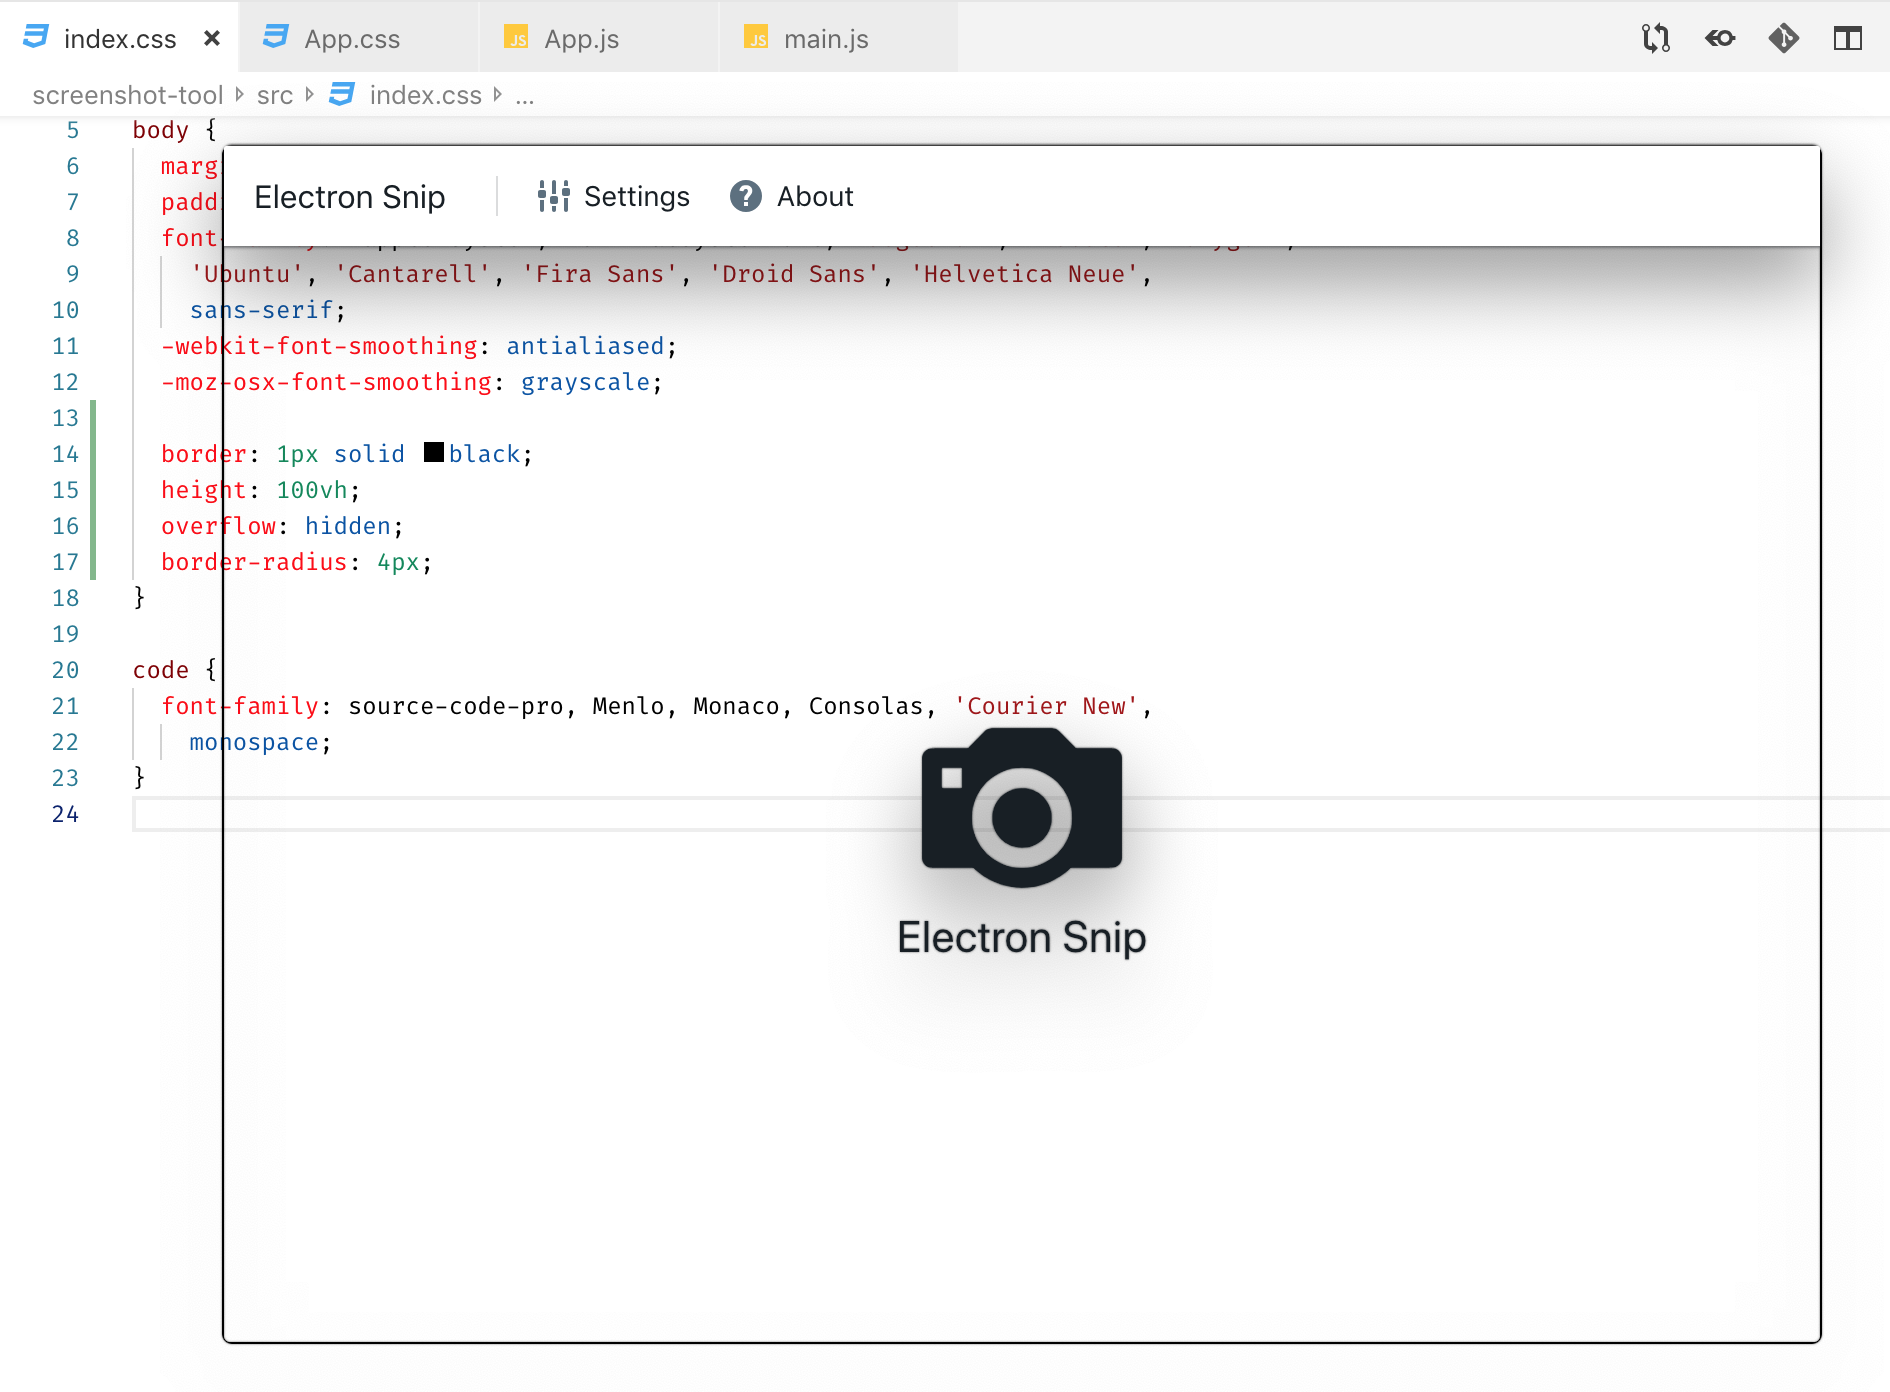
- Next, switch to the index.css file to add a border around the application's body element:
      @import '~normalize.css';
      @import '~@blueprintjs/core/lib/css/blueprint.css';
      @import '~@blueprintjs/icons/lib/css/blueprint-icons.css';

      body {
        margin: 0;
        padding: 0;
        font-family: -apple-system, BlinkMacSystemFont, 'Segoe UI',
                     'Roboto', 'Oxygen', 'Ubuntu', 'Cantarell',
                     'Fira Sans', 'Droid Sans', 'Helvetica Neue',
          sans-serif;
        -webkit-font-smoothing: antialiased;
        -moz-osx-font-smoothing: grayscale;

        border: 1px solid black;
        height: 100vh;
        overflow: hidden;
        border-radius: 4px;
      }

      code {
        font-family: source-code-pro, Menlo, Monaco, Consolas,
                     'Courier New',
          monospace;
      }
- Now, the users of your application can see the boundaries of the application and imagine the resulting screenshot area:
As you may recall, the main application window of our project is still static. We don't have an application title to drag it around as we have made it frameless. Instead, let's make the whole window draggable.