
Let's enable Firebase's authentication features and pick the sign-in provider by following these steps:
- Switch back to the Firebase console and click the Authentication link in the Develop section of the navigation sidebar:

- You should see a list of supported sign-in providers in the main content area. As shown in the following screenshot, Firebase provides support for a wide variety of authentication mechanisms. For the sake of simplicity, let's use the traditional Email/Password provider:
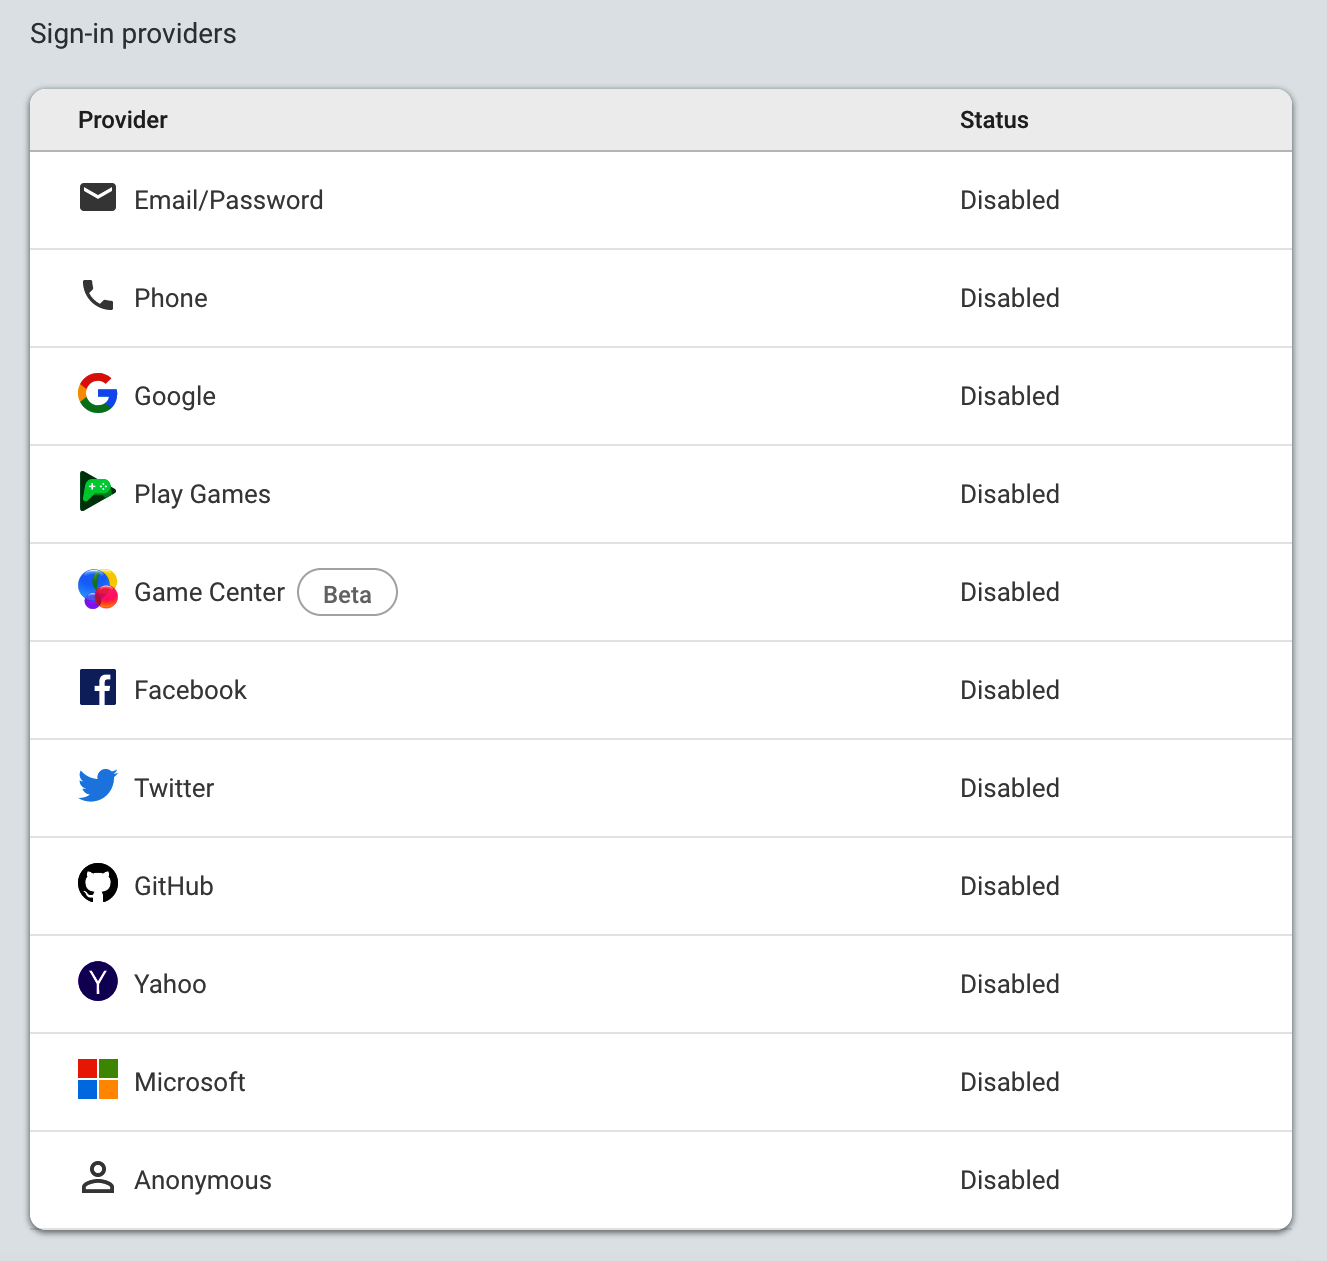
- Click the Email/Password list item to get the corresponding dialog.
Later on, you can provide more than one sign-in provider in the Login dialog if you like, for example, Twitter, Facebook, Google, and more.
- In the dialog, click the Enable toggle option and then press Save:

- Now, the provider should be enabled in the list of sign-in providers, as shown in the following screenshot:

If you don't have the provider enabled, you can always perform the same steps again. We can also do this to disable it in case we ever want to switch to another sign-in provider.
We have just Enabled the Email/Password authentication provider. Let's learn how to create accounts directly within the Firebase console.