
Let's take the official Hello World example and turn it into a desktop application powered by Electron. Follow these steps to do so:
- First, create the configuration file shown in the following code. It is almost the same one that we had earlier, but with an extra physics configuration section:
      var config = {
        type: Phaser.AUTO,
        width: 800,
        height: 600,
        backgroundColor: '#03187D',
        physics: {
          default: 'arcade',
          arcade: {
            gravity: { y: 200 }
          }
        },
        scene: {
          preload: preload,
          create: create,
          update: update
        }
      };
- Next, let's implement the preload function and load some image resources:
      function preload() {
        this.load.setBaseURL('http://labs.phaser.io');

        this.load.image('sky', 'assets/skies/space3.png');
        this.load.image('logo', 'assets/sprites/phaser3-logo.png');
        this.load.image('red', 'assets/particles/red.png');
      }
There are two essential points of interest in the preceding code. Notice that we can set the base URL for all the game assets. This can be a local or a remote address, depending on your scenario. Sometimes, you may want to store your assets remotely so that you can, for example, update the game server and apply changes to all the clients. For the current demo, we're instructing the game to fetch all the resources from the http://labs.phaser.io web address.
Another point of interest is how we load the game assets. The Phaser framework allows us to load an image file and give it a unique key that can be used in the game's code. This is very convenient as it allows us to change the asset image in a single place without changing its key in multiple places.
- Now, update the create function according to the following code:
      function create() {
        this.add.image(400, 300, 'sky');

        var particles = this.add.particles('red');

        var emitter = particles.createEmitter({
          speed: 100,
          scale: { start: 1, end: 0 },
          blendMode: 'ADD'
        });

        var logo = this.physics.add.image(400, 100, 'logo');

        logo.setVelocity(100, 200);
        logo.setBounce(1, 1);
        logo.setCollideWorldBounds(true);

        emitter.startFollow(logo);
      }
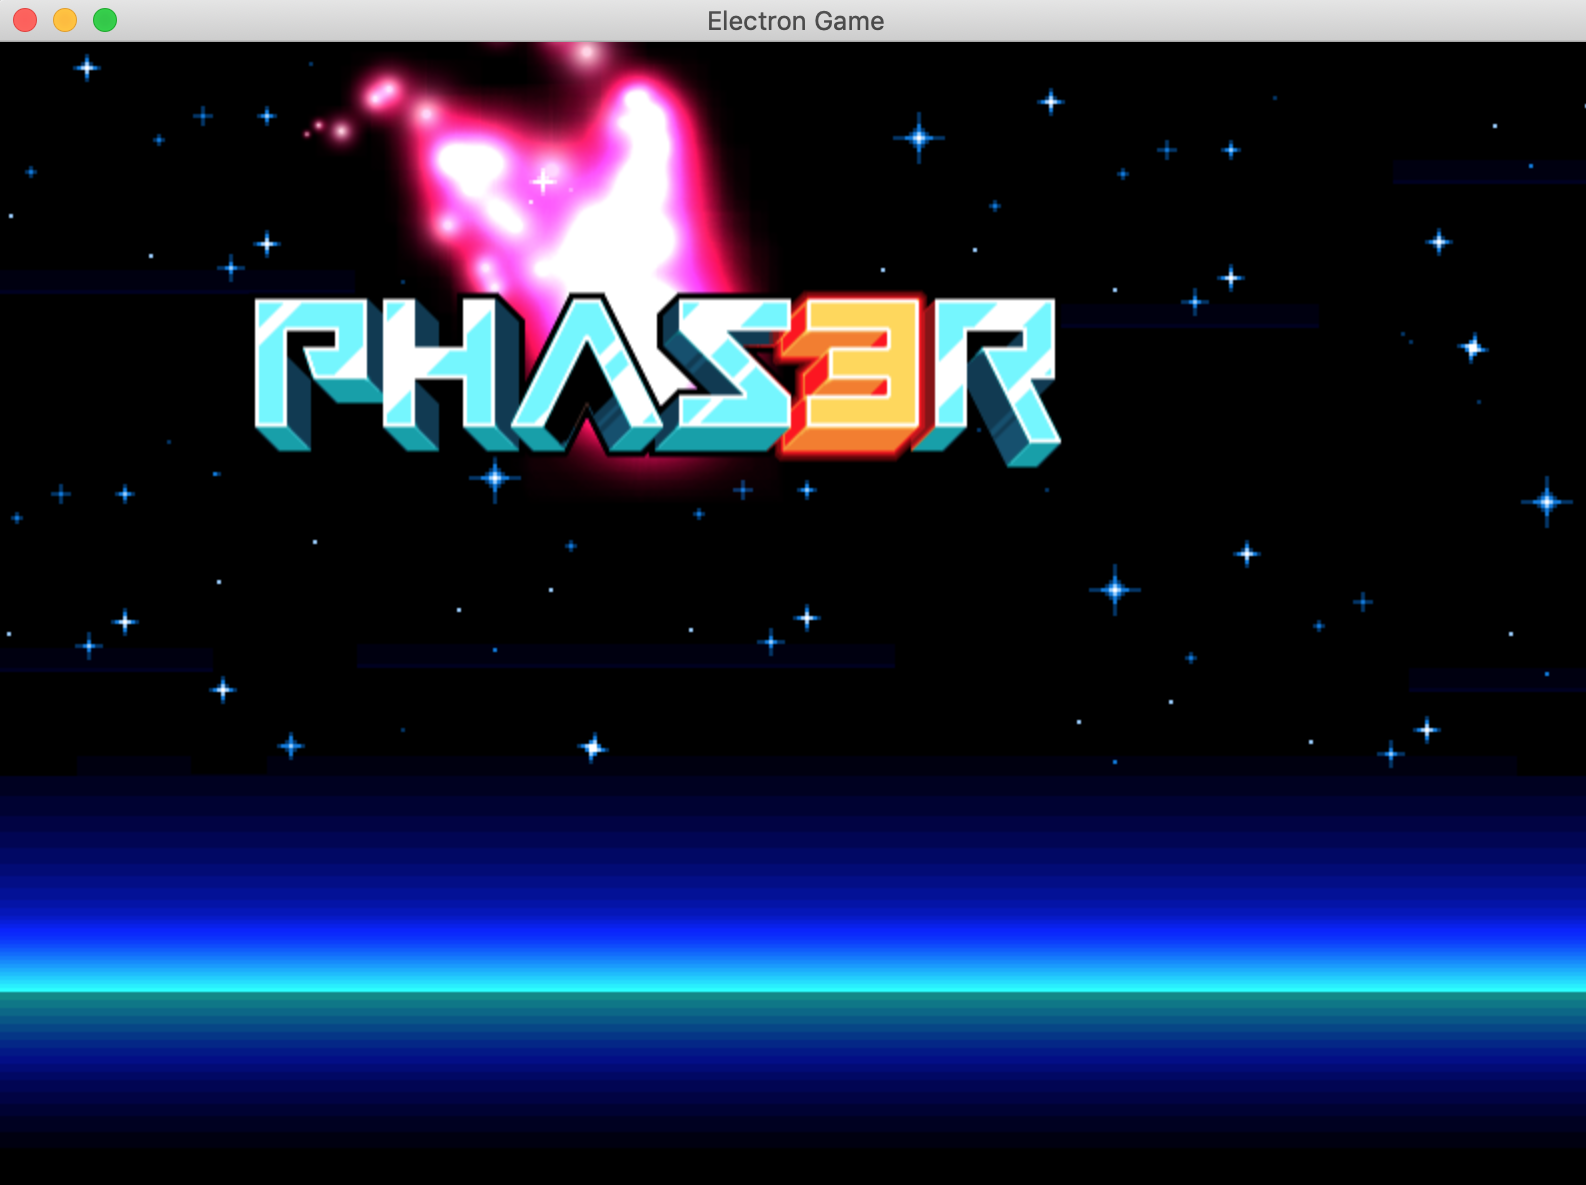
- Restart the application. This time, you should see a Phaser logo bouncing around the custom background. Apart from this, the particle emitter adds some special effects to the logo sprite:
Based on our previous experience, let's change the game so that it loads our custom background and renders some different sprites. I suggest that we find a space background image and use a spaceship image on top of it. It would also be nice to have keyboard input handling so that users can control where the ship flies.