
In this section, we are going to create a placeholder component for the chat groups list. Follow these steps to do so:
- Generate a new Chat component by running the following command:
ng g component chat
- Update the routes in the app-routes.module.ts file:
      import { ChatComponent } from './chat/chat.component';

      const routes: Routes = [
        {
          path: 'login',
          component: LoginComponent
        },
        {
          path: 'chat',
          component: ChatComponent
        }
      ];
- Update the login form so that it invokes the login method:
      <div class="login-actions">
        <button
          mat-raised-button
          (click)="login(loginField.value, passwordField.value)"
        >Login</button>
      </div>
- We need to update the Login component's code. We need to import the Router object and implement the login function. For now, we can navigate to the successful chat route without authentication.
- Update the chat.component.ts file:
      import { Router } from '@angular/router';

      @Component({...})
      export class LoginComponent {
        error = '';
        constructor(private router: Router) {}

        login(username: string. password: string) {
          // perform login here
          this.router.navigate(['chat']);
        }
      }
- Restart the web server, navigate to the Login page, and fill in the username and password input boxes.
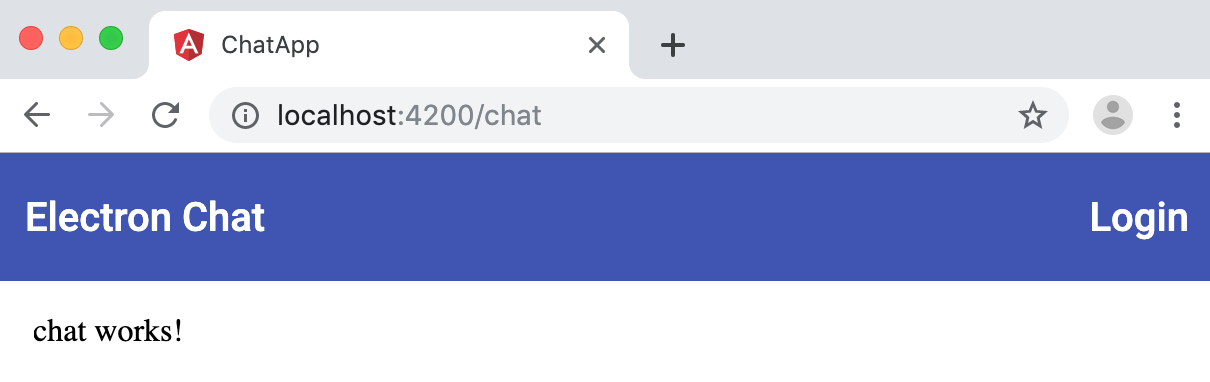
- Click the Login button; you should end up on the Chat page, which has the /chat route, as shown in the following screenshot:
At this point, we are ready to wire the Login dialog to Firebase Authentication. Let's learn how to integrate Firebase with the Login dialog.