
Go through the following steps to import data from other issue trackers, such as Bitbucket, into Jira:
- Navigate to Administration > System > External System Import.
- Select the source's issue tracker system. We will select Bitbucket for this recipe.
- Click on the Next button to authorize the Jira importer to access data from Bitbucket, and when prompted, click on Authorize:

- Map projects from Bitbucket to Jira projects. Check the Don't import this project option for those projects that you do not want to import to Jira. Click on Next to continue, as shown in the following screenshot.
- After you have clicked on Next, Jira will query Bitbucket to get an export of settings, such as fields and values, so that they can be used to map the Jira counterparts. This process may take a few minutes, depending on the size of your Bitbucket project:

- Select the fields from Bitbucket that you want to manually map to the Jira field values. Click on Next to continue:
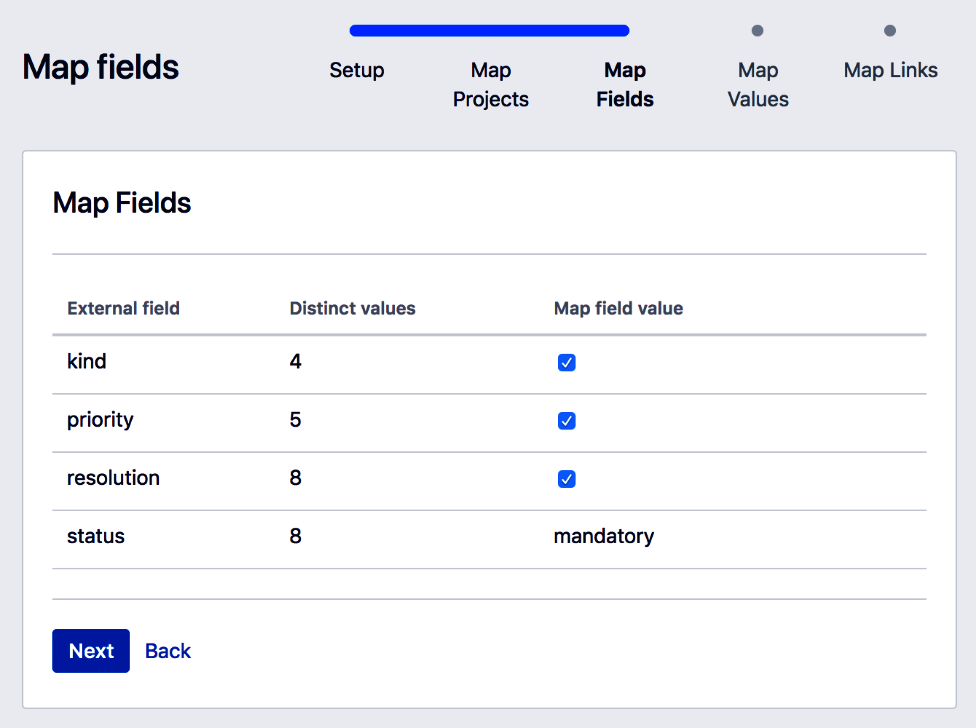
- Map the field values from Bitbucket to the field values of the Jira fields, as shown in the following screenshot. Click on Next to continue:

- Map Bitbucket's link types to the Jira issue link types. Click on Begin Import to start importing data into Jira, as seen in the following screenshot:

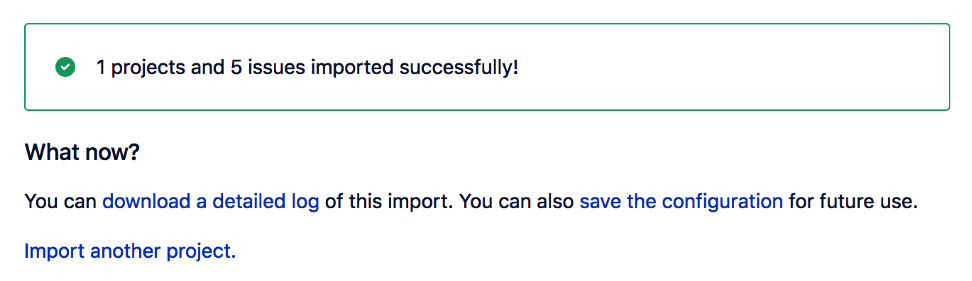
- Review the import result. You can click on the download a detailed log link to get a full log of the process if the import has failed. You can also click on the save the configuration link to get a copy of the mapped files so that you do not have to remap everything from scratch next time:
We will now look at how the steps work.