
We are going to completely localize the user registration form in the following examples:
- In the Solution Explorer, go to the Localization/Views folder and add two new resource files called UserRegistration.Index.resx and UserRegistration.Index.fr.resx.
- Open the UserRegistration.Index.resx file and add a Title and a SubTitle element with English translations:

- Open the UserRegistration.Index.fr.resx file and add a Title and a SubTitle element with French translations:

- Update the User Registration Index View so that it uses the View Localizer:
        @model TicTacToe.Models.UserModel
        @{
           ViewData["Title"] = Localizer["Title"];
        }
        <h2>@ViewData["Title"]</h2>
        <h4>@Localizer["SubTitle"]</h4>
        <hr />
        <div class="row">
        ...
- Start the application, set the language to French using the User Interface Language Drop-Down, and go to the user registration page. The titles should be displayed in French. Click on Create without entering anything in the input fields and see what happens:
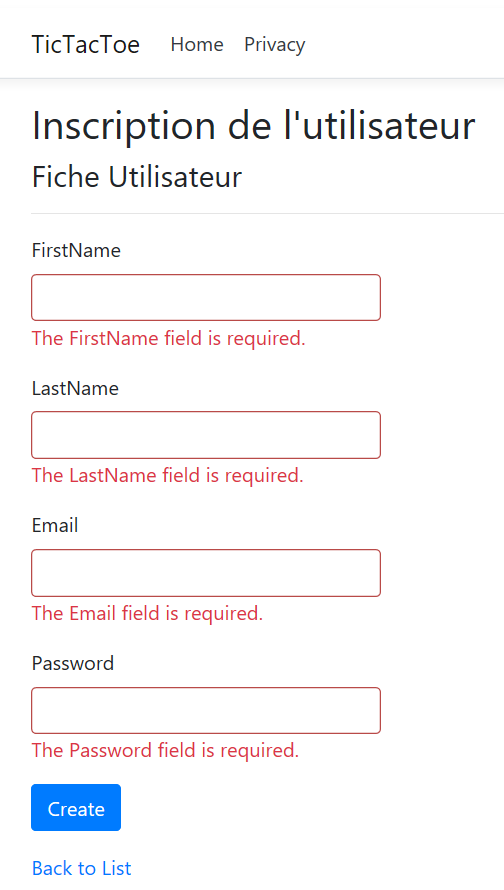
Something is missing here. You have added localization for the page title, as well as the subtitle of the user registration page, but we are still missing some localizations for the form. But what are we missing?
You should have seen for yourself that the error messages haven't been localized and translated yet. We are using the Data Annotation framework for error handling and form validation, so how do we localize Data Annotation validation error messages? This is what we are going look at now:
- Add the Data Annotation localization service to the MVC service declaration in the ConfigureServices method of the Startup class:
        services.AddMvc().AddViewLocalization(
          LanguageViewLocationExpanderFormat.Suffix, options =>
          options.ResourcesPath = "Localization")
          .AddDataAnnotationsLocalization();
- Go to the Localization folder and create a subfolder called Models. Then, add two new resource files called UserModel.resx and UserModel.fr.resx.
- Update the UserModel.resx file with English translations:

- Next, update the UserModel.fr.resx file with French translations:

- Go to the Models folder and update the UserModel implementation for the FirstName, LastName, Email, and Password fields so that you can use the preceding resource files:
         ...
          [Display(Name = "FirstName")]
          [Required(ErrorMessage = "FirstNameRequired")]
          public string FirstName { get; set; }

          [Display(Name = "LastName")]
          [Required(ErrorMessage = "LastNameRequired")]
          public string LastName { get; set; }

          [Display(Name = "Email")]
          [Required(ErrorMessage = "EmailRequired"),
            DataType(DataType.EmailAddress)]
          [EmailAddress]
          public string Email { get; set; }

          [Display(Name = "Password")]
          [Required(ErrorMessage = "PasswordRequired"),
            DataType(DataType.Password)]
          public string Password { get; set; }
        ...
- Rebuild the solution and start the application. You will see that the whole user registration page, including the error messages, is completely translated when we change the user interface language to French:

In this section, you have learned how to localize strings, views, and even error messages using Data Annotations. For that, you have used the built-in features of ASP.NET Core 3 since they contain everything for developing multi-lingual localizable web applications. The next section is going to give you some insights into how to configure your applications and services.