
Enabling Microsoft Azure App Service Diagnostics is very easy, so let's see how to do that now:
- Open the Tic-Tac-Toe web project in Visual Studio 2019, and add a new extension called AzureAppServiceDiagnosticExtension to the Extensions folder, as follows:
        public class AzureAppServiceDiagnosticExtension
        {
          public static void AddAzureWebAppDiagnostics
         (IConfiguration configuration, ILoggingBuilder
            loggingBuilder)
          {
            loggingBuilder.AddAzureWebAppDiagnostics();
          }
        }
- Update the AddLoggingConfiguration method in the ConfigureLoggingExtension class, and add a case for the newly added Azure ApplicationServiceDiagnosticExtension from before, as follows:
    foreach (var provider in loggingOptions.Providers)
    {
      switch (provider.Name.ToLower())
      {
        case "console":  {  loggingBuilder.AddConsole();  break; }
        case "file":   {  ...  }
        case "azureappservices":
        {
          AzureAppServiceDiagnosticExtension
           .AddAzureWebAppDiagnostics(configuration,loggingBuilder);
          break;
        }
        default:  {  break;  }
      }
    }
- Update the appsettings.json configuration file, and add a new provider for Azure App Service, as follows:
        "Logging": {
          "Providers": [
            {
              "Name": "Console",
              "LogLevel": "1"
            },
            {
              "Name": "File",
              "LogLevel": "2"
            },
            {
              "Name": "azureappservices"
            }
          ],
          "MinimumLevel": 1
        }
- Update the Program.cs file, change the WebHost builder configuration to enable IIS integration, and add the logging configuration, as follows:
public static IHostBuilder CreateHostBuilder(string[] args) => Host.CreateDefaultBuilder(args)
      .ConfigureWebHostDefaults(webBuilder =>
      {
         webBuilder.UseStartup<Startup>();
         webBuilder.CaptureStartupErrors(true);
         webBuilder.PreferHostingUrls(true);
         webBuilder.ConfigureLogging((hostingcontext, logging) =>
         {
             logging.AddLoggingConfiguration(hostingcontext.
             Configuration); });
         webBuilder.UseIISIntegration();
      });
- Publish the Tic-Tac-Toe web application to Azure App Service. If you do not know how to do that, you can look it up in Chapter 12, Hosting ASP.NET Core 3 Applications.
- Go to the Microsoft Azure portal website, click on App Services in the menu, select the Tic-Tac-Toe App Service you have deployed, and scroll down until you see the Monitoring section, shown in the following screenshot:
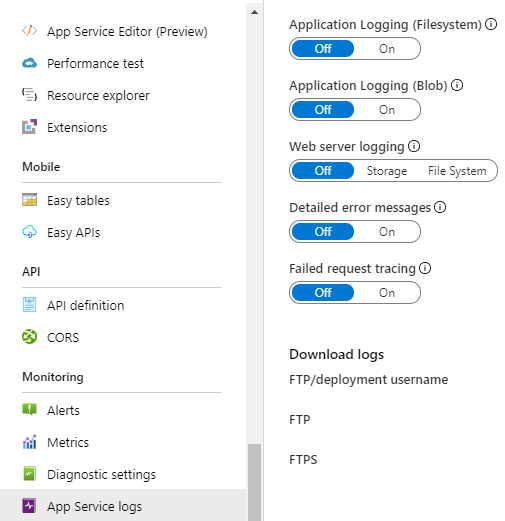
- In the Monitoring section, click on App Service logs, and then set the Application Logging (Filesystem) On button. Select Level as Verbose, enable Detailed error messages and Failed request tracing, and then click on the Save button, as follows:
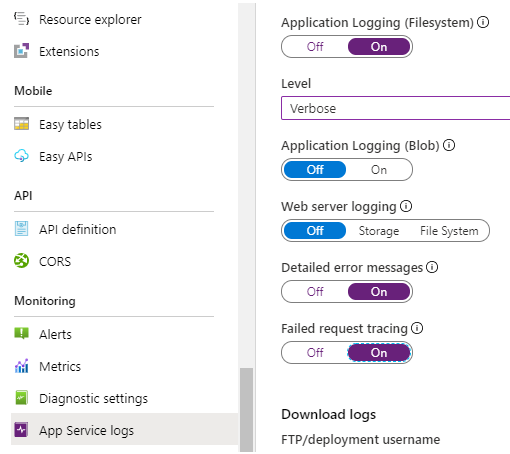
The Tic-Tac-Toe application will now start logging data in the Azure App Service filesystem. However, this is only the first step. You will need to retrieve the logs to be able to analyze them.
There are multiple ways of accessing the logs, depending on your specific needs. Some of them are specified here, as follows:
- Using FTP or FTPS to browse the logs folder
- Configuring Azure Blob Storage and then downloading the blob content, which also has the benefit of centralizing logs for multiple services in a single place
- Using a dedicated application to retrieve logs automatically
Fortunately, the community has already worked on an open source solution on GitHub, called the Azure Web Site Logs Browser extension, which you can use. This solution consists of adding an extension to your Azure portal.
You will now see how to add the Azure Web Site Logs Browser extension to the Microsoft Azure portal to analyze logs by following these steps:
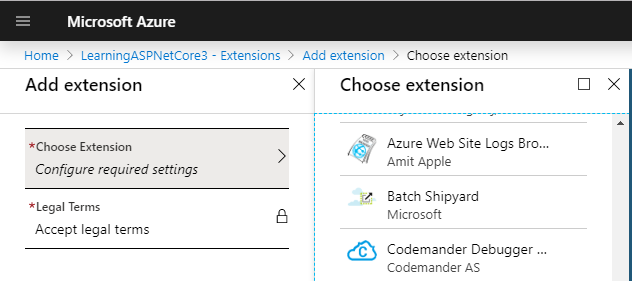
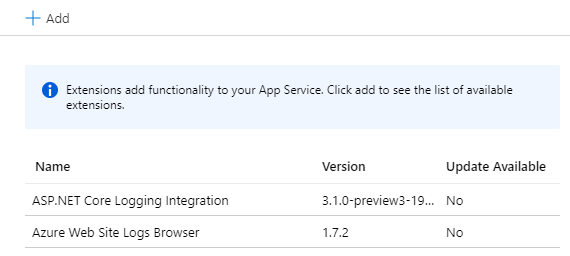
- Go to the Microsoft Azure portal website, click on App Services in the menu, select the Tic-Tac-Toe App Service you have deployed in the preceding example, scroll down until you see the Development Tools section, click on Extensions, and then on the Add button, as shown in the following screenshot:
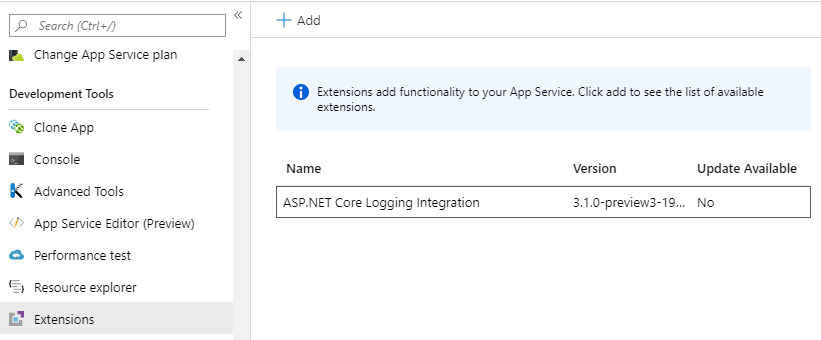
- Select and install the Azure Web Site Logs Browser extension, published by Amit Apple, as follows:
- Once installation has finished, the extension will be added to the active extensions for your Tic-Tac-Toe App Service, as follows:
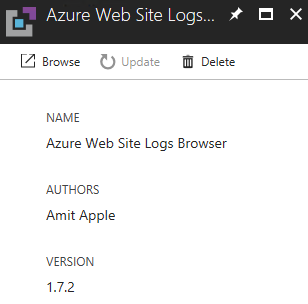
- Click on the Azure Web Site Logs Browser extension, and you will see an overview with the extension name, its author, and version number, as well as other additional information. Click on the Browse button, as shown in the following screenshot:
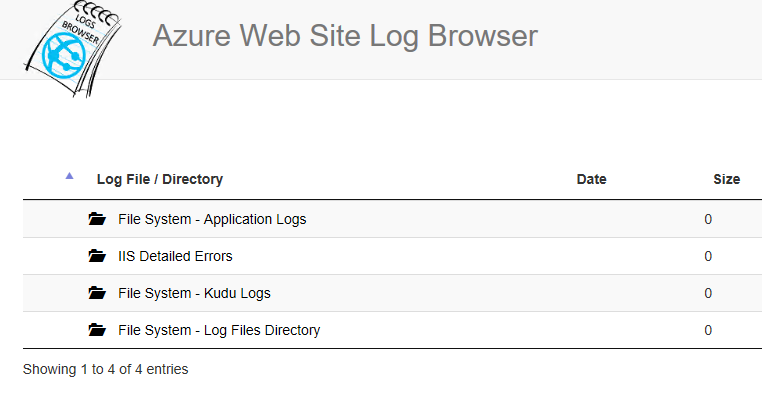
- A new browser window will be opened automatically, where you can see different log file sources. Click on File System - Application Logs, as shown in the following screenshot:
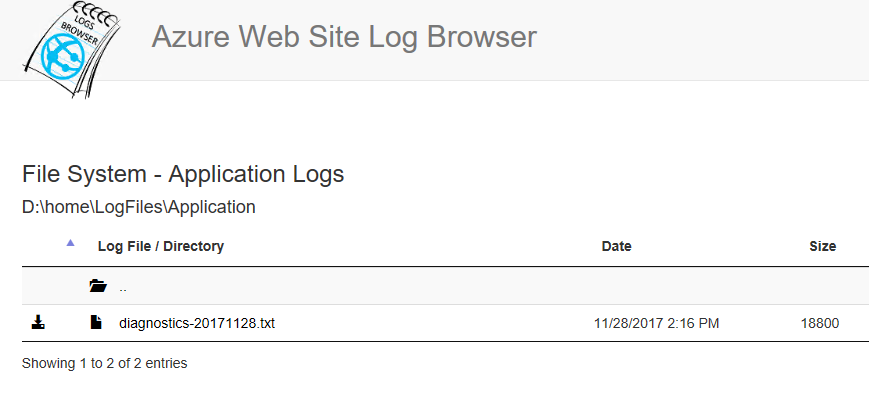
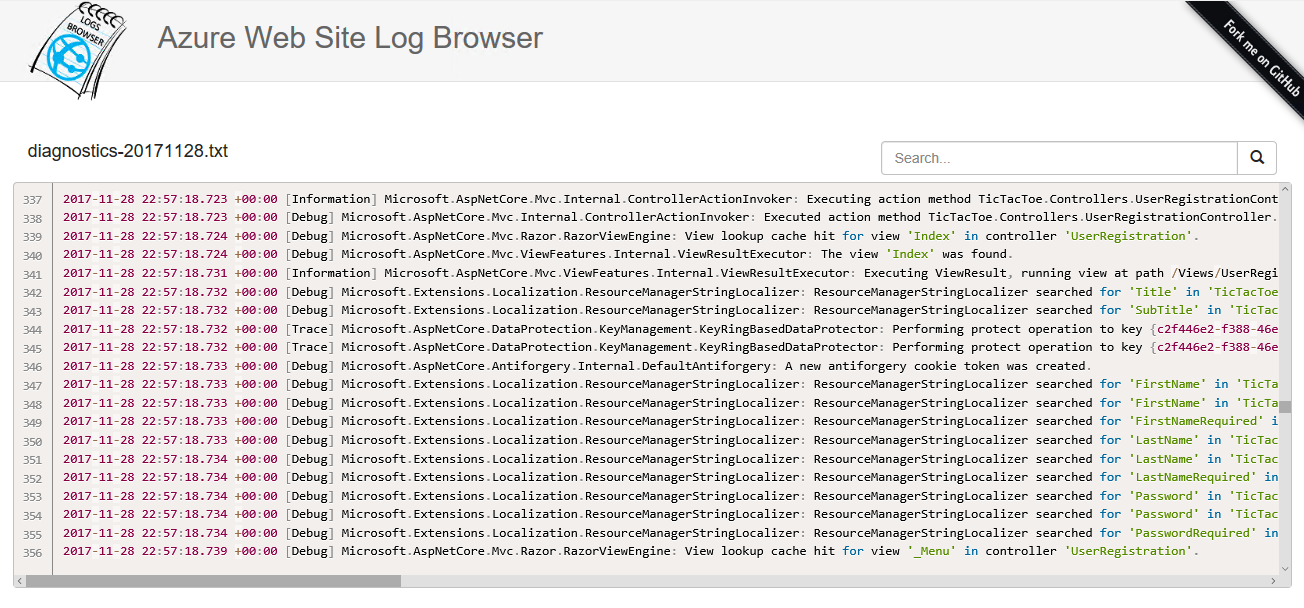
- Select a log file with the diagnostic data you need to analyze, as follows:
- Read and scroll through the color-coded log file content. You will automatically see generated log entries, as well as log entries you have added by yourself in the preceding chapters, as follows:
That is all you need to know in order to have meaningful logs and be able to view them. Logs are quite important for every application and, if designed properly, they can save you a lot of time and effort and, in turn, money, which you could potentially lose if, for example, it took you a long time to find an anomaly because of insufficient logging. Let's now look at how we can do the same in AWS in the next section.