
In previous versions of Microsoft Azure, there used to be an option to have a Web App + SQL as a single Azure service, but of late they have been split. We will need to create a separate database instance, and the following are the steps we will need to go through to get the database up and running, and ready to be used by our demo application:
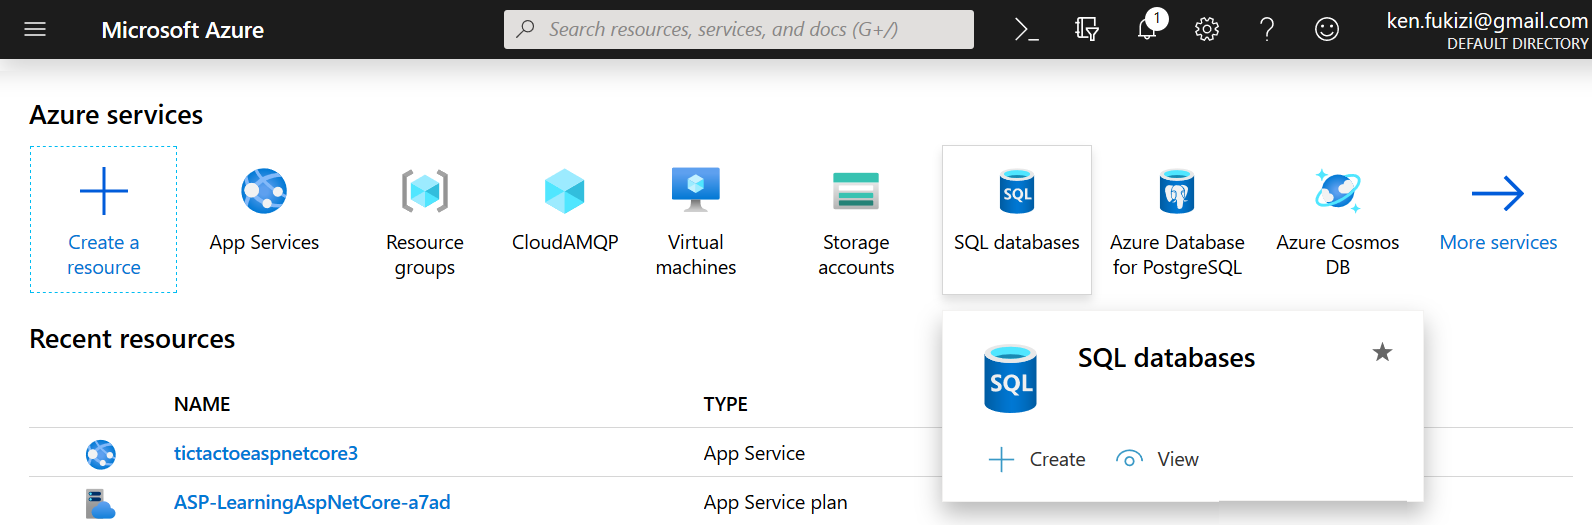
- Go to your personal home page for portal.azure.com and hover on SQL databases, then click on the Create button:
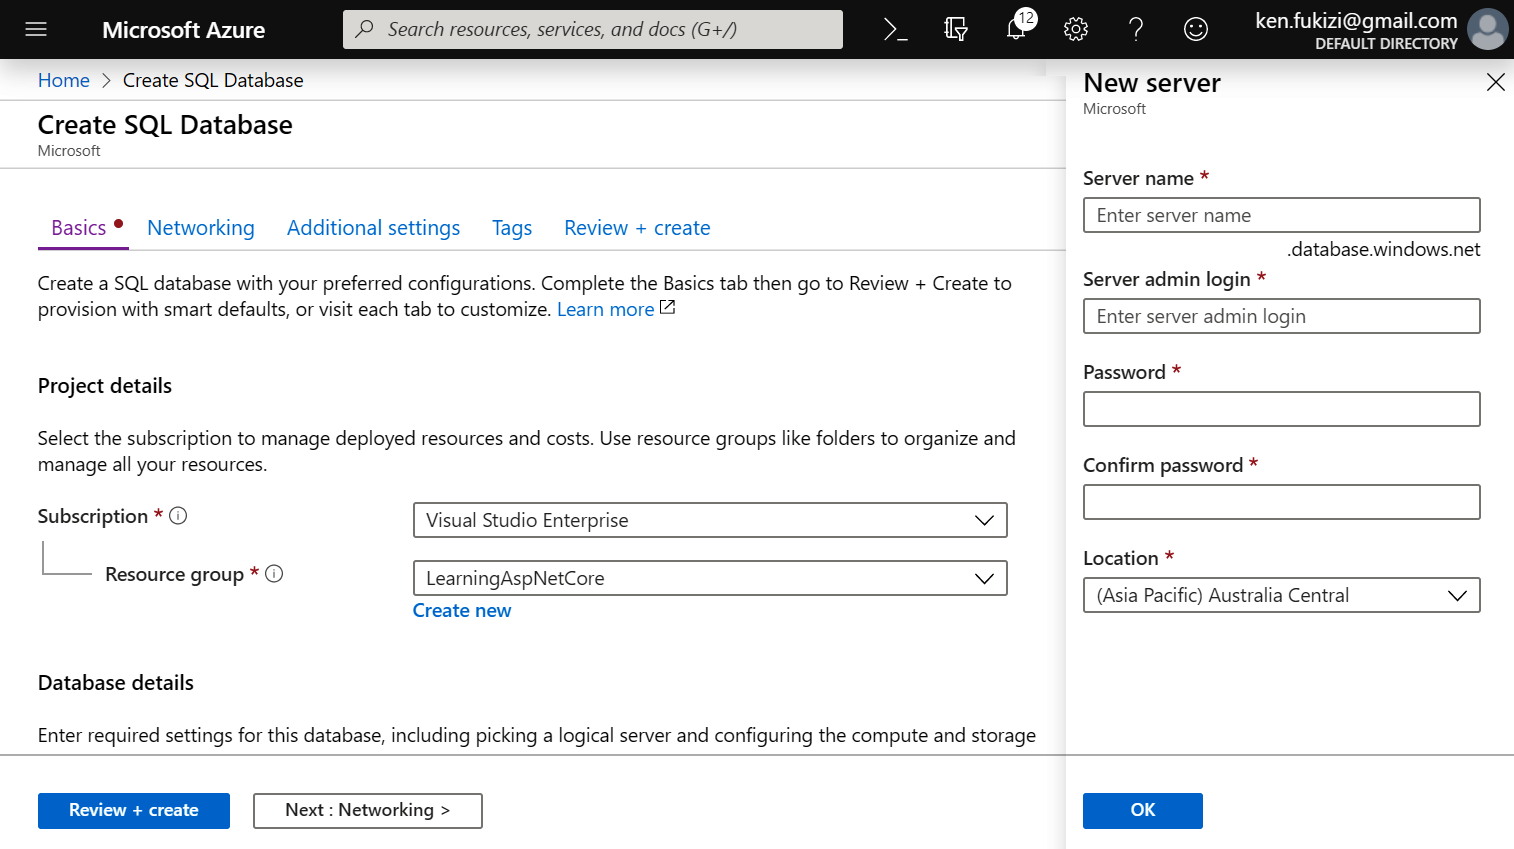
- Fill in the required information on the resulting form, as follows:

- Enter some values for Server name, Server admin login, and Password, then click on the OK button, as shown here:
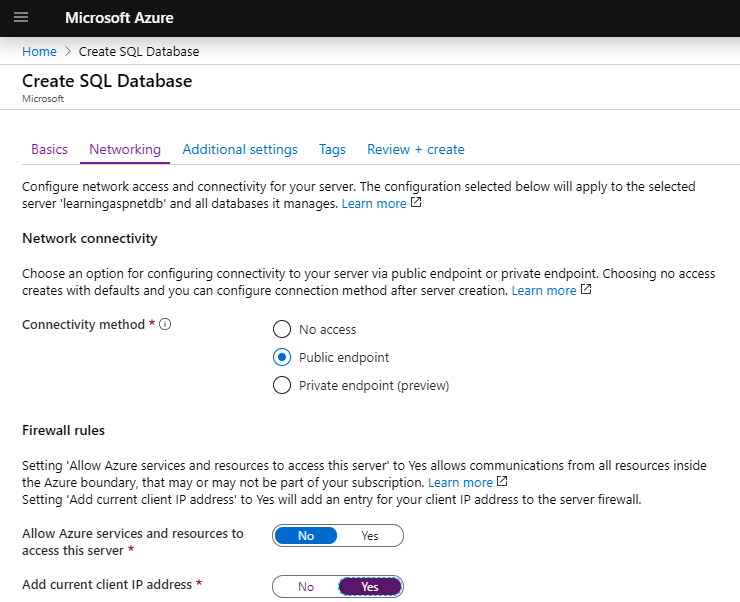
- Click Next: Networking from the preceding screen, to configure in the following screen whether the public is allowed to access this database. For the purposes of our application, we need it to only be accessed internally, as follows:
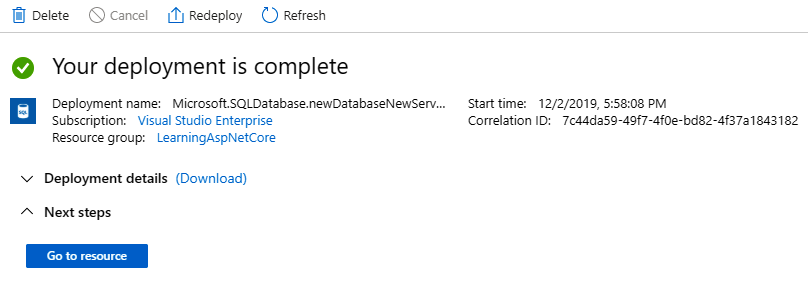
- Click Review + create and eventually Create, then you will see a final screen similar to the following one if your deployment was successful:
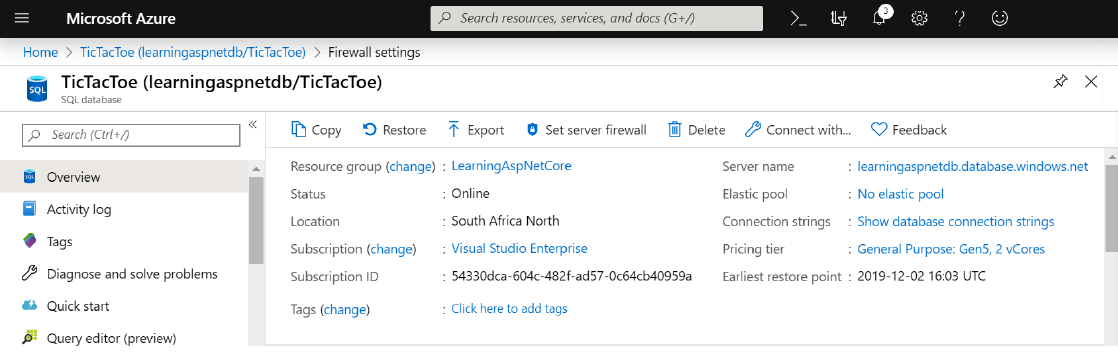
- You will need to allow access to the SQL database to execute the database generation scripts for the TicTacToe application. In the left-hand drop-down menu, or from the home page, click on SQL databases and select the TicTacToe database, as shown in the following screenshot:
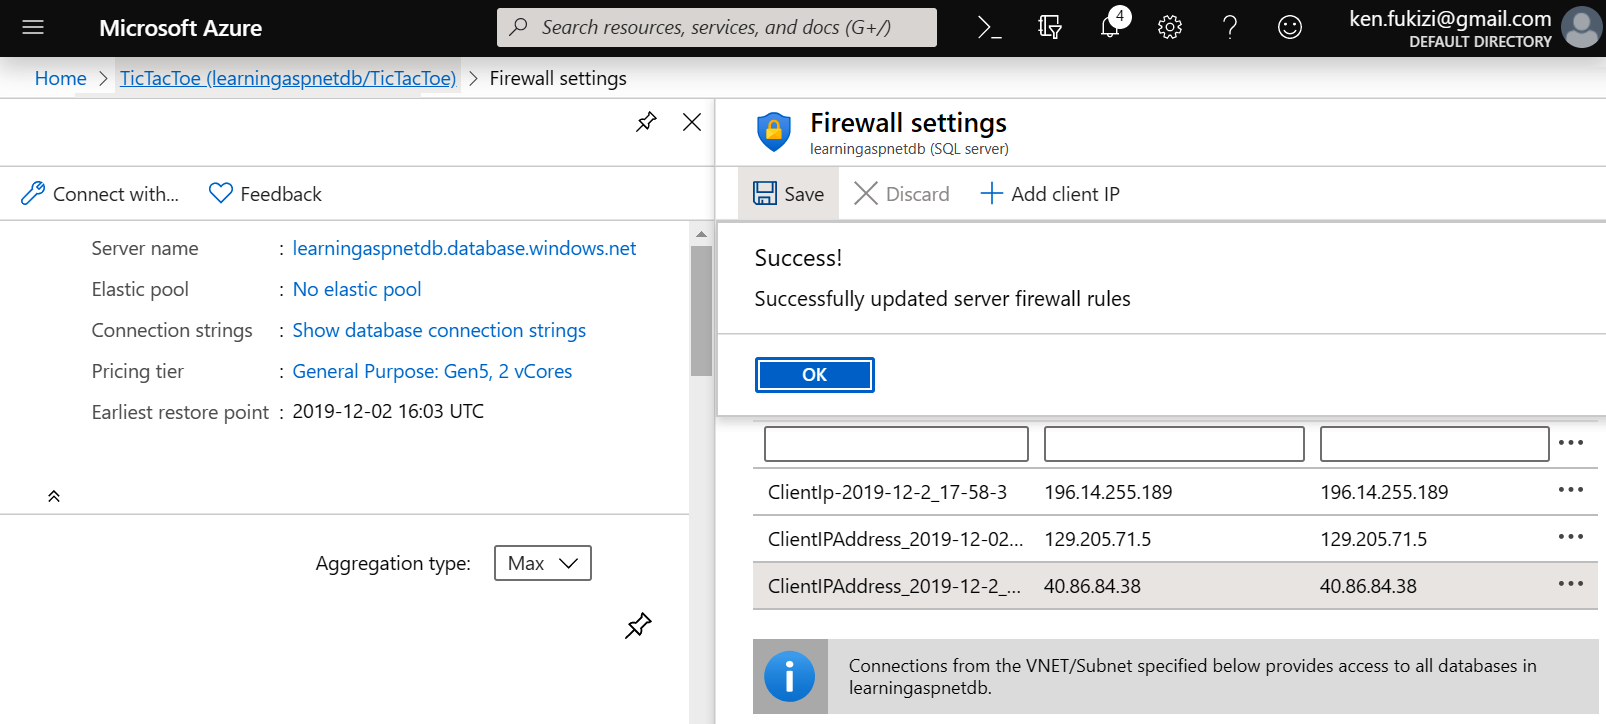
- Click on Set server firewall from the preceding screen to be able to add a new rule allowing access to the SQL database from your IP. Click on Add client IP, verify your IP, and click on Save to add the new rule, which results in the following screen:
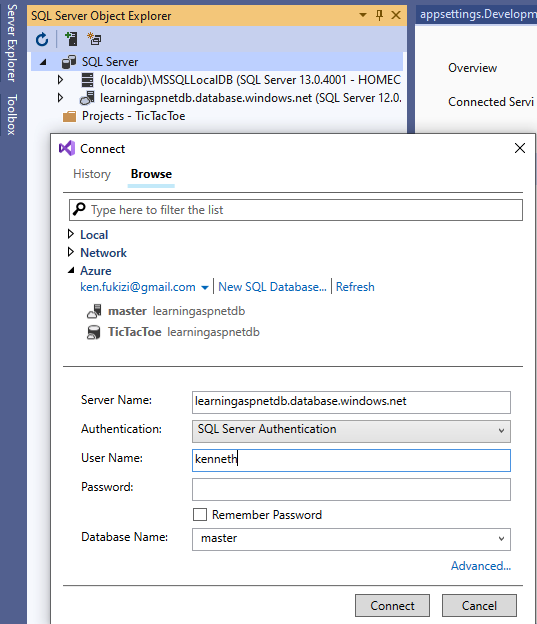
- Open Visual Studio 2019, go to the SQL Server Object Explorer, and add a new SQL Server, using the connection information from the TicTacToe Azure database connection string. You will find that this has been filled in automatically for you if you click on the Azure link, as follows:
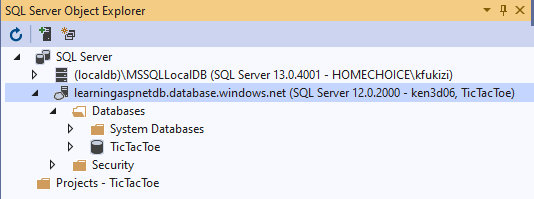
- Add a new database to the Azure SQL Server instance, as you would have done in the AWS example; it will be used to execute the TicTacToe database generation scripts, as follows:
- If you did not follow the AWS example, open the Package Manager Console in Visual Studio 2019 and execute the Script-Migration instruction; otherwise, you can reuse the same scripts, as in the previous example.
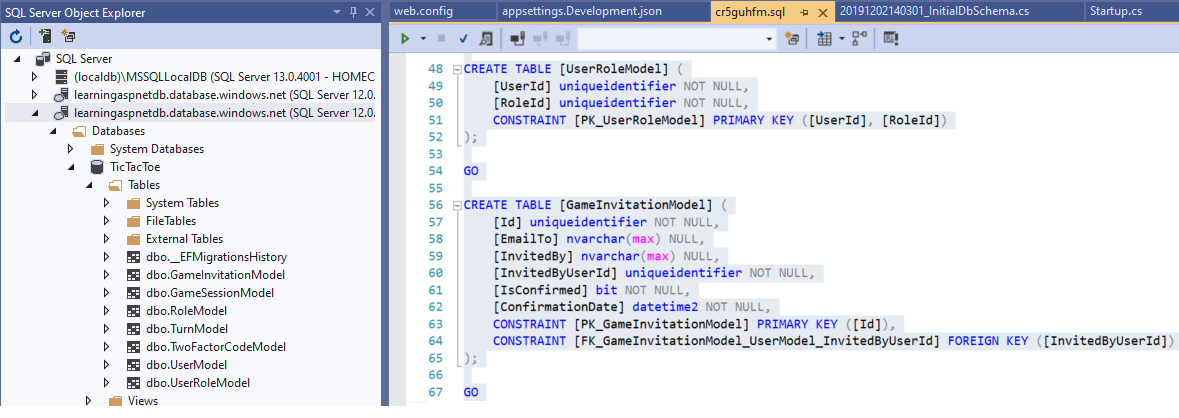
- Take the generated script and copy it into a query window for the Azure TicTacToe database, then execute the script to create the database and the various database objects, as follows:
- If you did not go through the AWS deployment example, please remember to add the same web.config file as in the preceding AWS example, and add webBuilder.UseIISIntegration() to the CreateHostBuilder method, in Program.cs, since App Service is based on IIS as the host for .NET Core applications.
At this point, you have done enough in terms of deployment. All the code files are in, and the database is set up and connected. We will look at what to do next to make sure that users are able to see a running application, in the next—and final—chapter. But meanwhile, if you found deployment using CI/CD tools with Azure DevOps a little involved, there's an easier option for you, which will be discussed in the next section: Deployment through the Web Deploy tool. Stay focused.